Dangers of Learning Painting From Others | Liron’s Podcast Episode 94

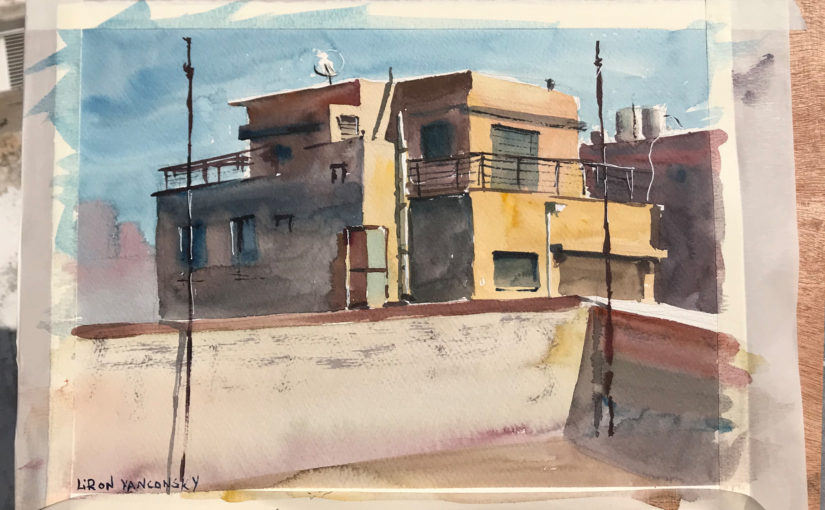
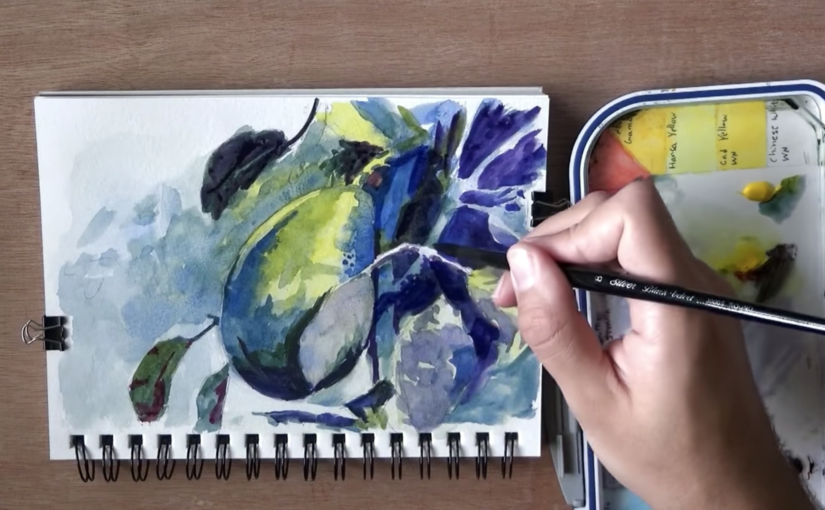
In this episode I discuss the dangers of learning painting from others, whether it’s teachers, YouTube videos, DVDs and so on…

The Dangers of learning painting from others

Here’s a quick list of some of the dangers of learning painting from others.

Narrowing our perception One of the main problems. By seeing other artists, following them and imitating their work process, we narrow our perception of what’s the “correct” way of doing things.

We end up doing things they way, without realizing there’s a HUGE spectrum of other possibilities we haven’t even considered yet.

Losing / not discovering your authenticity – That’s the most tragic problem. Learning painting from others can distract you from your unique gift.

I truly believe anyone has a 100% unique way of creating and viewing the world. The artists who are most appreciated have usually discovered their version of that.

By “copying” other peoples’ art and approach, you run the risk of never finding out what your gift was – the one you were the only one able to give.

Copycat – Talking about copying, there’s always the risk of becoming a copycat with no originality.

The solution

I’ll offer three main solutions.

Learn the rules – Physics – Watercolor does have rules – those bound to physics and water and paint.

You do have to learn that when you use more paint, the mixture gets darker. It is important to know and experience how a wetter wash flows more.

But once you learn that – it’s pretty much time to strike out on your own. The rest are things you can figure out.

Detox / Isolation – If you’ve been highly affected by others, it may be a good idea to go completely detox. This means to avoid looking at ANY artwork by other artists for a while.

This is a temporary solution only, you can’t live your artistic life in complete vacuum (well, you can… but I don’t think it’s fun or practical!).

I’m seriously thinking of going through such a detox myself. Could be interesting.

Balance – On a regular basis, try keeping a balance of how much external art, tutorials and guides you consume, as opposed to the time you spend creating purely, not worrying about anything else.

Conclusion

I hope you found this info useful! I’m still learning these things too, so I’ll keep you updated regarding my experiences and findings (:

Want to Reach Out?

Got any questions? Want help with your paintings? Feel free to reach out to me in any of the platforms I’m on, and I’ll be happy to help (:

YouTube – Liron Yanconsky Art

LinkedIn – Liron Yanconsky

Pinterest – Liron Yanconsky

Instagram – @LironYanIL

Twitter – @LironYan

Interviewing Steve Mitchell | Liron Yanconsky’s Podcast – Episode 33

Hi there! In today’s episode I interview Steve Mitchell, of The Mind of Watercolor!

If you are interested in watercolor painting I’m sure you came across Steve Mitchell’s YouTube channel – The Mind of Watercolor – at some point.

He has incredible tutorials and lessons on painting.

Interviewing Other Artists

I talked a bit about my idea of interviewing other artists.

I think this will work great to encourage channel growth on YouTube. I also think this will create amazing content that viewers will really enjoy.

I made a list of artists I want to get to next, so expect updates in the near future!

Steve Mitchell Interview

Steve was the first creator I thought about reaching out to.

I’ve been following him for several years now, and learned A LOT from him. His fun personality and sense of humor make his videos not only educational, but also entertaining.

And as luck would have it, I noticed he started following me on Instagram, and even commenting and liking some of my posts!

As soon as I saw that I decided to reach out to him. He was super-cool about it, and the result is this interview!

I’m not going to transcribe the entire interview / questions (mainly because it’s a bit long).

But I do recommend you listen (or watch on YouTube – Steve Mitchell Interview). We talked about creating, being an artist, his career, and even Reese! (; You don’t want to miss that.

So sit back, relax and enjoy this one (or listen to it while doing something else!).

Artist Corner

As expected, today I mentioned Steve Mitchell! Haha.

It felt stupid choosing a different artist for this part, so I decided to go with the most relevant one – Steve!

You can check out his YouTube channel here: The Mind of Watercolor
And his website here: http://SteveMitchellDesign.com/

And Here’s where you can find me (:

You can support me on Patreon

Check out my YouTube Channel – Liron Yanconsky

Or ask me questions on Instagram – @LironYanIL or Snapchat – @LironYan3

And this is it. I hope you enjoyed this episode, and I’ll talk to you again real soon!

– Liron


Did you Mess up Your Painting?? How to Fix a Watercolor

Hi there, I hope you are doing great! Today we’ll talk about how to fix your painting when you messed something up (:

Here’s the full video, scroll down to read more.

Many Painting Mistakes Can be Fixed

People (myself included) make the assumption that in watercolor nothing is reversible. This is false.

Many, if not all mistakes can be corrected.

Only some types of mistakes can’t be corrected. These usually involve dropping dark paint in large quantities in an area that’s supposed to be light.

However, paint can be lifted. Brushwork can be improved. Things can be darkened and so on.

The Ugly Stage of a Painting

This is something worth mentioning. Most paintings, no matter the medium (oils, acrylics or watercolor) tend to go through an ugly / incomplete stage.

It may lead you to believe you are messing up, when in fact you are just early in the process.

I’d encourage you to NEVER give up on a painting. The it’s far likelier you’ll give up too soon than too late. So give it a chance!

Conclusion

I hope you enjoyed the video and vibed with the message.

Let me know if this helped!

And I’ll talk to you again really soon.

– Liron


SAA Watercolor Paints | Review, Demo & First Impressions

Hi there! Today I want to talk to you about the SAA watercolor Paints.

I reviewed them extensively in this YouTube video:

If you want to read more, scroll below.

SAA Watercolor Paints

I was sent these by one of my followers, Chris. He recommended I give them a try and I absolutely loved them!

I’m writing this quite a while after publishing the video. With this larger perspective I can say these are really high quality.

These paints behave the way I want them to. I find I have great control with them, but they still do what they want.

They are strongly pigmented, easy to activate and are very fun to use. They also have great lightfastness.

The Paints I Got

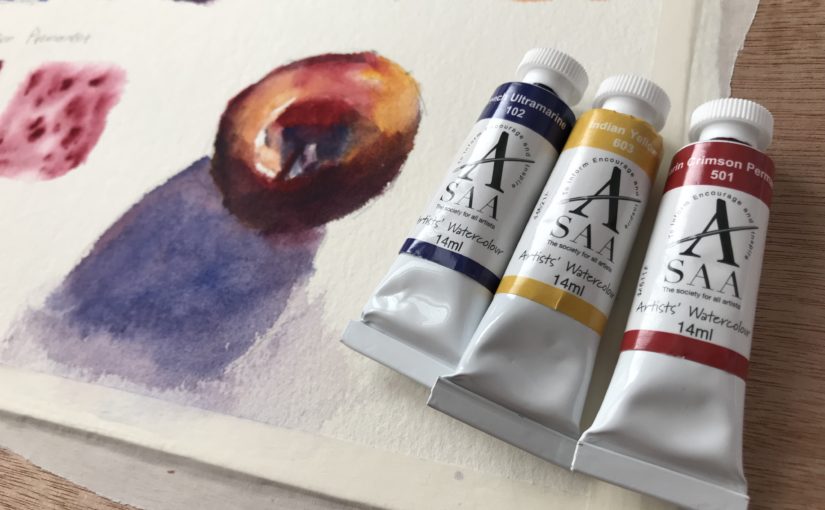
I got three paints:

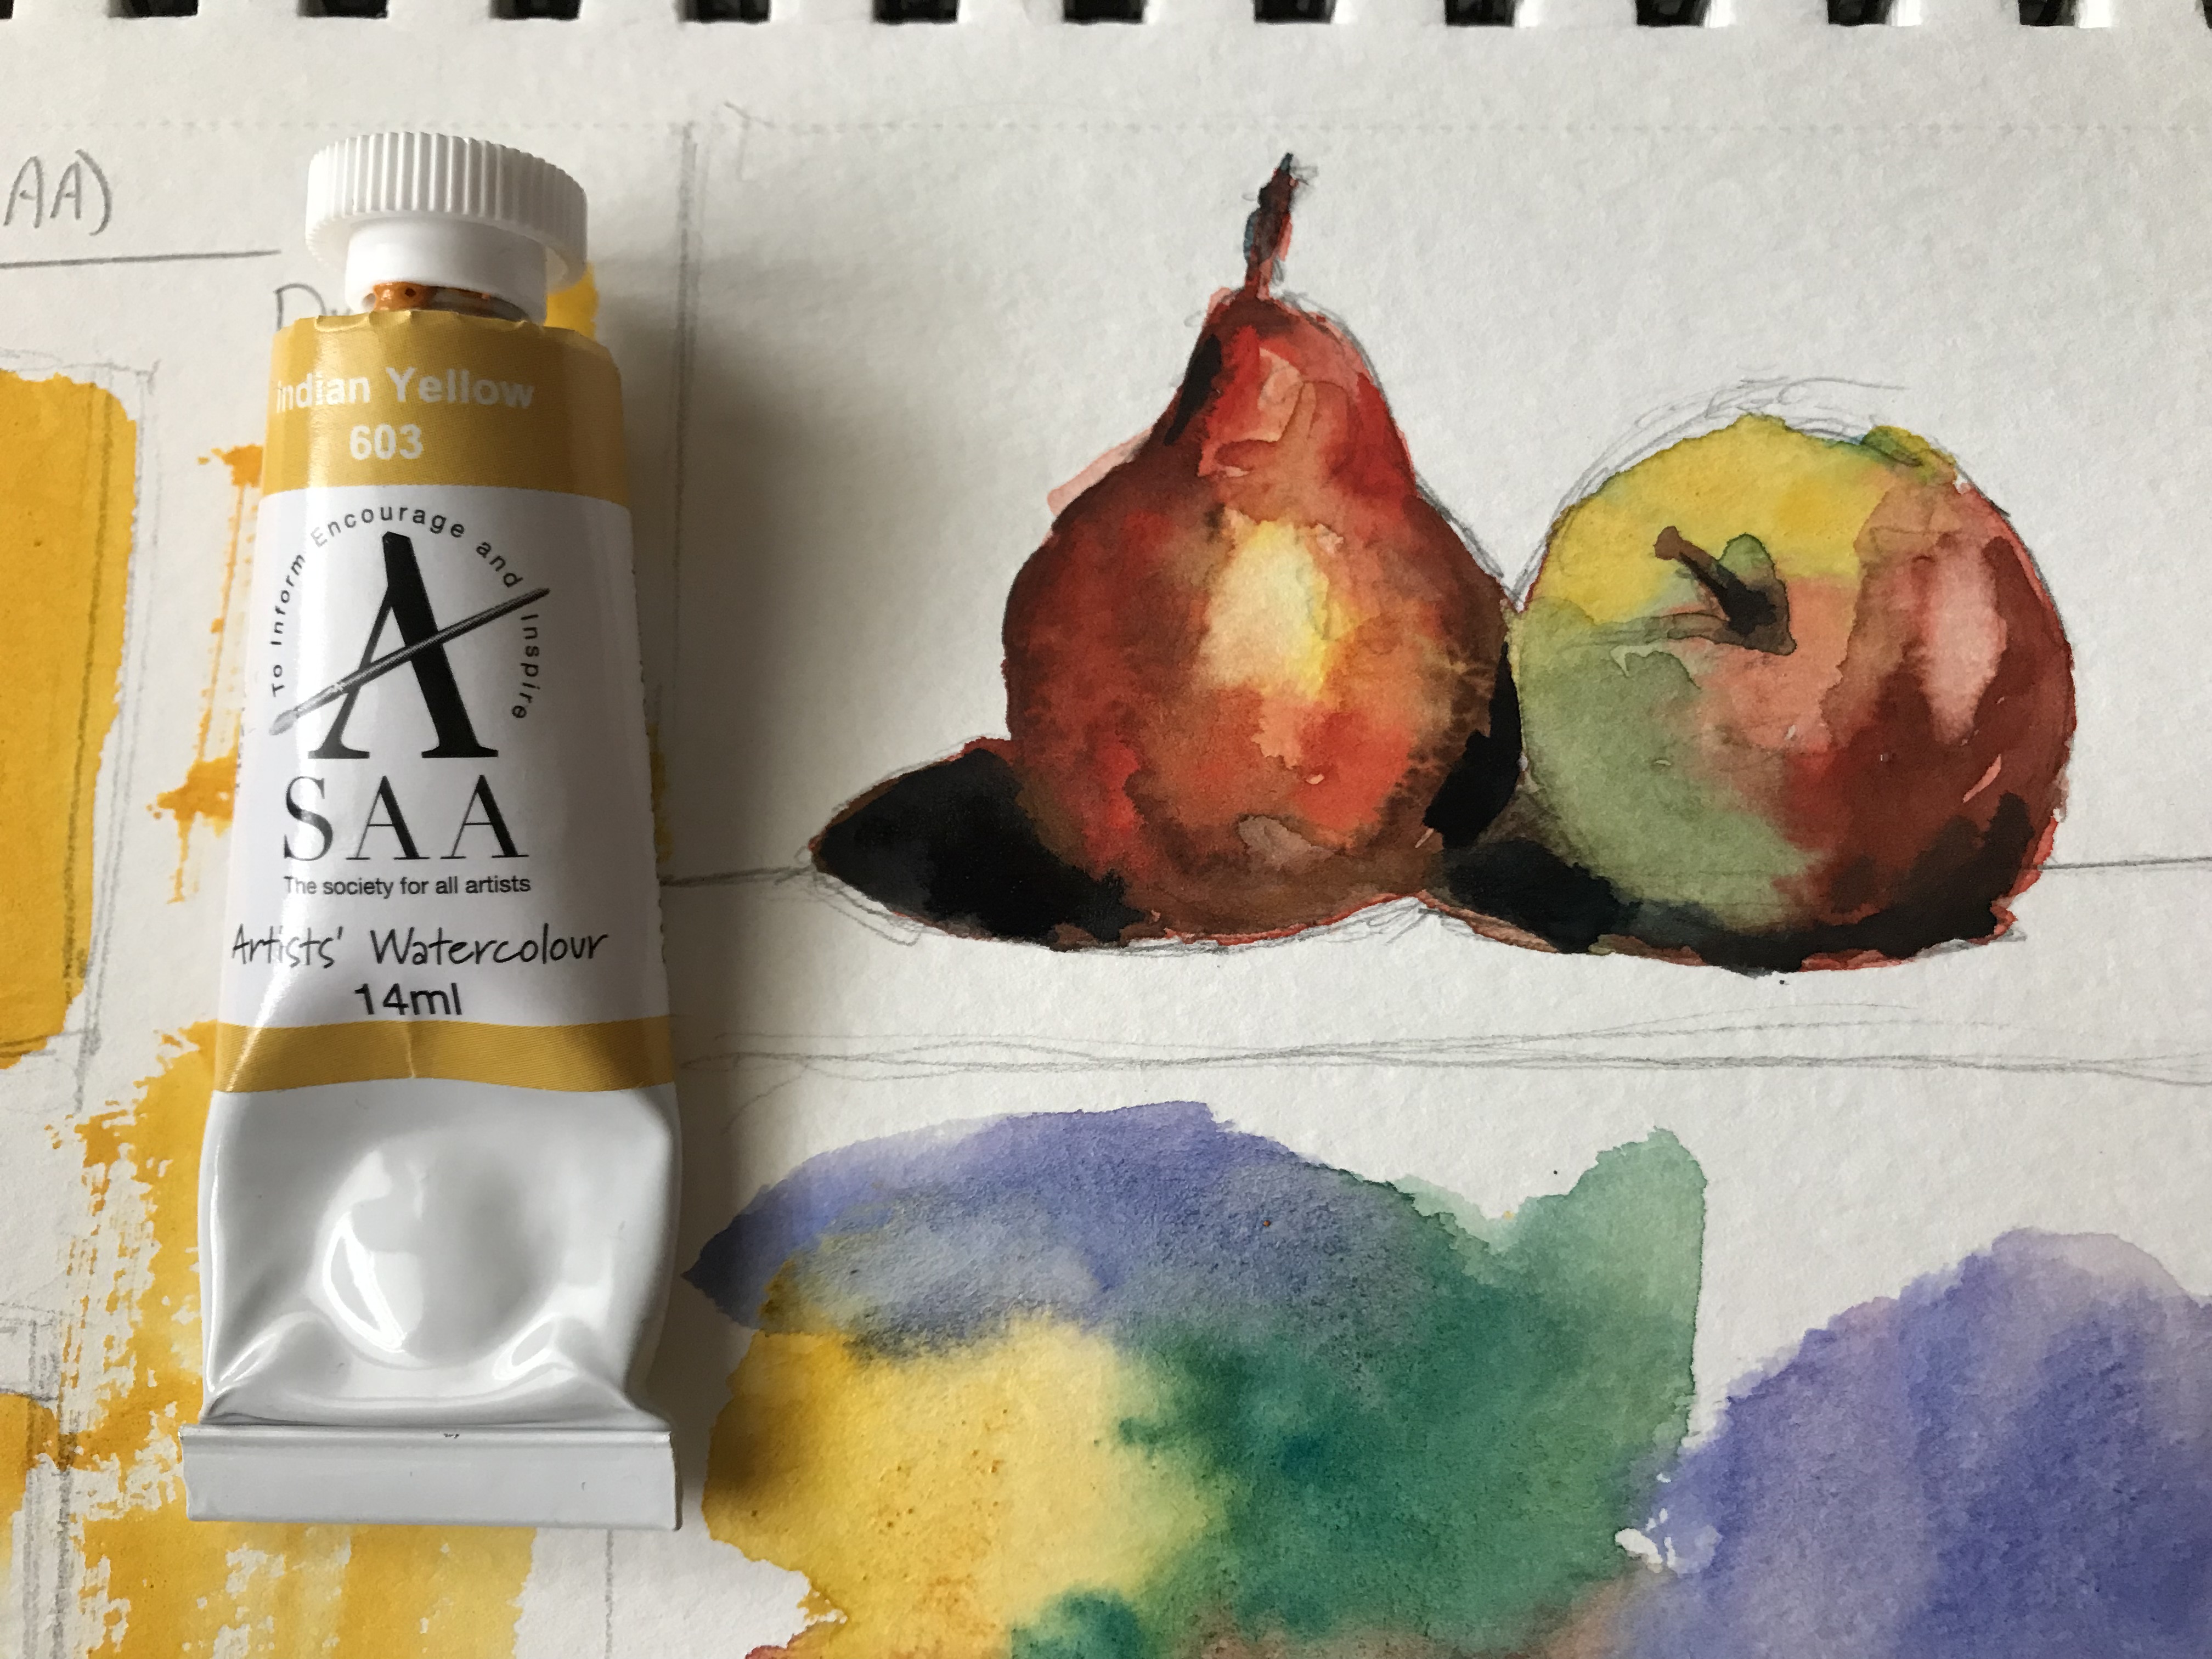
1. Indian Yellow
2. Alizarin Crimson Permanent
3. French Ultramarine

Individually they work great. I would, in terms of combos, maybe replace the French Ultramarine with a cooler Phthalo Blue, but that’s just my personal preference.

Detailed Paint info

1. Indian Yellow
A beautiful warm yellow.

Pigment: PY3 (Hansa Yellow)
Semi-transparent
Lightfastness: A (best)

2. Alizarin Crimson Permanent
A strong Alizarin Crimson.

Very well-pigmented and saturated.
Pigments: PR177 (Anthraquinone Red) and PV23 (Dioxazine Violet)
Transparent
Lightfastness: A (best)

3. French Ultramarine
A beautiful warm blue.

Pigment: PB29 (Ultramarine Blue)
Semi-transparent
Lightfastness: A (best)

The Results

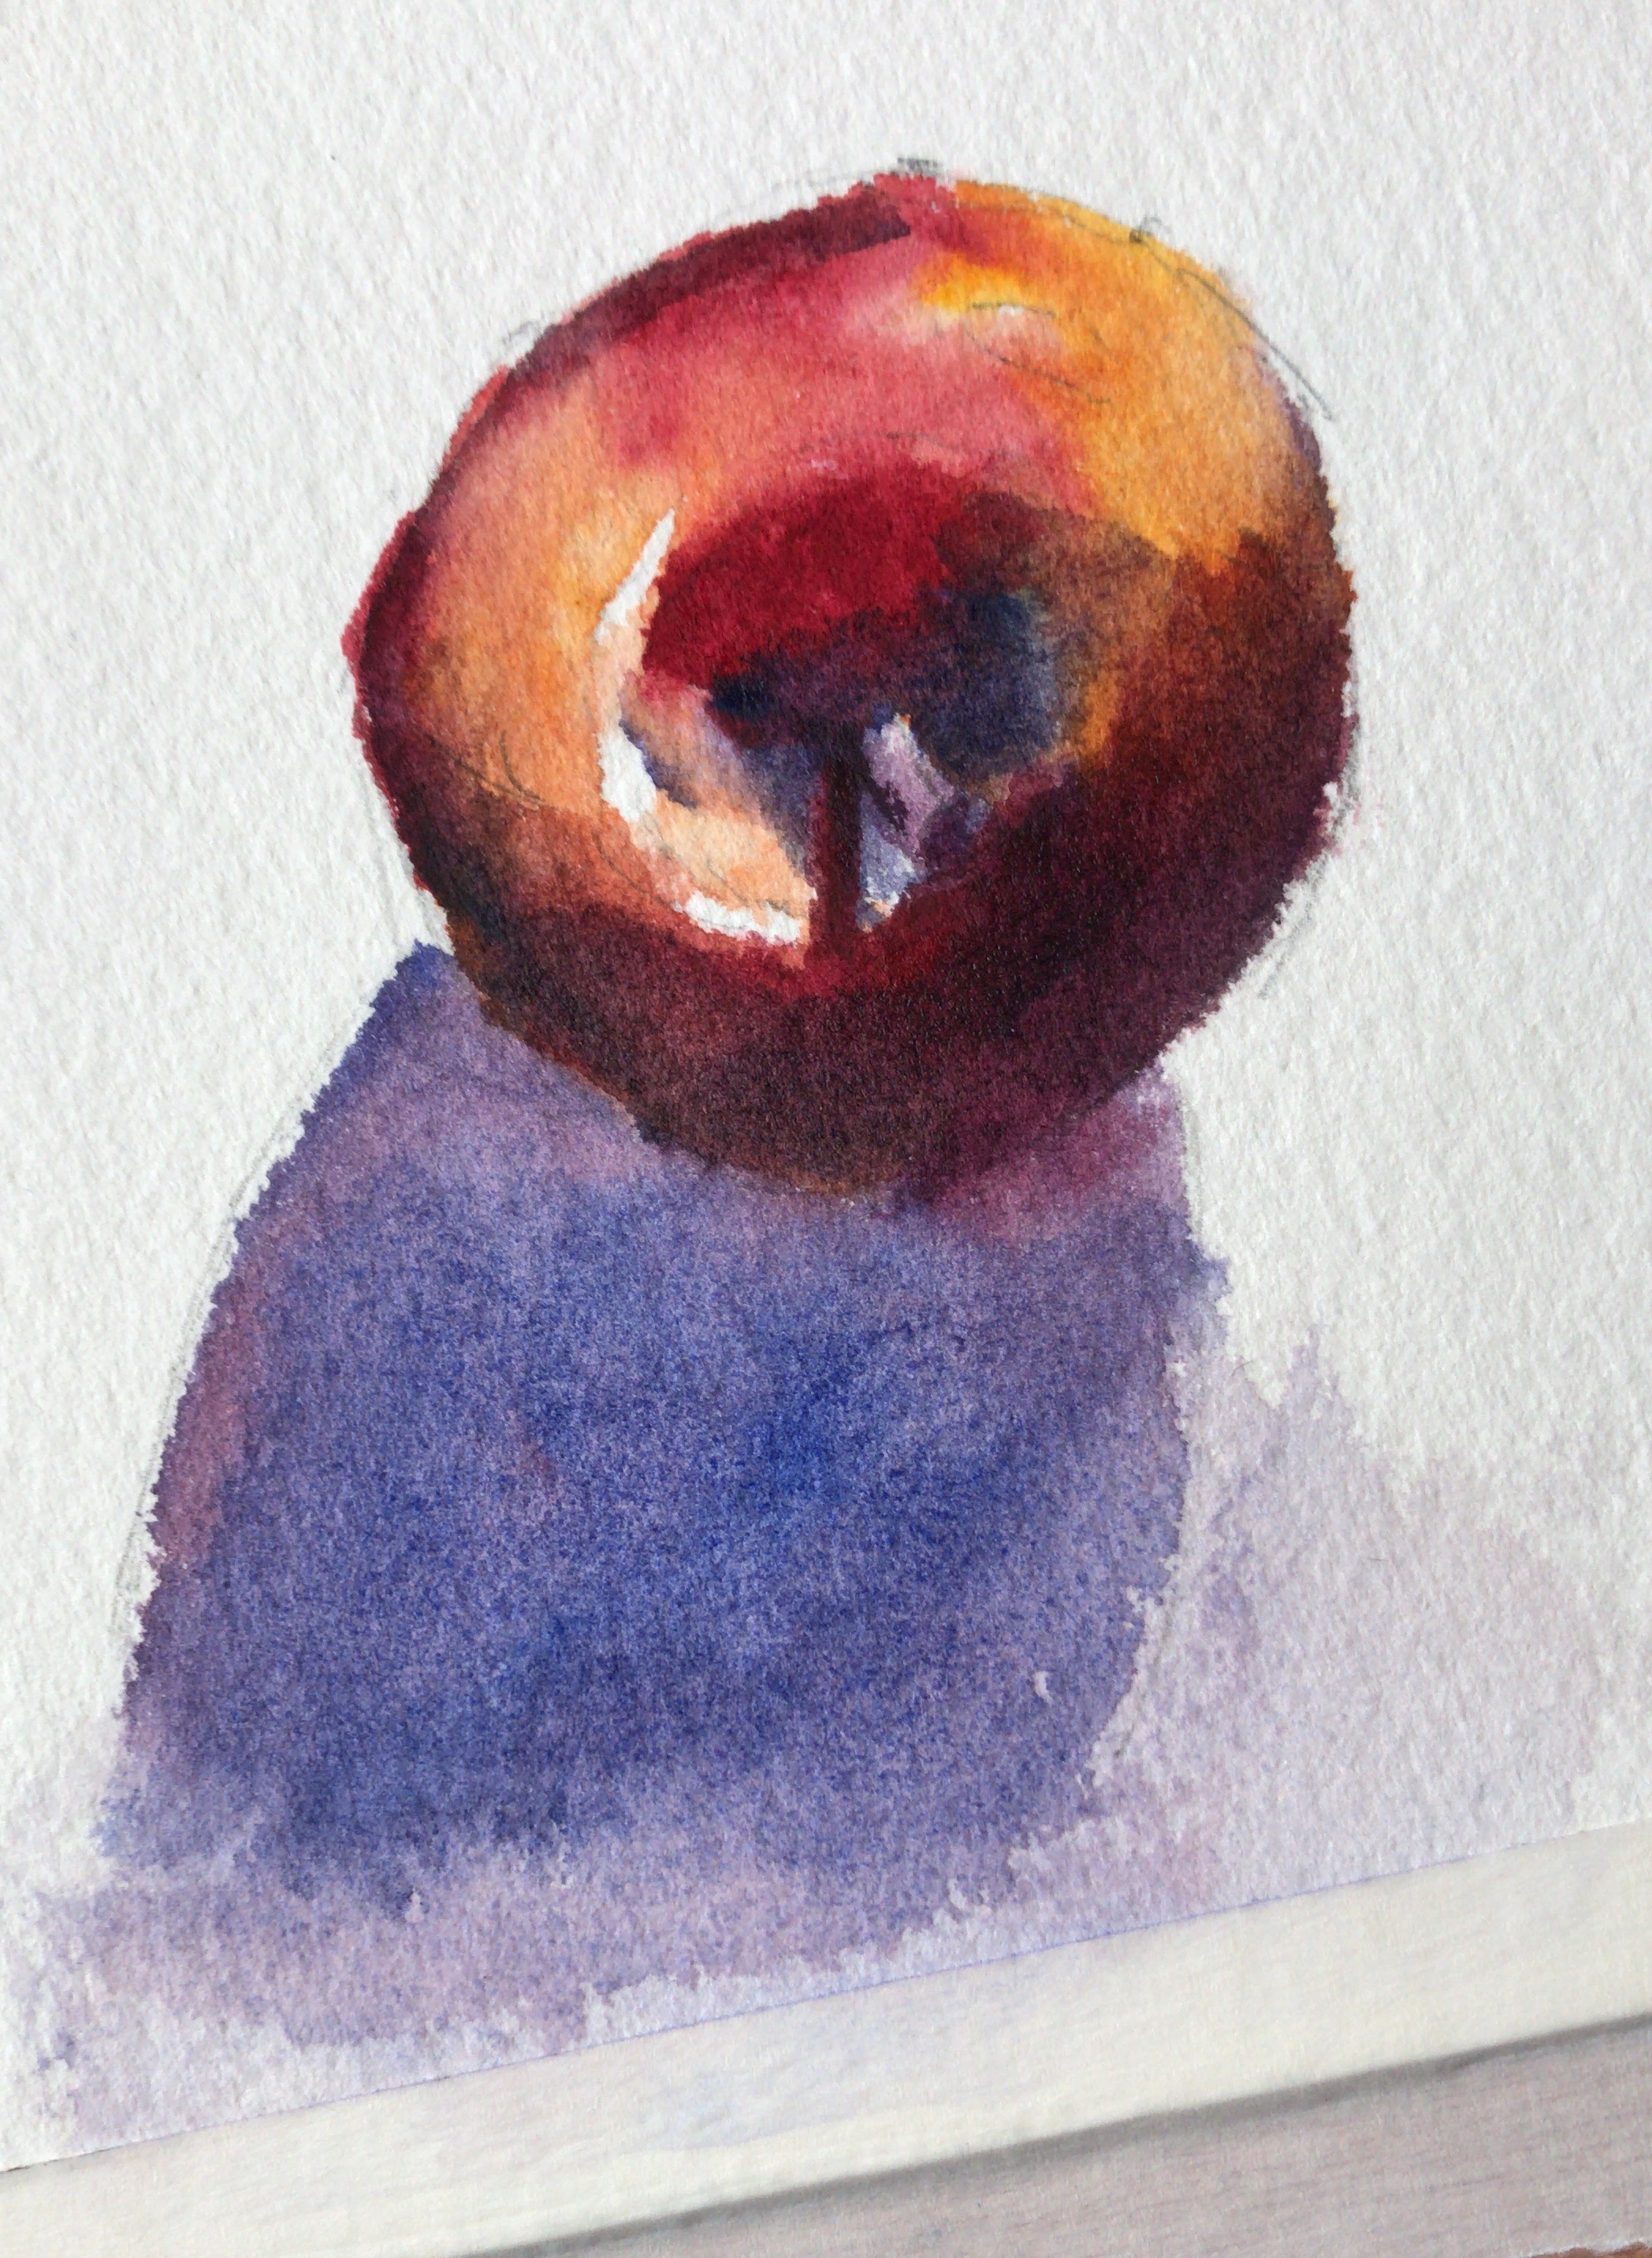
Here are some still-life results I got with these. I really love them!

An apple still-life painting with SAA paints The three SAA watercolor paint tubes, next to the still-life painting A still-life of a pear and apple, done with Indian Yellow

Where to Purchase SAA Paints

These are very unique. SAA stands for The Society for All Artists. It is a UK based brand, that has a strong community around it.

They offer several plans that make their tools and paints significantly cheaper. They also don’t have series for their paints. All paints are priced equally.

If you reside in the UK I’d highly recommend giving them a try (although it’s worth mentioning they have an international plan as well).

You can learn more here: https://www.saa.co.uk/info/join-the-saa/

Conclusion

I’m really into these paints. I hope to share more artworks I did with these in the future.

I hope you enjoyed this review, and I’ll talk to you again real soon!

– Liron

How to Make Every Photo Reference Easier to Paint | Photo Editing Tips for Watercolor Painting

Hi there! Today I want to talk to you about making your photo reference easier to paint.

Painting as an art form poses innumerable challenges. as we improve, these challenges never really go away. We, however, get better at dealing with them and solving them.

Your Photo Reference Matters

As a beginner, you want to have everything work in your favor. A large part of that is painting from a good reference.

Anything can be painted, but the reality is that not everything is ideal as reference.

In today’s video I want to show you several ways of turning your photos into something that’s easier to paint.

Watch the complete video here, and scroll on for a written version (:

Make Every Photo EASIER TO PAINT

Finding Good Reference

I have several sources for great reference photos, that I also present in the video. Here they are:

These are all great. Generally speaking – Pixabay and WetCanvas photos can be used for anything (commercial or non-commercial).

Access to WetCanvas Reference Photo Library does require registration, which is free.

With Flickr you need to be a little careful, and filter according to the license. You can also always contact the owner of the photo and ask for their permission.

Choosing Good Photos

I’d like to say a few words about choosing good reference photos, and specifically for the purpose of painting and watercolor painting.

Clear and Focused

A good reference photo should be clear and well focused. You should be able to see all of the details.

Large Shapes

Also, it’s best if there are a few larger shapes that are very visible. What I mean by that is that the image isn’t a collection of tiny bits and pieces that don’t really connect to a cohesive subject.

This is why still-life arrangements, as well as portraits can be GREAT subjects. They are very clear and contain major shapes.

A cityscape, on the other hand (and this can very from one photo to another), has the potential of being a little “messier”.

Strong Contrasts

This is especially important if you are a beginner to watercolor painting. Photos that have sharper contrasts are simply easier to paint.

If you’ll try and paint a perfectly lit portrait, that barely has any shadows in it, and is full of gradual light changes – you may loose your mind =P

(check out the full video to see what I’m talking about).

Improving Brightness, Contrast and Levels

This first step is always important. Watch to full video to see how I play with the histogram, but here’s what the effect looks like.

(left – before, right – after)

Editing the photo reference levels

Editing Your Photo Reference – Black and White

The first advice I’d give you is to turn your reference from color mode to black and white.

This can be done easily with the simplest of photo editing softwares. And it will give you a much better look at the values (how dark or light everything is).

Here’s a comparison.

Desaturating the photo reference

(left – before, right – after)

Editing Your Photo Reference – Posterize

Posterize is a handy function that’s available in most advanced photo editing softwares such as Photoshop and (god forbid) Gimp.

It allows you to control the NUMBER of levels (=values). So you can choose 2 values – which will give you an image with two values only. Or you can increase it to 6, 12 or whichever number you’d like.

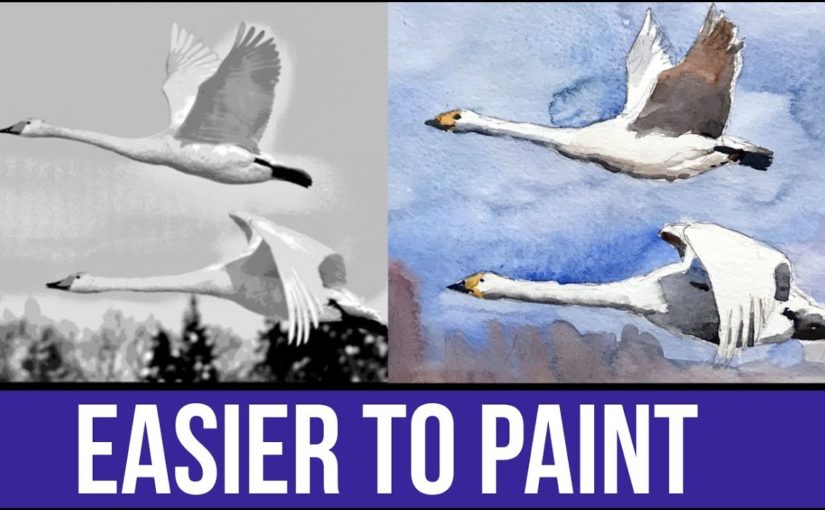
Here’s another comparison showing this effect.

Using the Posterize effect on the photo reference

(left – before, right – after)

I find this one to be particularly useful in simplifying a photo, and making it much easier for us to paint it.

You can just SEE very easily where it gets darker, lighter and so on.

Conclusion

You can paint based on anything. But some references are better than others.

When working from real-life observation, we don’t really have control over what we see. But, when working from a photo reference, we can change things around to our advantage.

I hope this helps you in better understanding how to do that.

I’ve used these methods for creating many of my works. Be sure to follow me on Instagram to see the results. I used this especially for my portraits, such as this one of Santa Clause (;

And this is it, I will talk to you again real soon!

– Liron