Hey friends!
Today’s drawing lesson will be all about sketching.
What is sketching? Why should you sketch every day? What are the benefits of improving this skill set? What are some useful techniques to improve?
Hopefully, all of these questions will be answered in this drawing lesson.
 Alright, lets get to work!
What is sketching?
“A sketch (ultimately from Greek σχέδιος – schedios, “done extempore”) is a rapidly executed freehand drawing that is not usually intended as a finished work.
A sketch may serve a number of purposes: it might record something that the artist sees, it might record or develop an idea for later use or it might be used as a quick way of graphically demonstrating an image, idea or principle.”
(source: Wikipedia – Sketch)
Wikipedia is very accurate!
So basically, sketching is a quick / fast drawing, that isn’t necessarily going to turn into a finished work.
Why should you practice sketching?
You might ask yourself: If I can draw finished artworks all the time, from beginning to end, why would I want to sketch?
Why not just draw with the intention of finishing a drawing from the start?
Here is why…
Practicing sketching actually has tons of benefits, and can help you improve immensely on other areas of art.
Here are some benefits of working on our sketching abilities:
Sketching can improve our observation abilities tremendously.
You simply understand quickly how you are going to draw what you see, and then go for it.
Sketching improves our ability to throw quicker yet accurate lines, finding shapes quickly and therefor finishing drawings faster. It also improves our hand technique in general.
Sketching takes the focus away from finishing touches and fine details, and brings it back to the very essence of drawing, observation skills, understanding depth, use of space etc…
This is one of the most important benefits in my opinion.
Creativity! And I’m talking about the “simple” part of creativity, the part of problem solving, and making things pop using the least amount of lines. Fun stuff!
It’s cheap! All you really need is a pencil / pen and paper….
Good for jotting down ideas quickly as they come, for study or as preparation for the “real thing”.
 These are the main benefits of sketching, and this is why I sketch and doodle all the time. I would love to hear your opinion on this.
Convinced? Now let’s move on…. [=
What are some techniques and quick tips to get better at sketching?
1. First off, in my opinion everyone’s got it in them.
What do I mean by that? Drawing is a learned skill. You may be born more “lucky”, or less “lucky”, but when you take the right steps – it is possible to learn.
The reason I say this is because my first tip is:
just do it!
That’s right… take a piece of paper, and a pen or a pencil, look at things and start drawing! If all kids can do it, you can too.
 2. I would also suggest, especially if you aren’t a newbie and have some experience in drawing and art, to free your mind (I hear Morpheus’s voice).
What I mean by that, is to rid your mind of the paradigm of perfection. Not all the lines you are going to throw will be perfect. Not all the shapes will connect properly. And that’s totally fine.
See, sketching isn’t about perfection in the product, its about observing things as they are, and manifesting them on paper.
I will add however, that this perfection and completion issue is debatable, since many “sketches” are amazingly drawn works of art, that are perfect in every sense. I would love to hear your opinion on this subject.
3. Free your hands.
Sketching is usually about light loose lines and shapes, and not stiff ones.
This point connects directly to the previous one. Draw freely and lower you criteria for what’s beautiful and correct.
It is important to mention however, that depending on your object of drawing, the lines may be stiff and aggressive. That’s fine as well, as long as the stiffness comes from the right place, of trying to put down on paper what you see, in your best way possible.
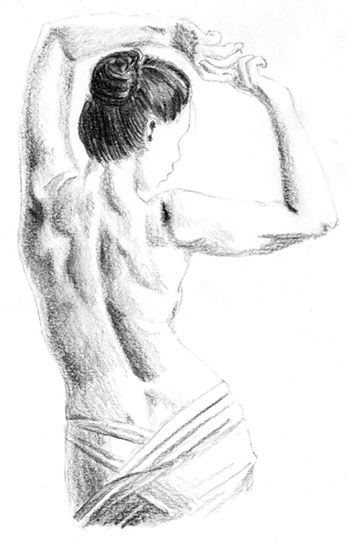
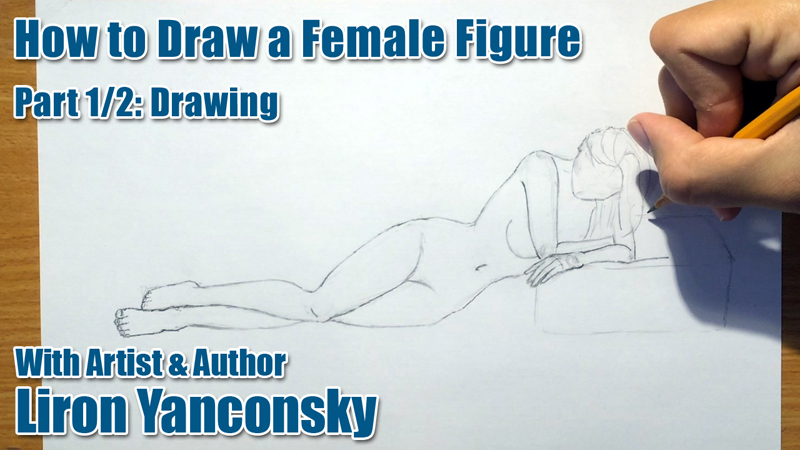
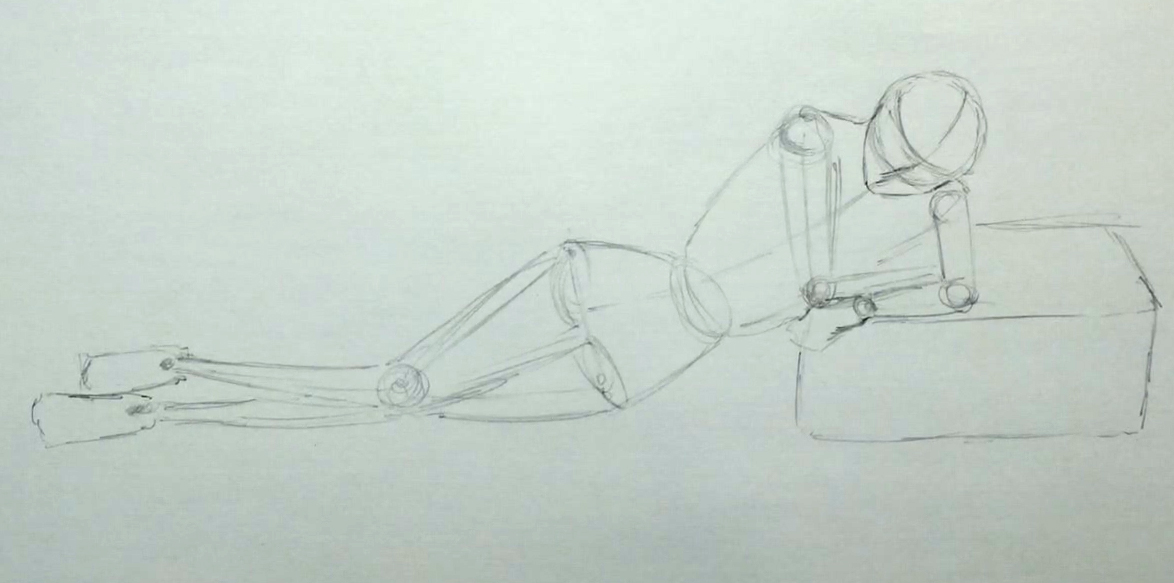
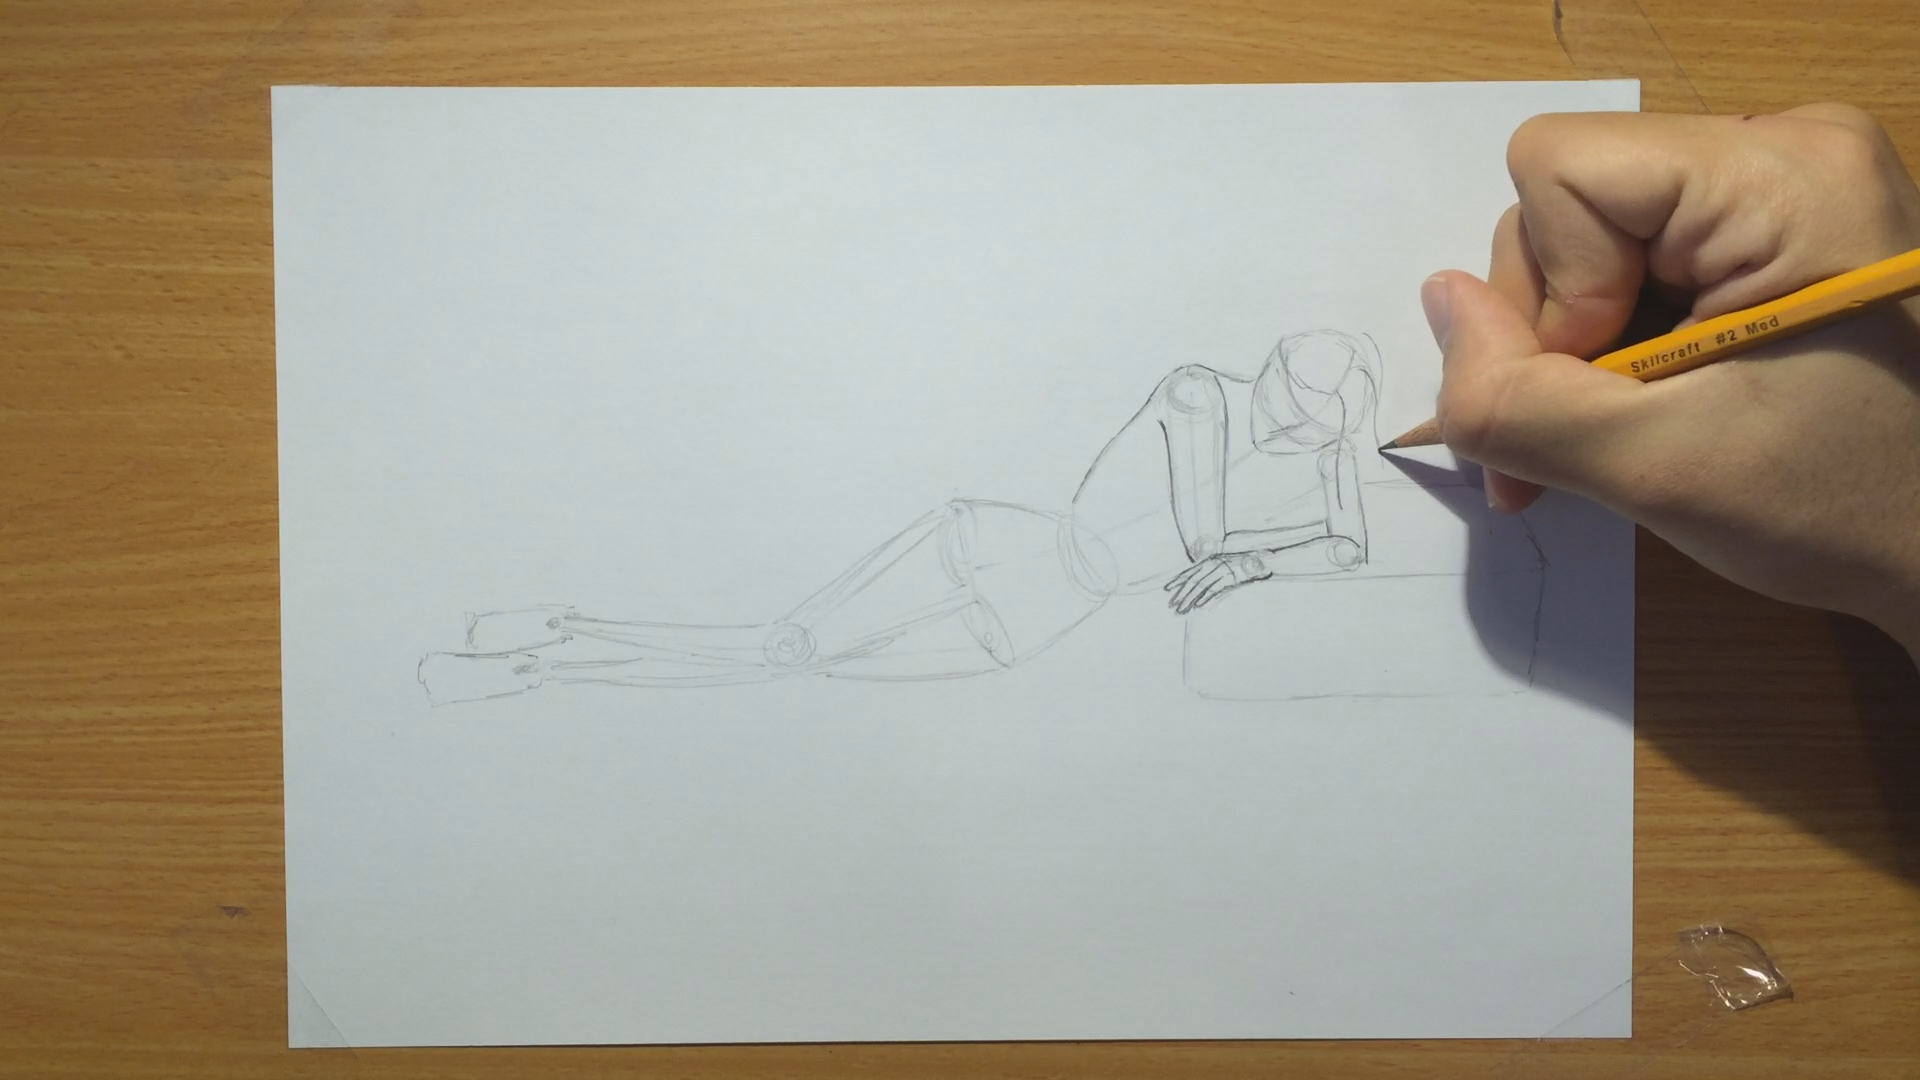
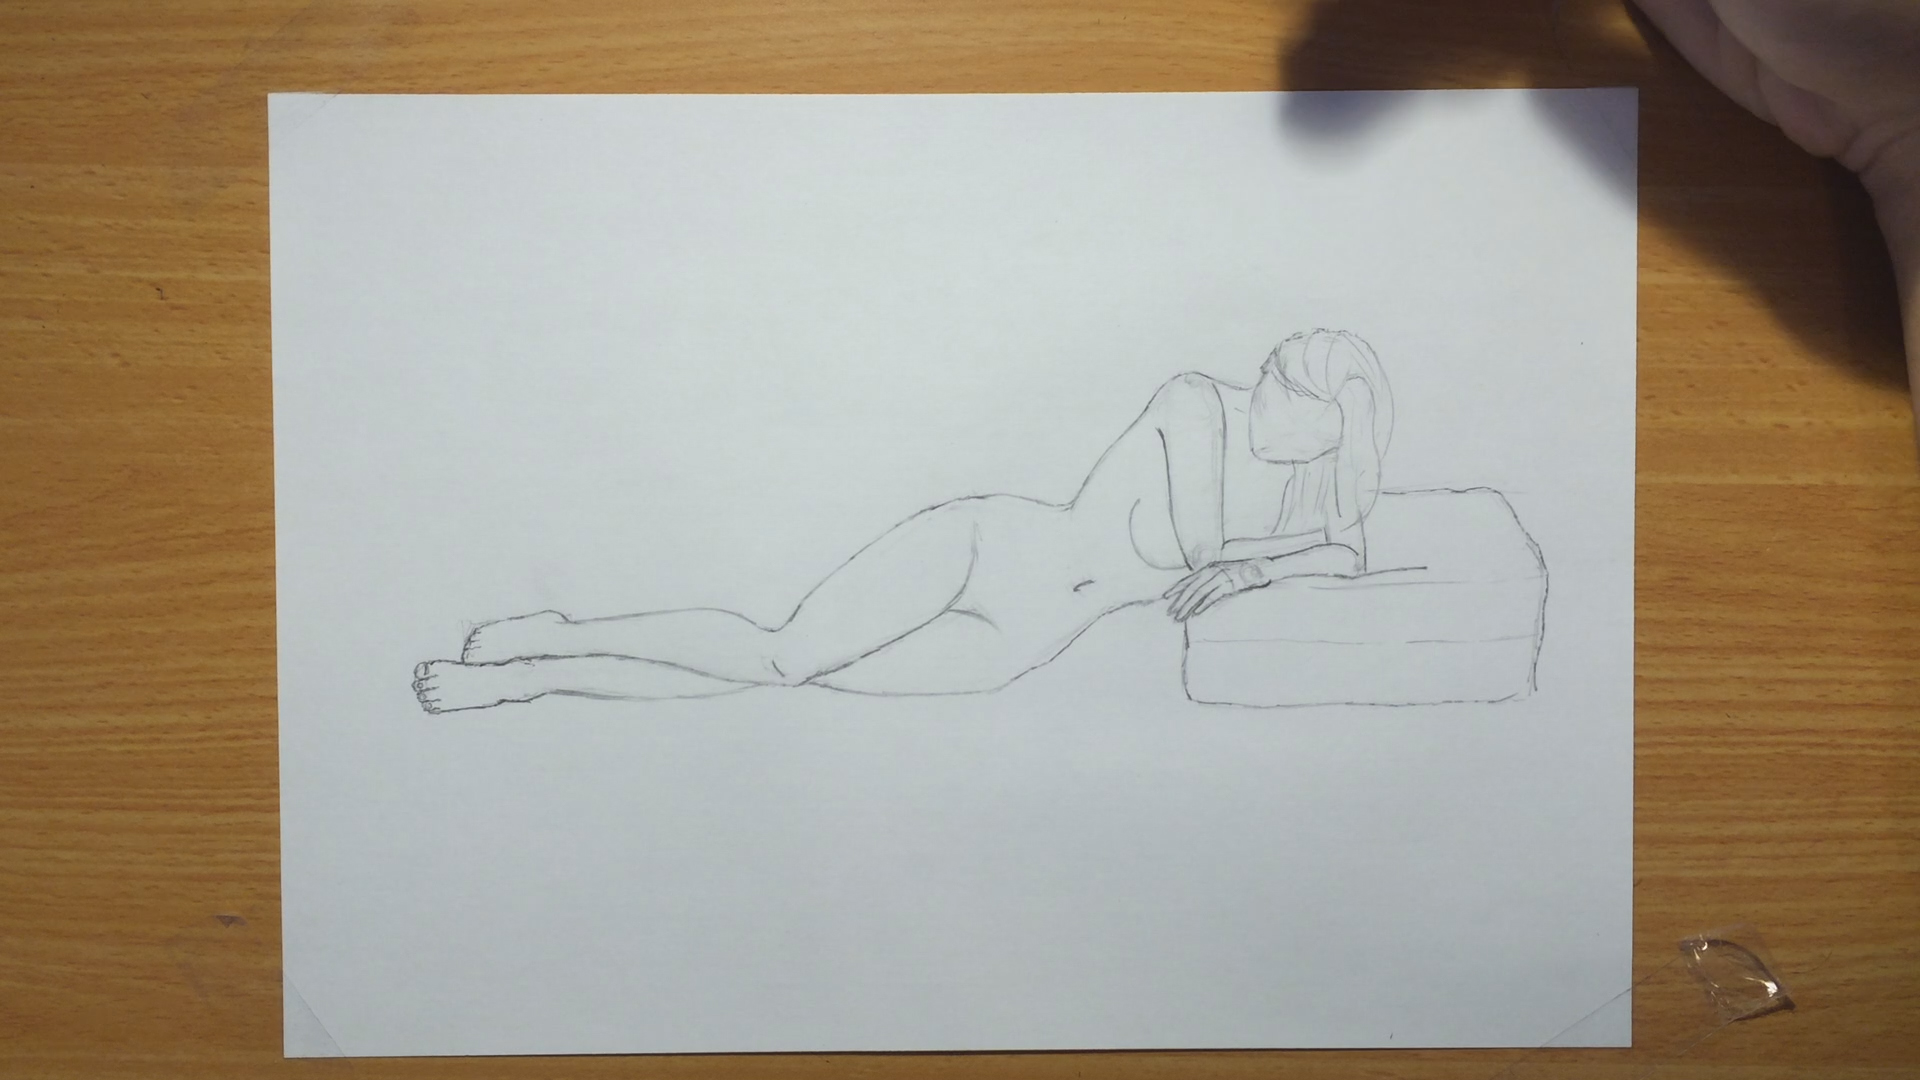
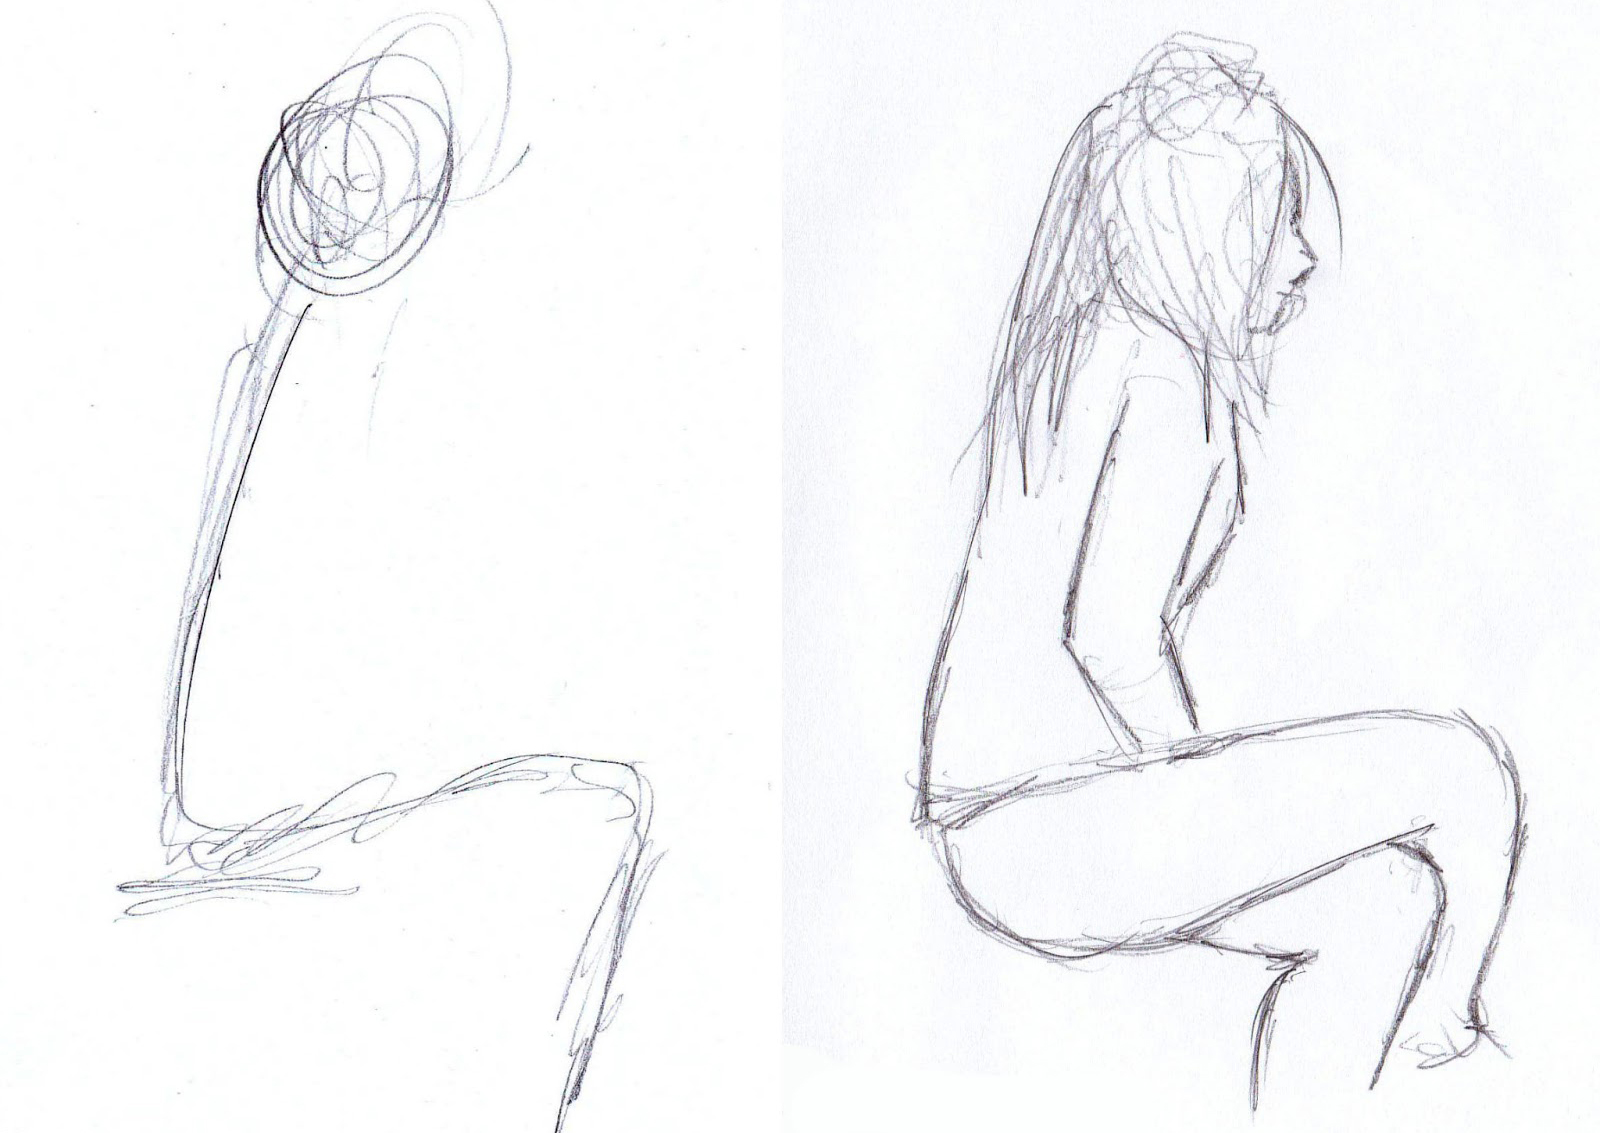
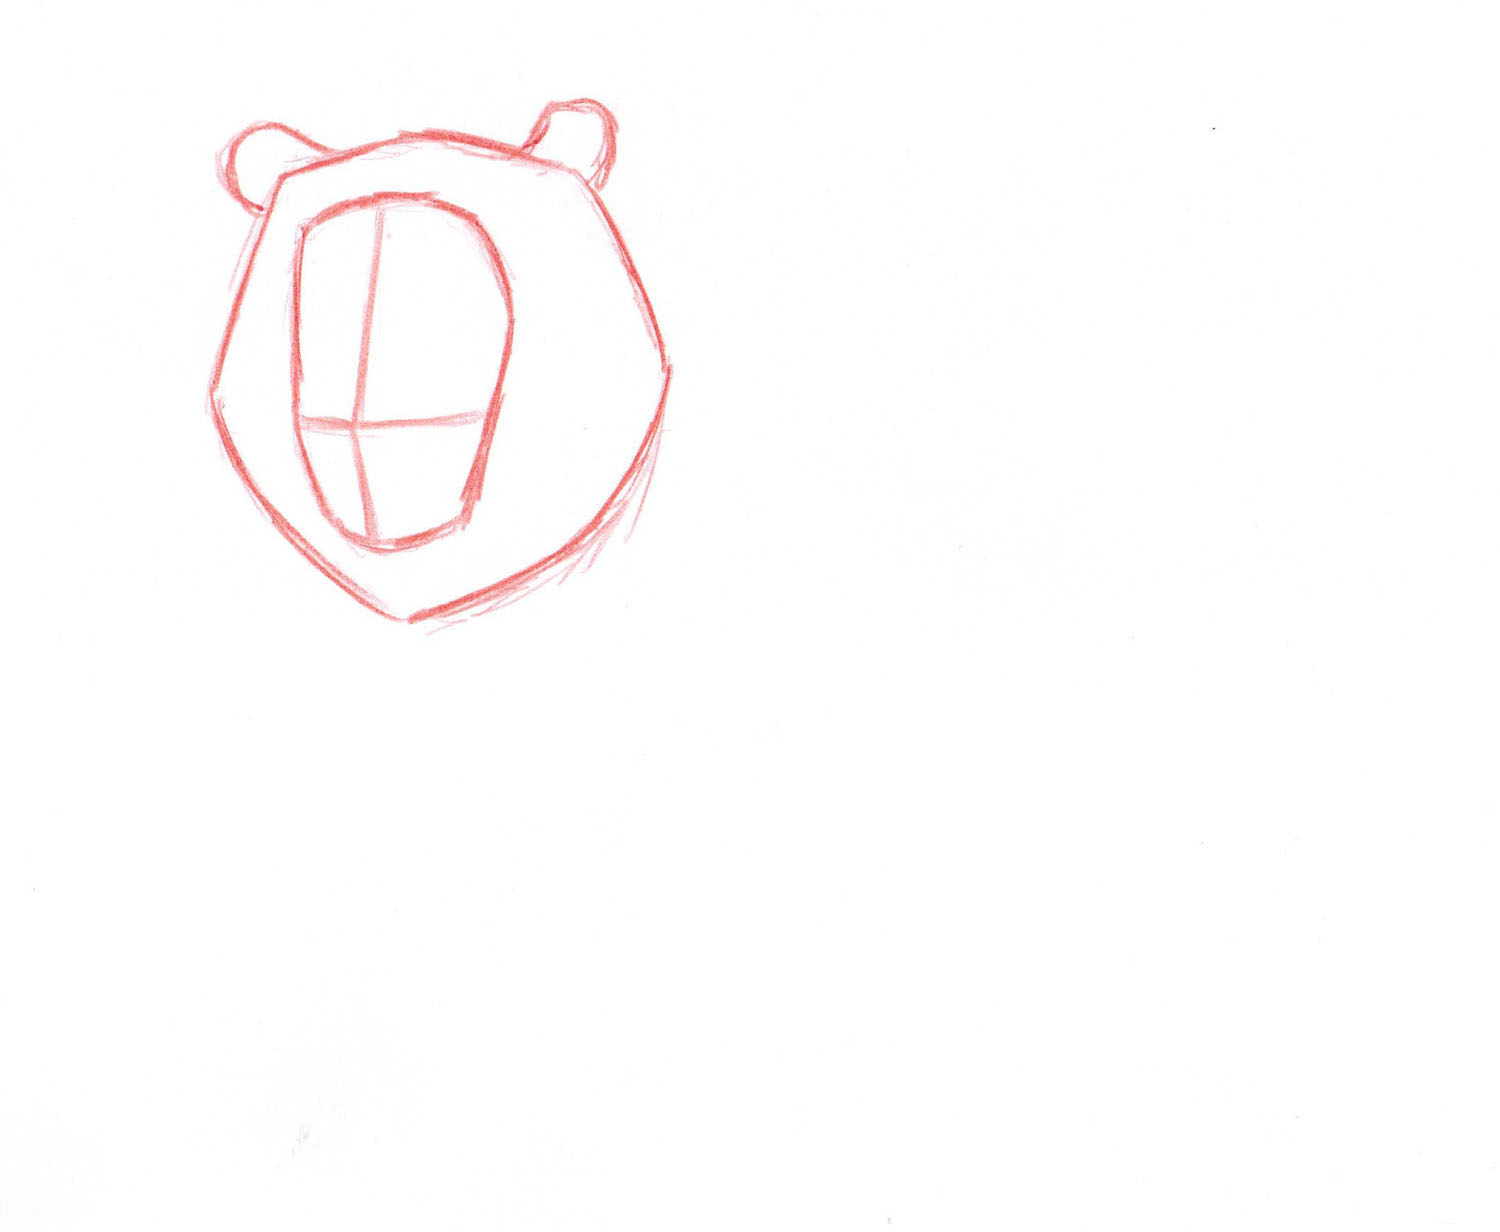
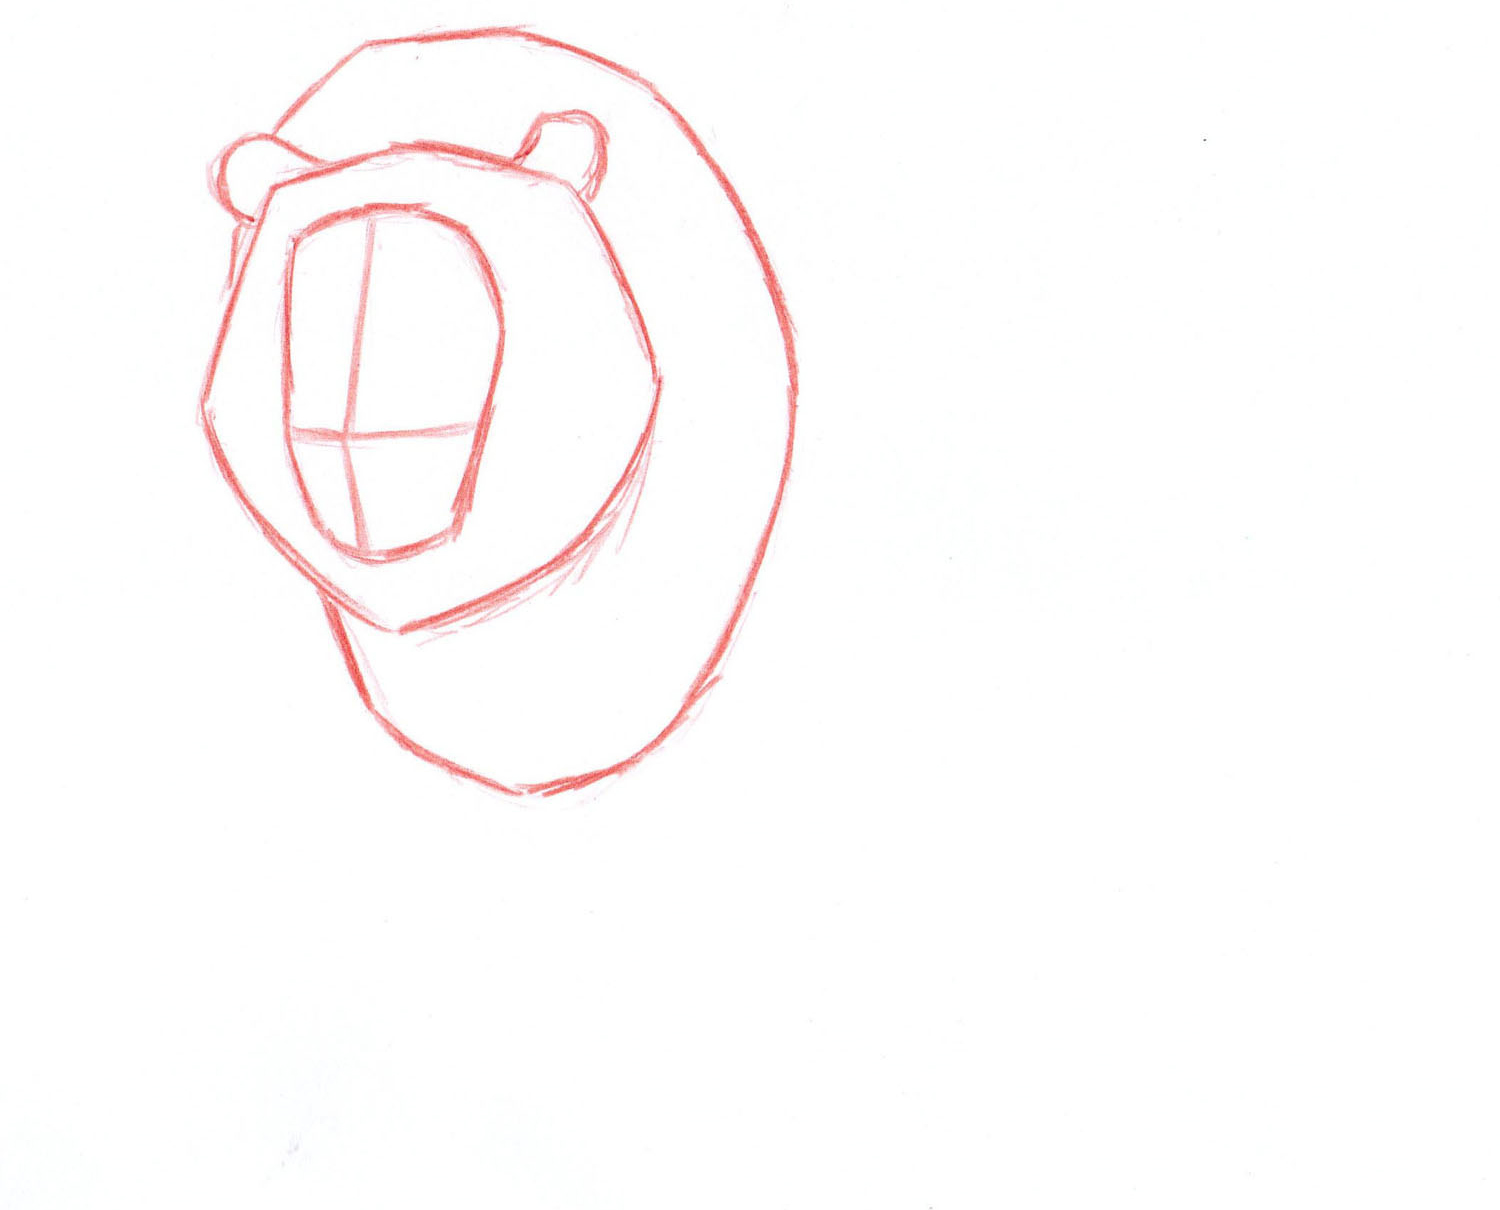
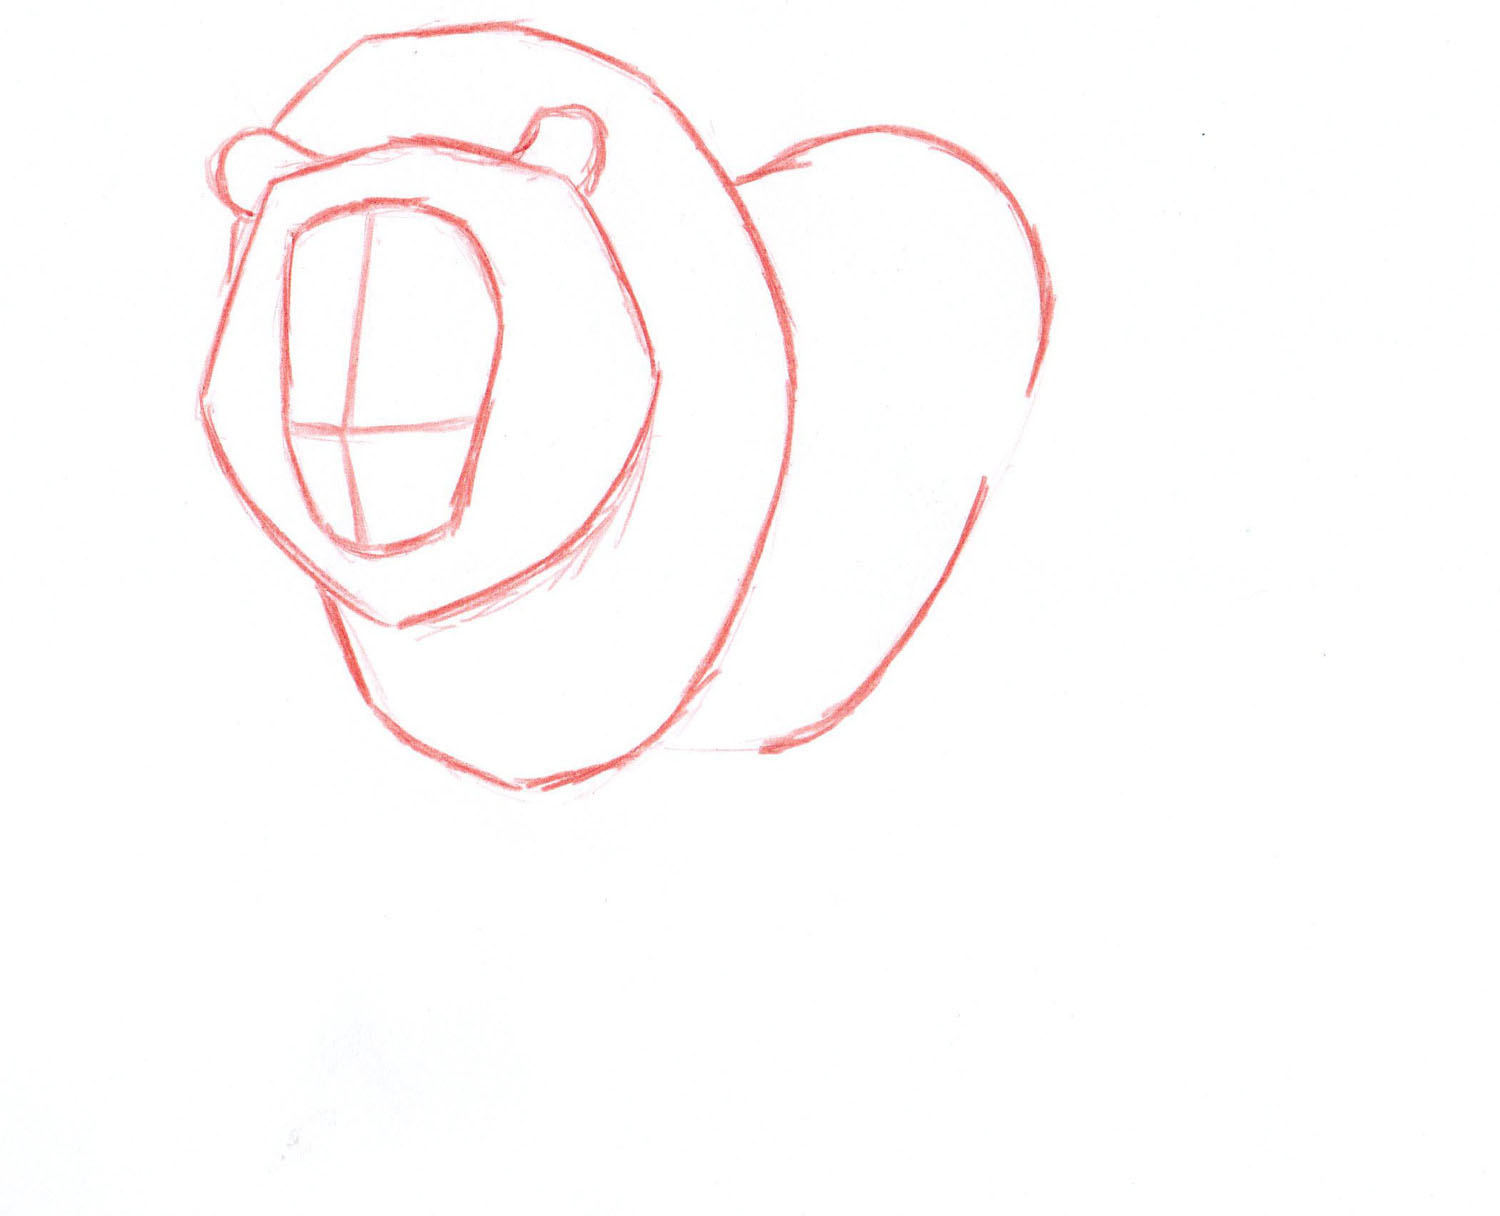
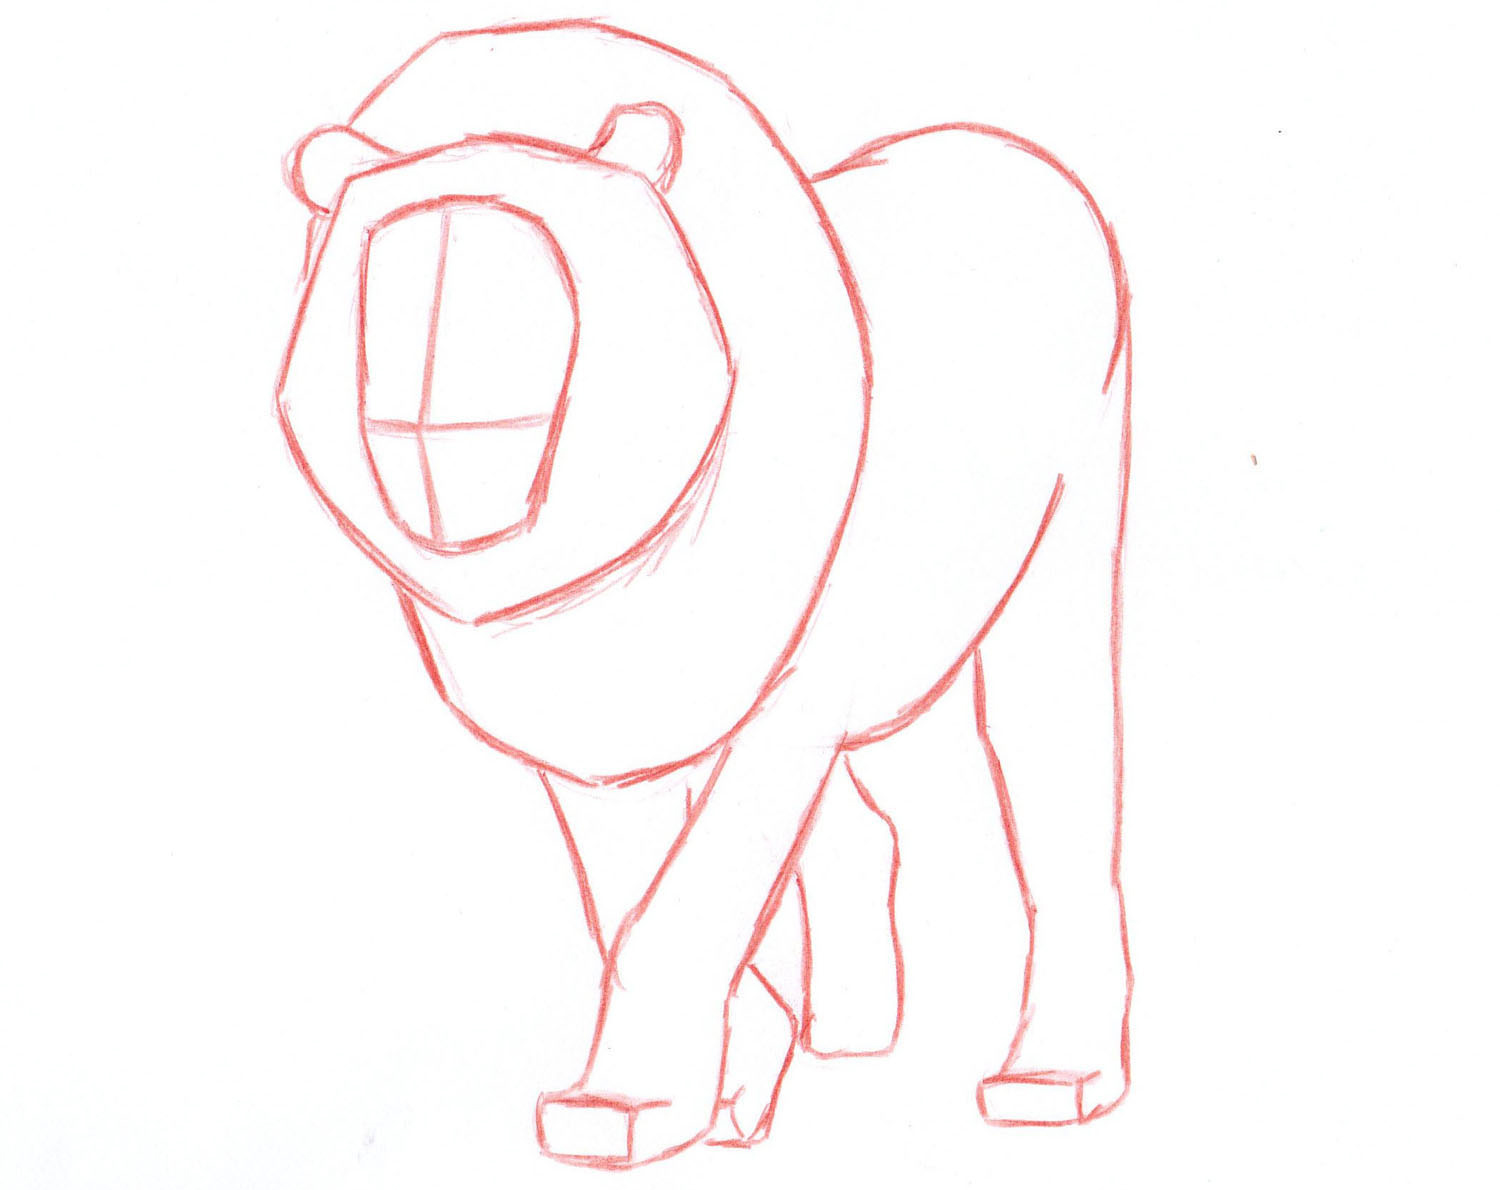
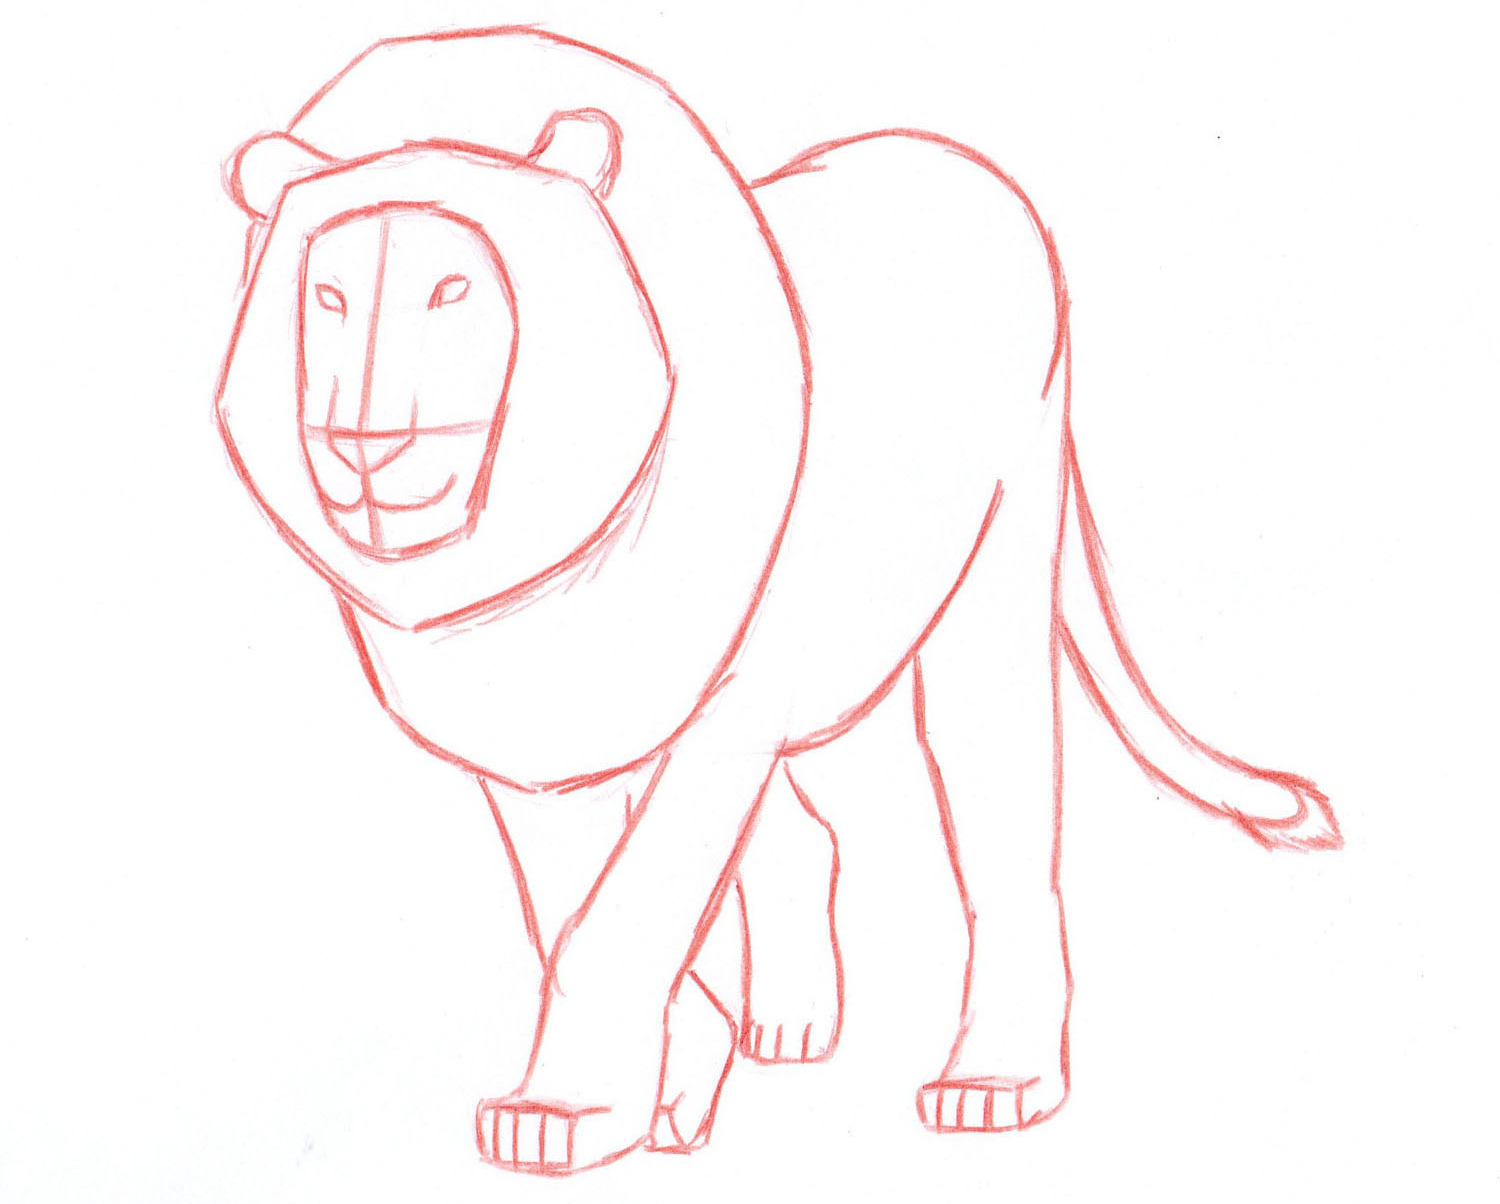
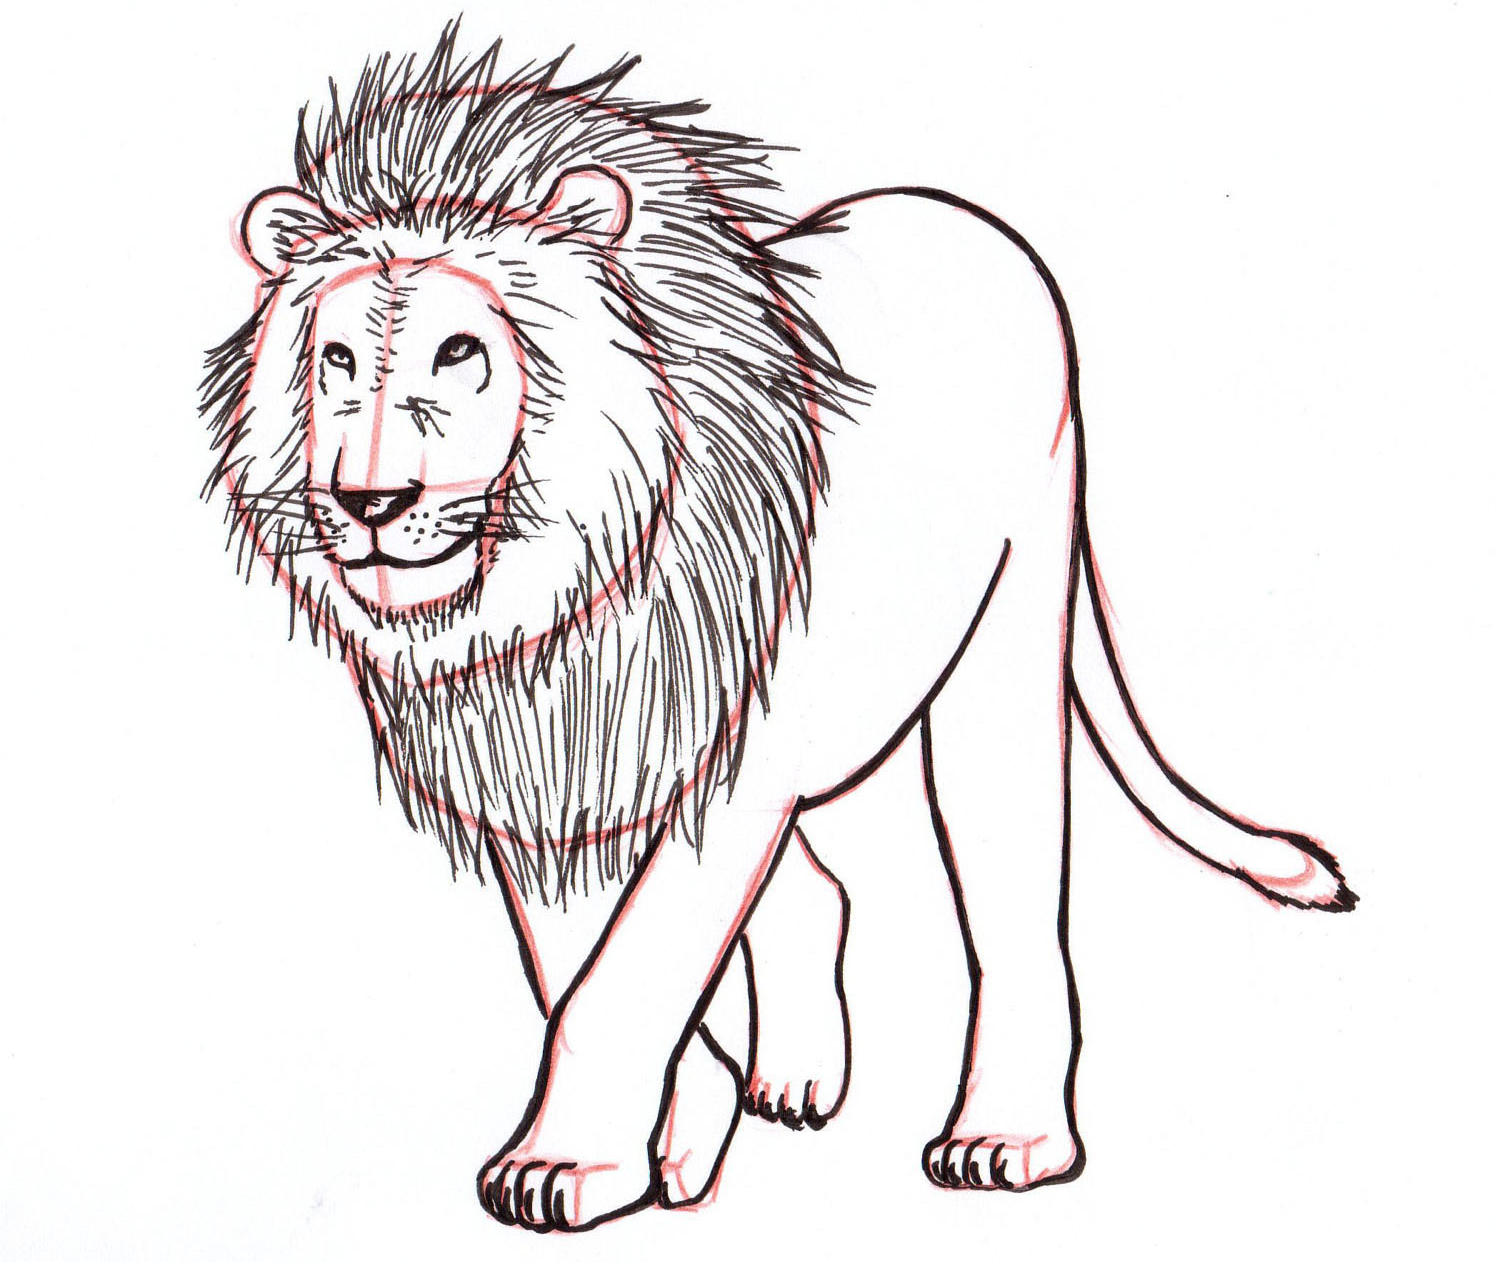
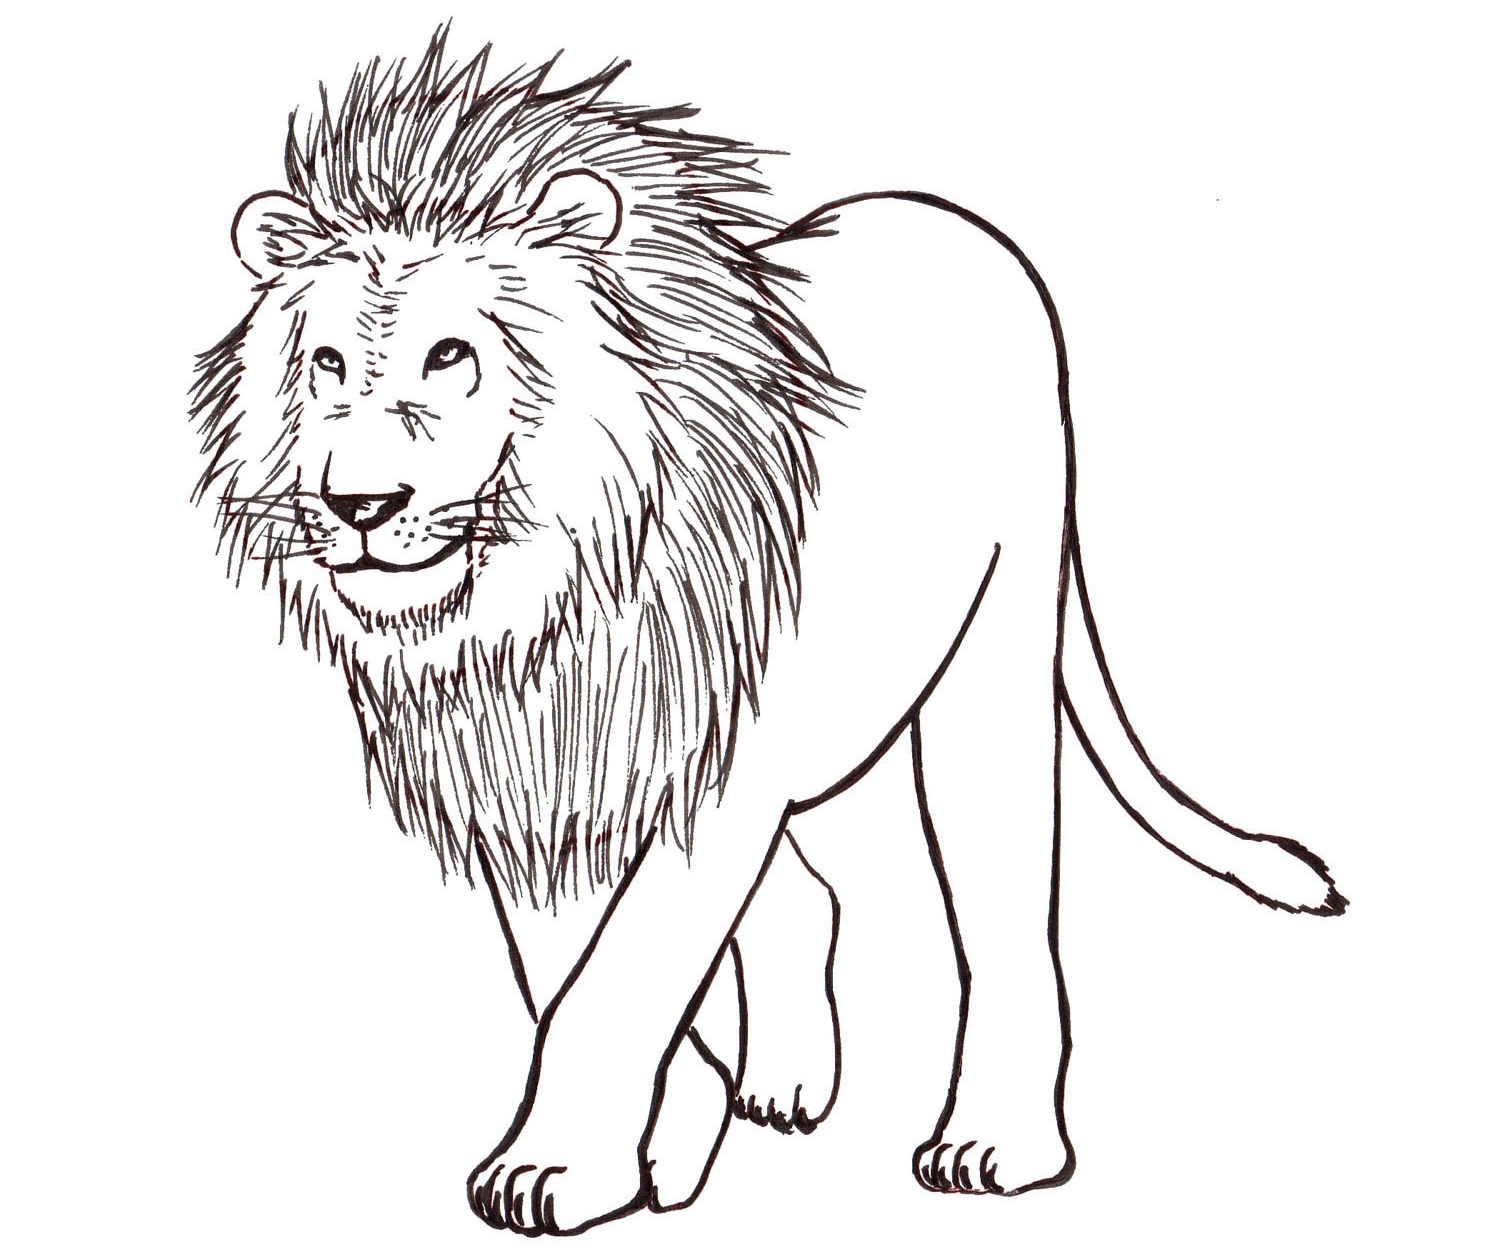
4. Observe the movement and flow.
Usually live objects have a certain flow of energy to them. Here is an example of a girl sitting.
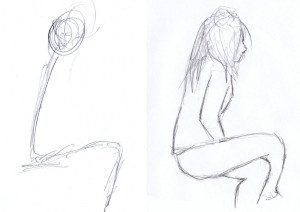 These are basically the two steps it took to draw her.
Notice how at the beginning I focused on the main “line” of movement, and them roughly added the details. This is common for me, to first draw some guide lines and then to draw over them, but many of my works are entirely sketchy and “doodle-y”, which is fine as well….
But back to the point, the main key here is to find the patterns / movement / line of action and go with it. And yes, this is an art form and a skill set in and out of itself.
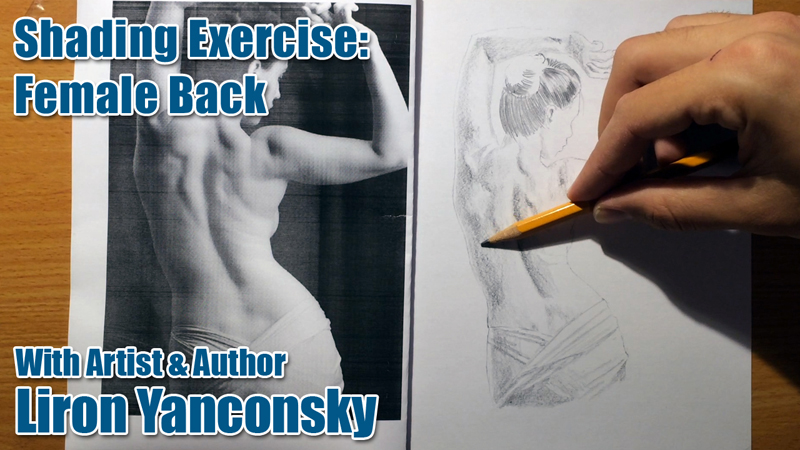
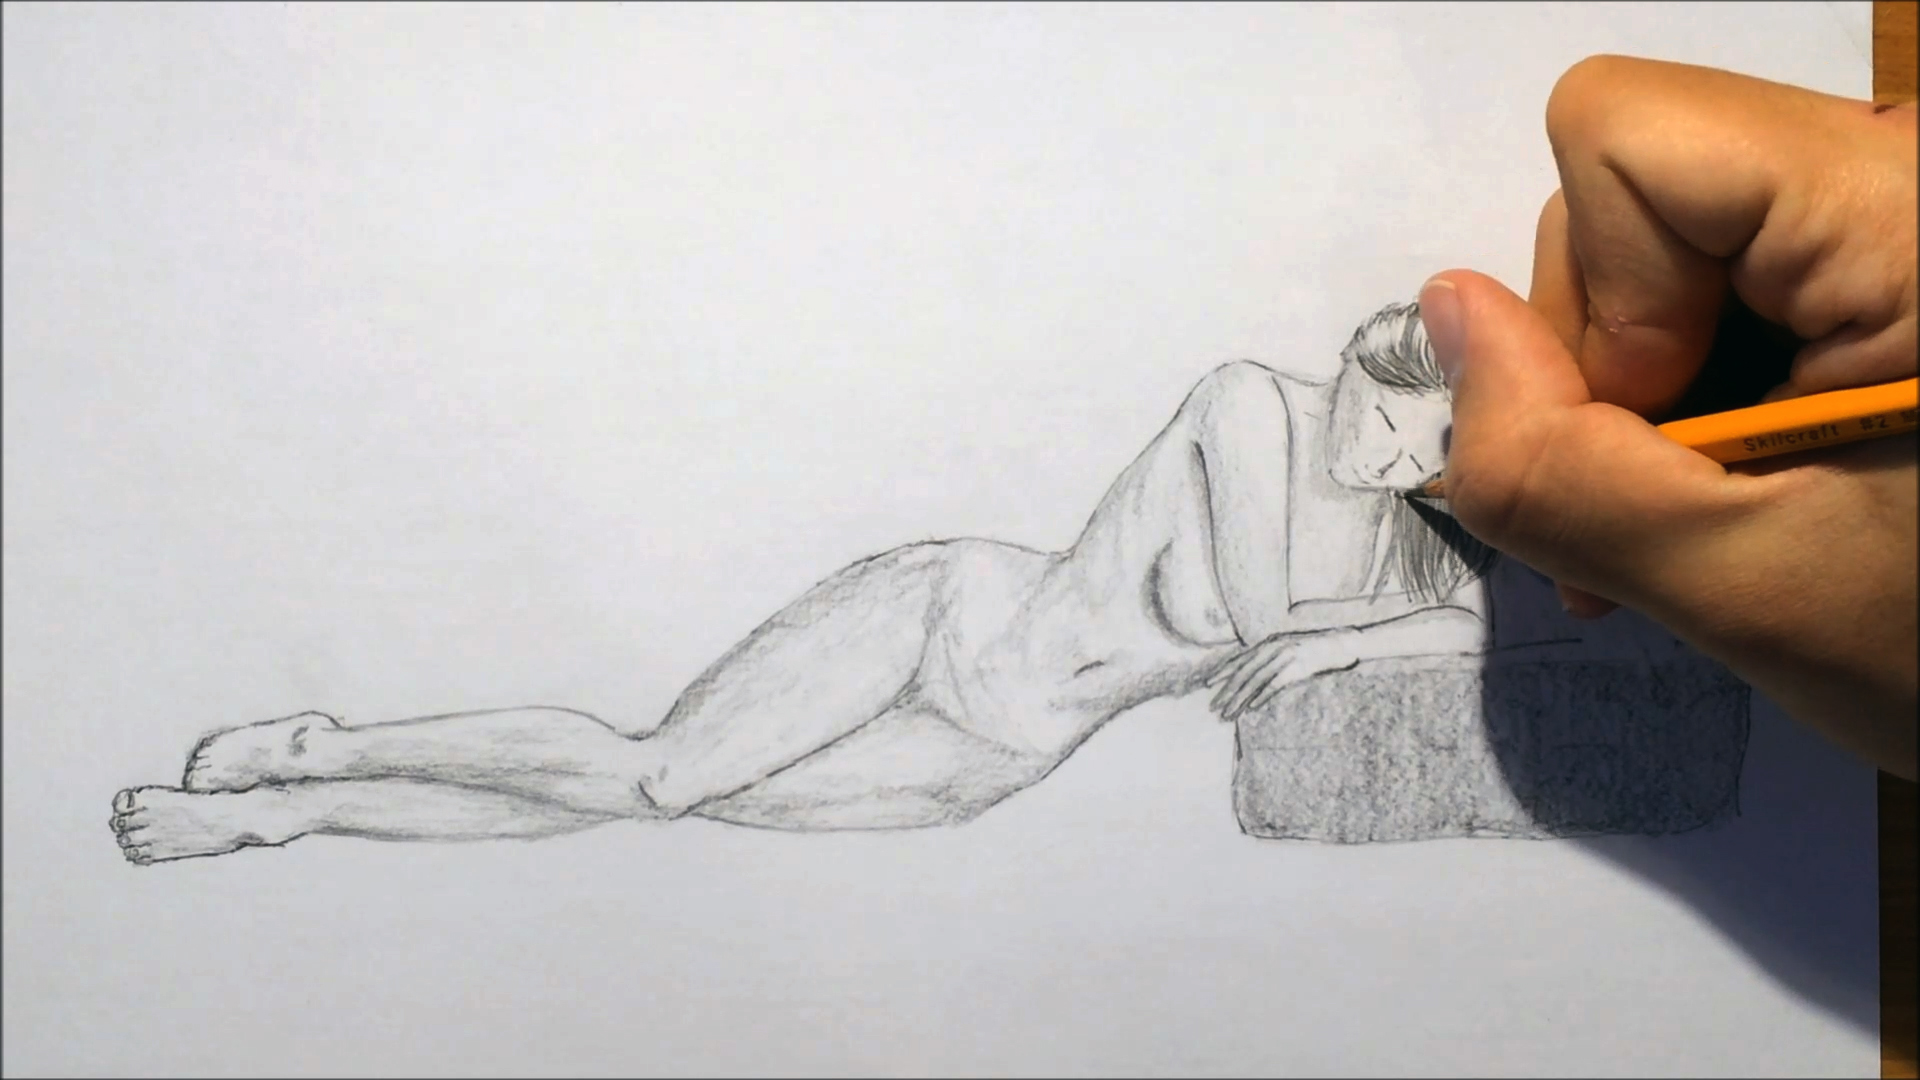
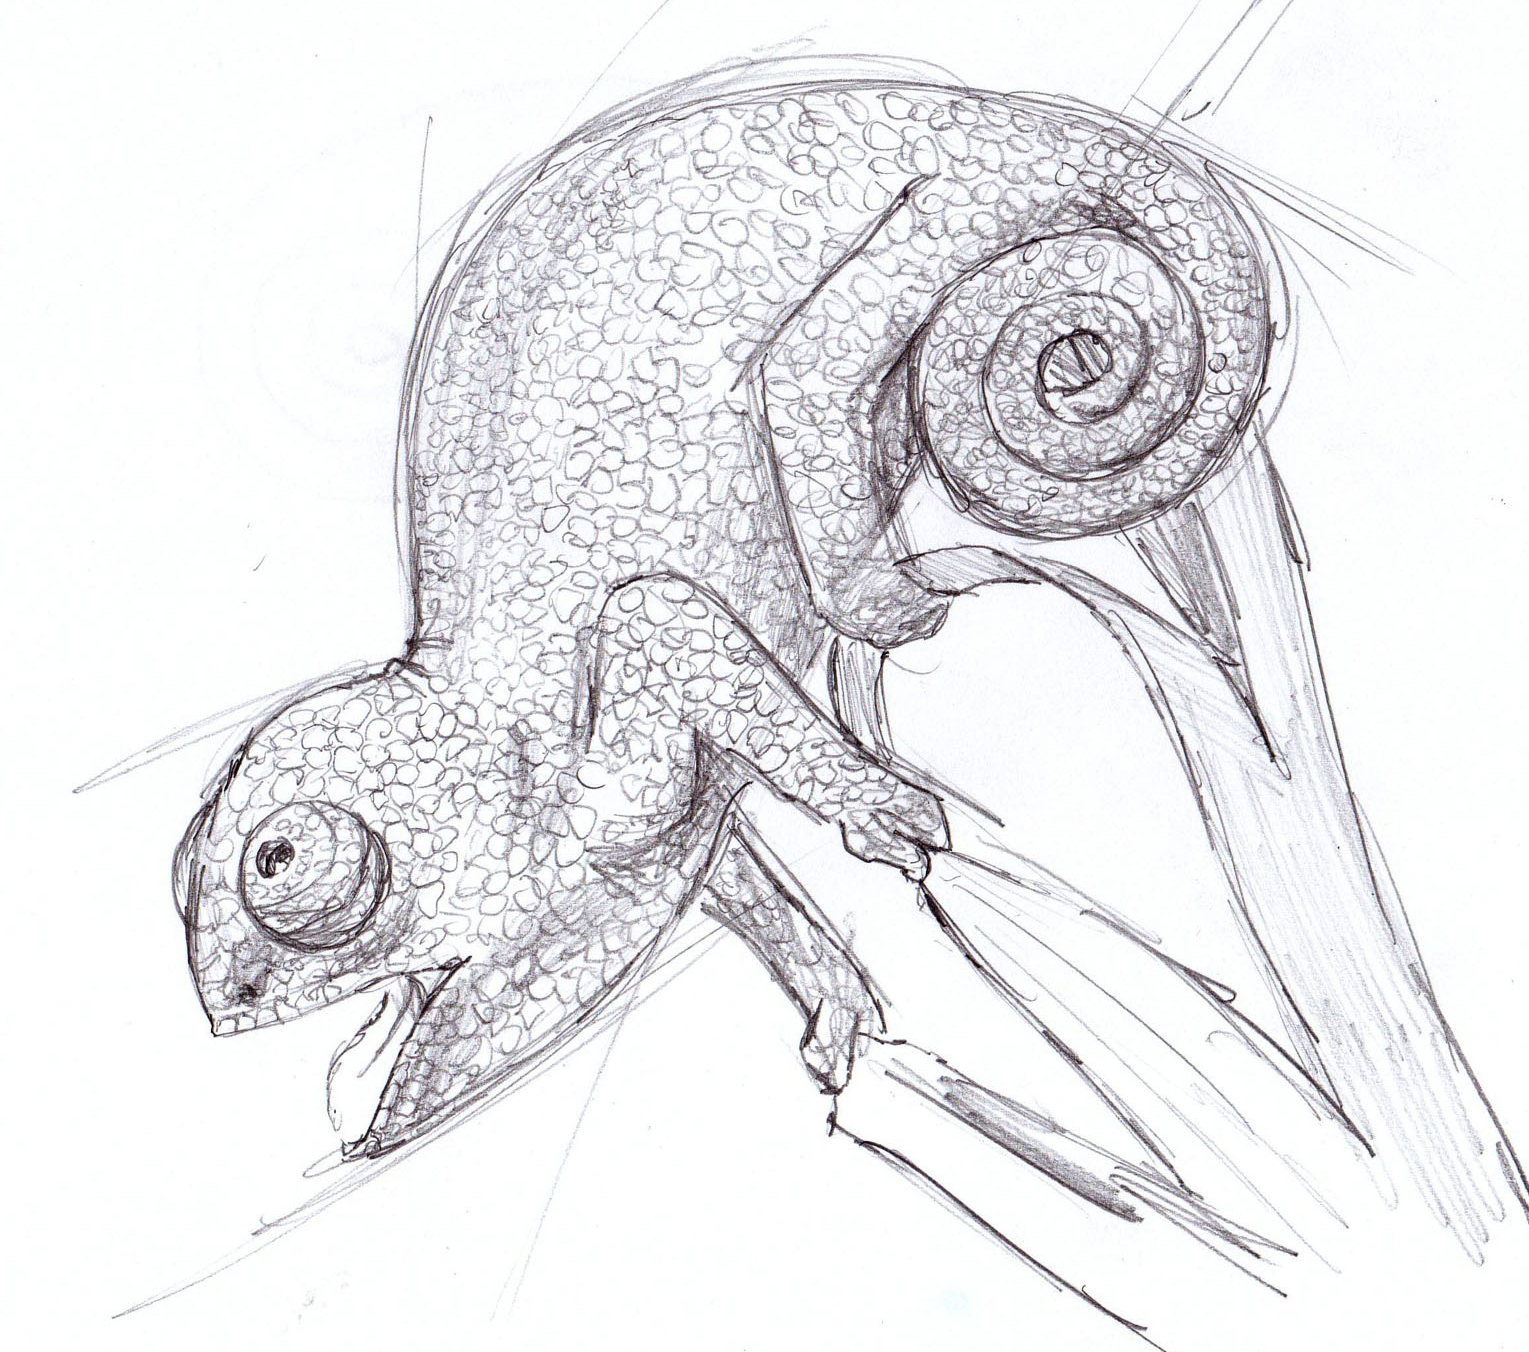
5. Textures, Values (how dark toned an object is) and shading. When sketching your object, pay attention to it’s surface’s texture and shape. You can use many details, or fewer details.
Here is an example of this.
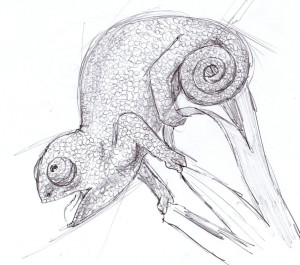
This chameleon is an example of a more detailed texture, that took a lot longer to draw then the remote control.
Again, sometimes you may feel like going for details and sometimes you may not. Both are cool, as long as you practice your observation skills!
By the way, this was actually drawn using picture reference, something that I don’t recommend doing. Go for things in front of you, since you get much more value out of drawing them.
These are most of the techniques and tips I recommend you put to use…. onwards!
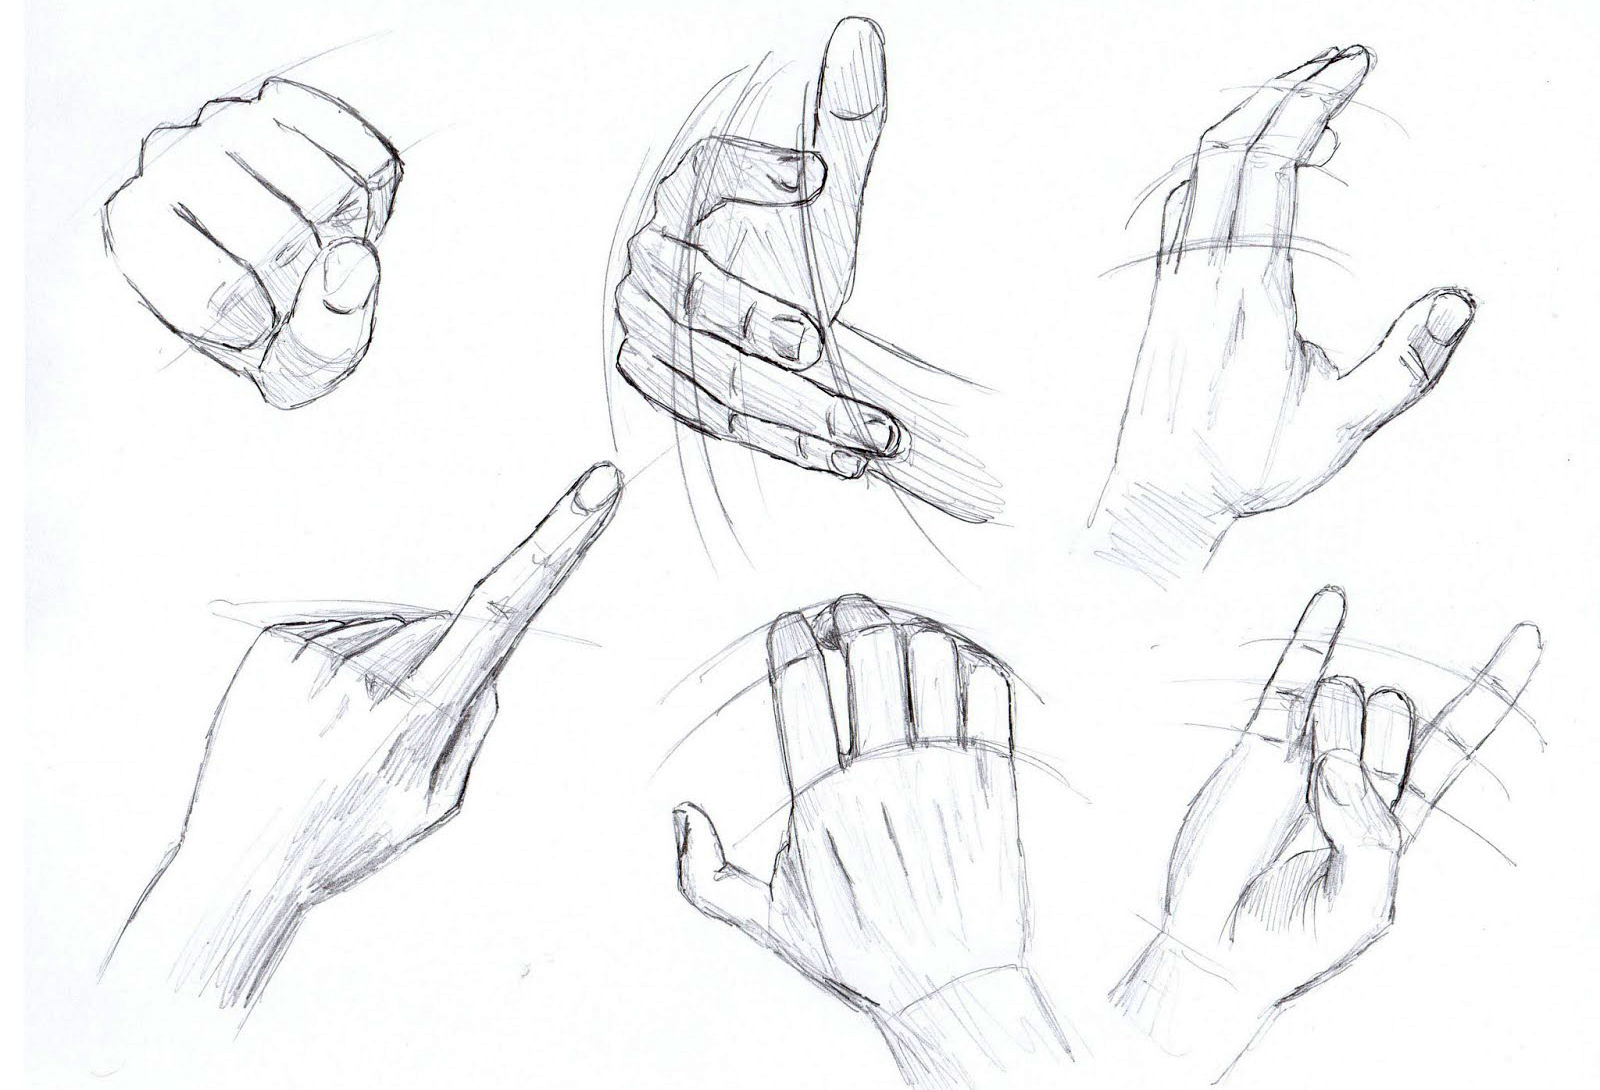
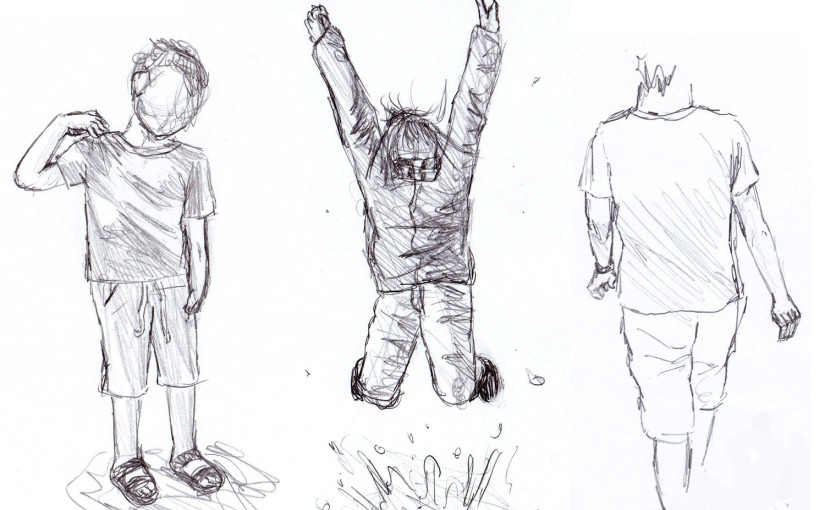
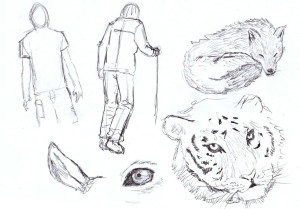
Examples of sketches:
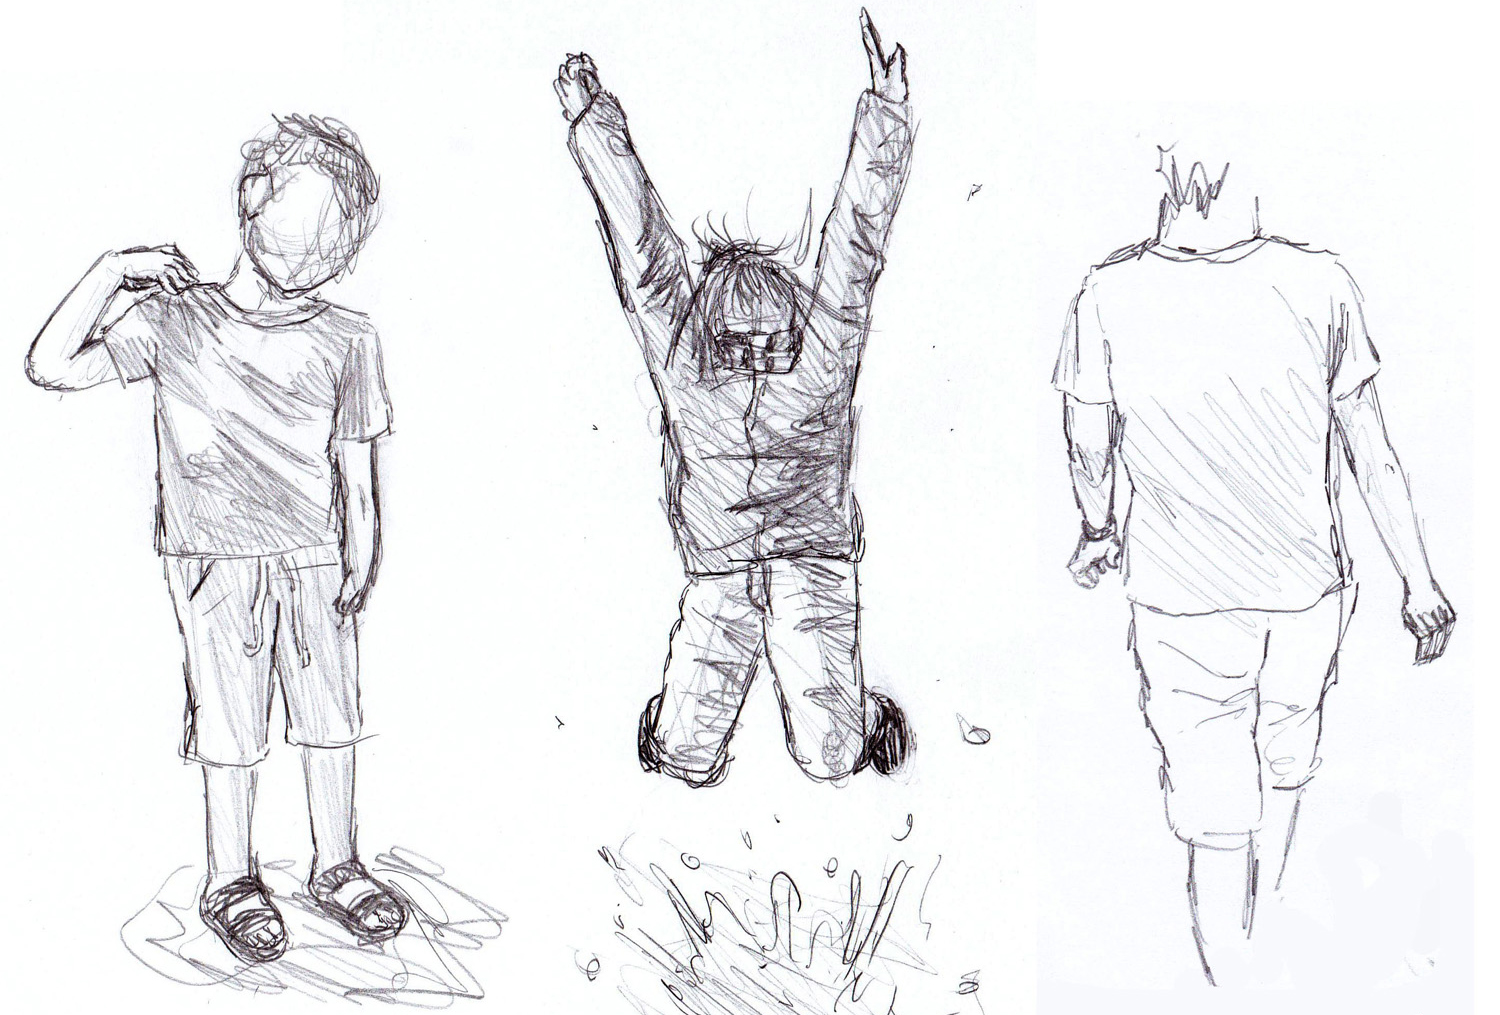
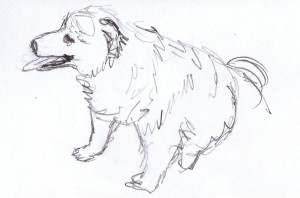
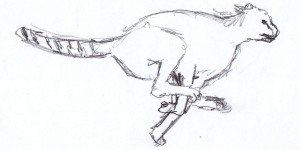
People:
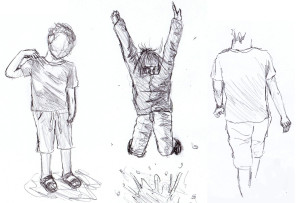 As you can see, some of these sketches are more fine tuned and some are more free handed and light. They were all drawn without guidelines (even the jumping chick), as I saw them happen.
This is very strong. If you can reach a point where you can capture the essence of what you see, and quickly sketch it, you are on the highway to big improvements in your skills.
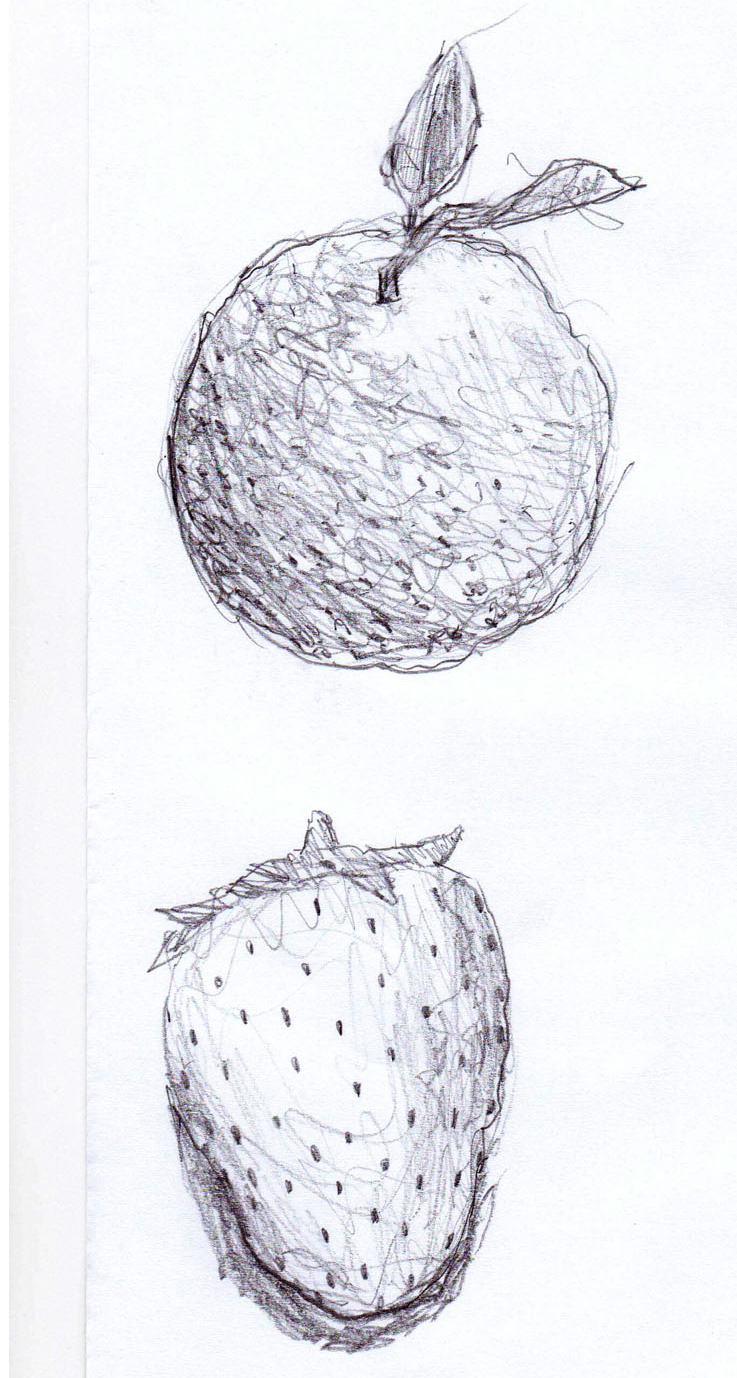
Fruit:
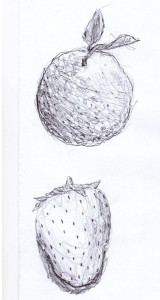 Notice the nice texture I gave these two.
I would say that the texture of the orange is to my taste, but the strawberry’s texture could be more shiny and “smooth”. This can sometimes be quite a challenge actually….
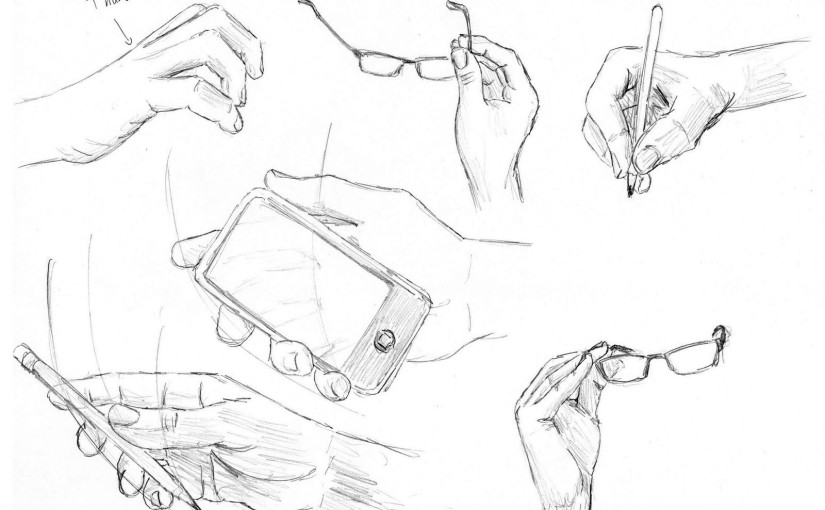
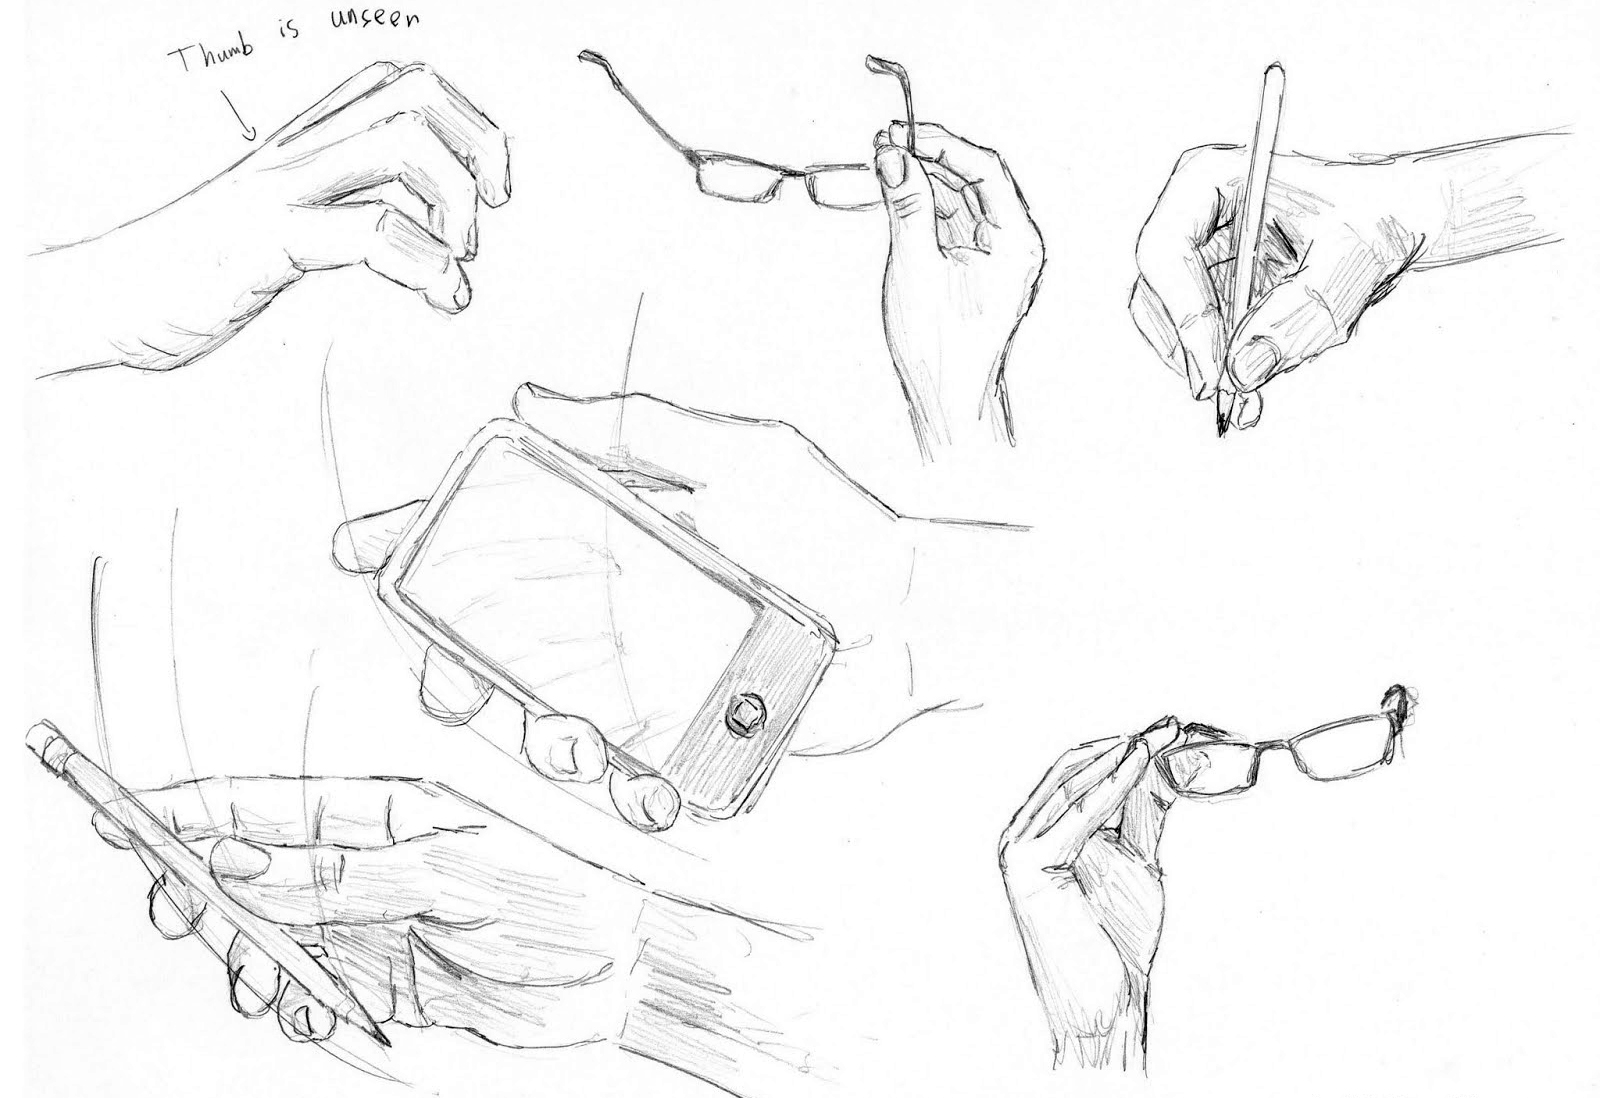
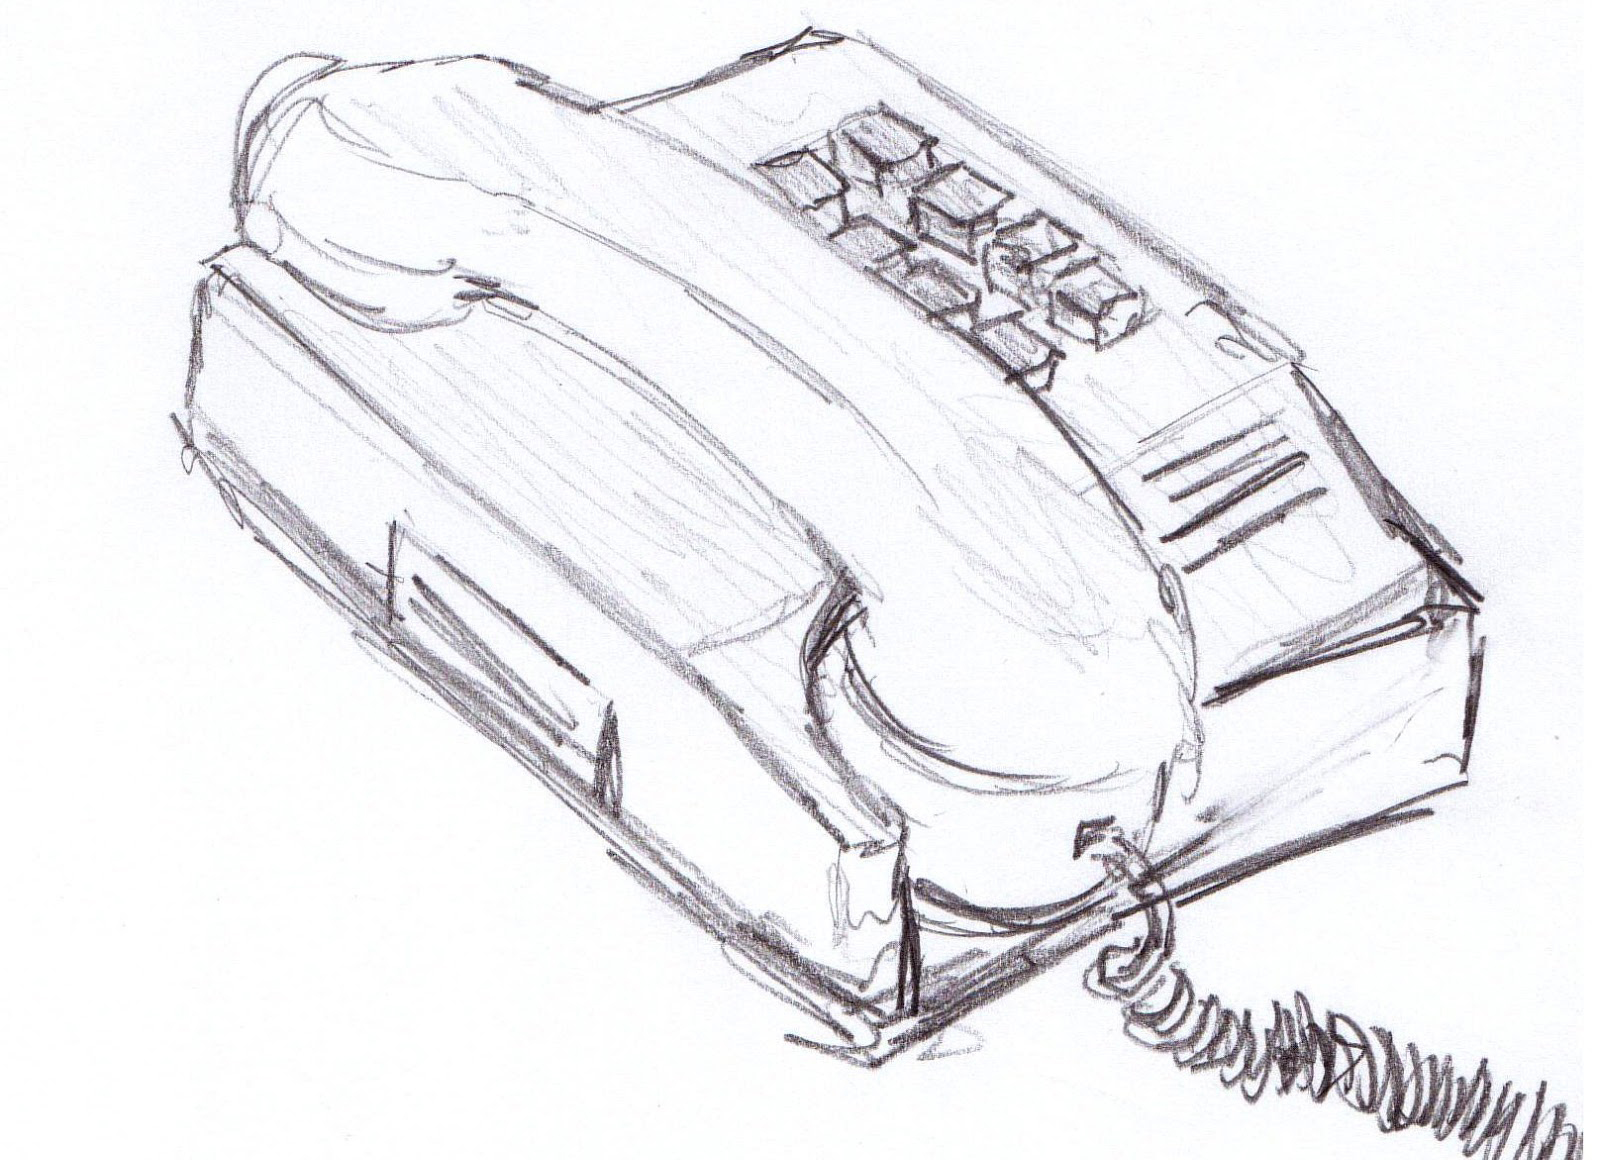
Phone:
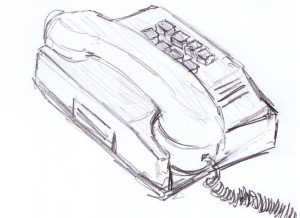 This is another example of something more mechanic and square, as opposed to the more round shapes in people and animals.
This is also an important thing to practice. Together on that category is also city landscape / skyline drawing. These are really fun, especially if you can work on them while the sun sets.
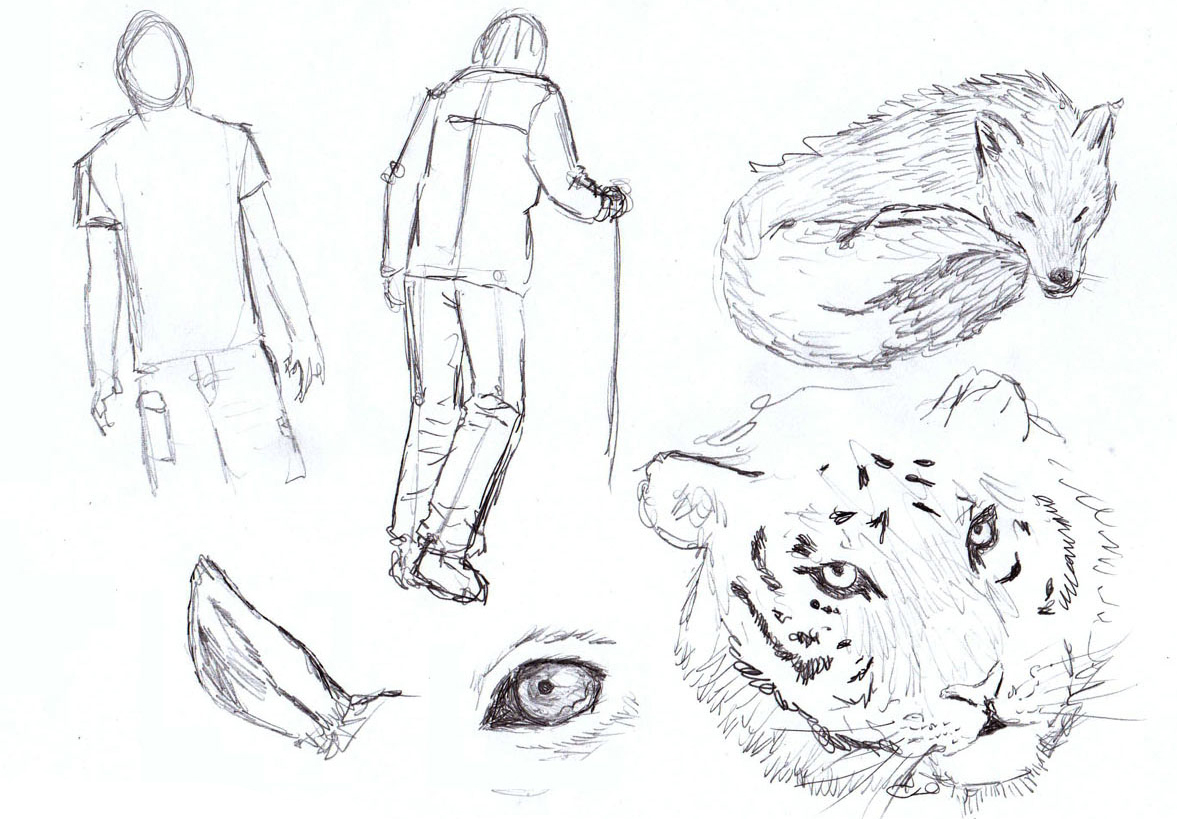
Some more tips and pointers to get you on your way
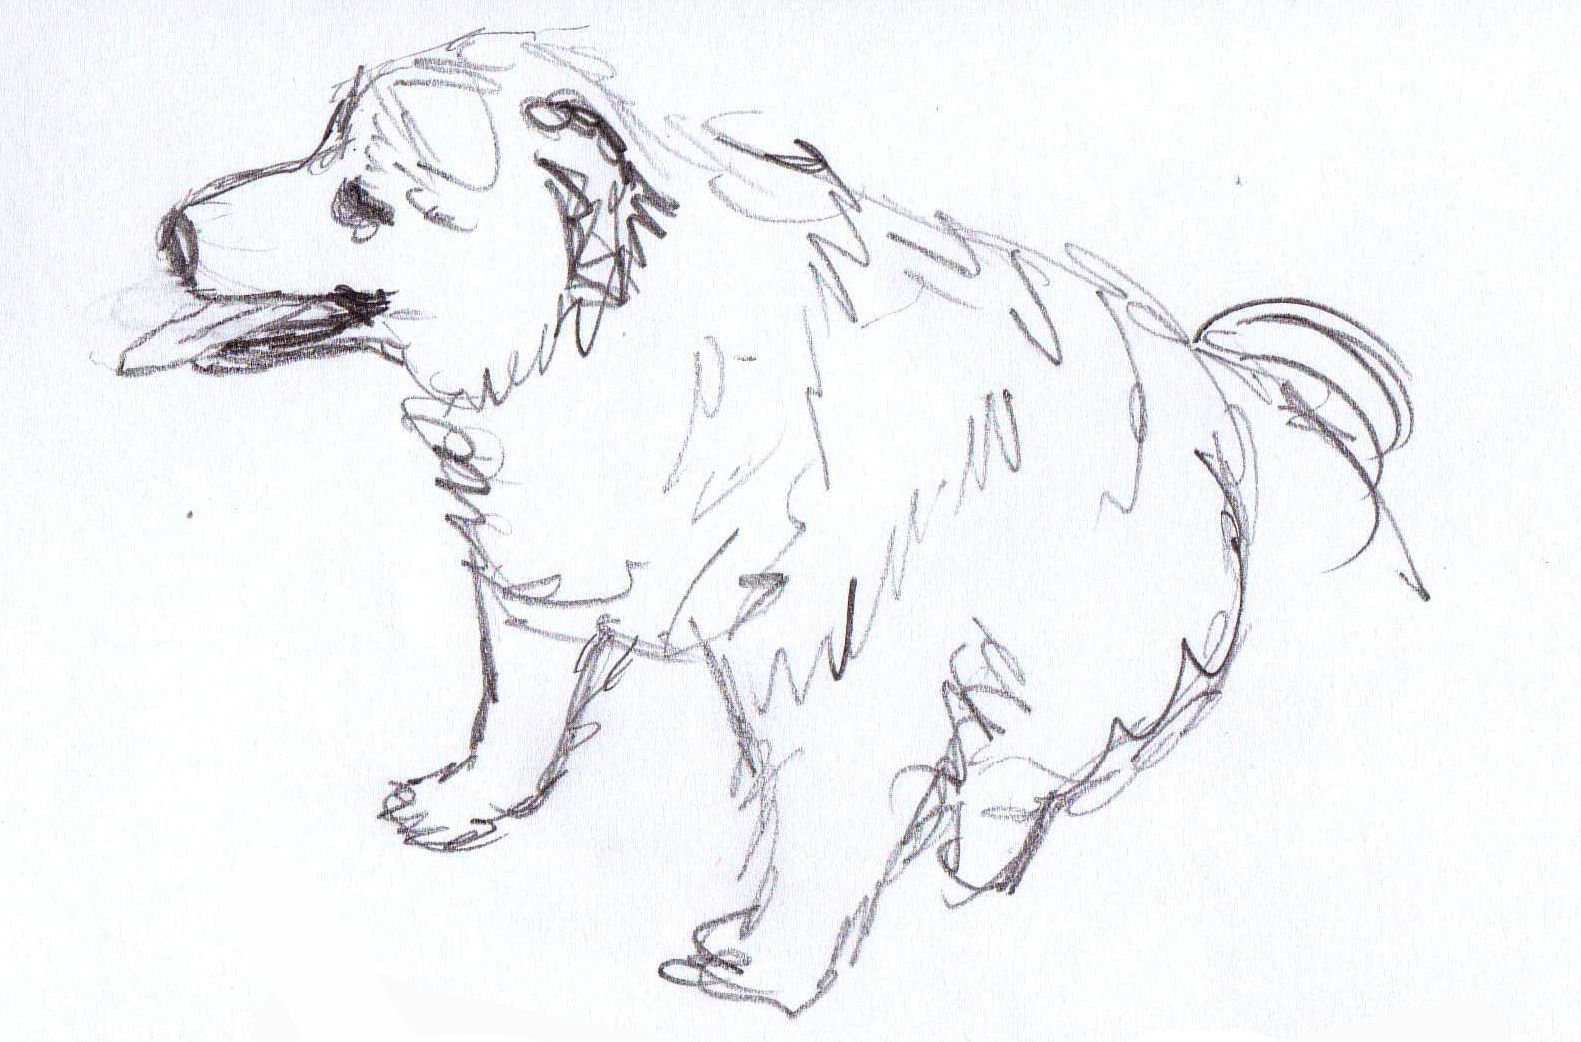
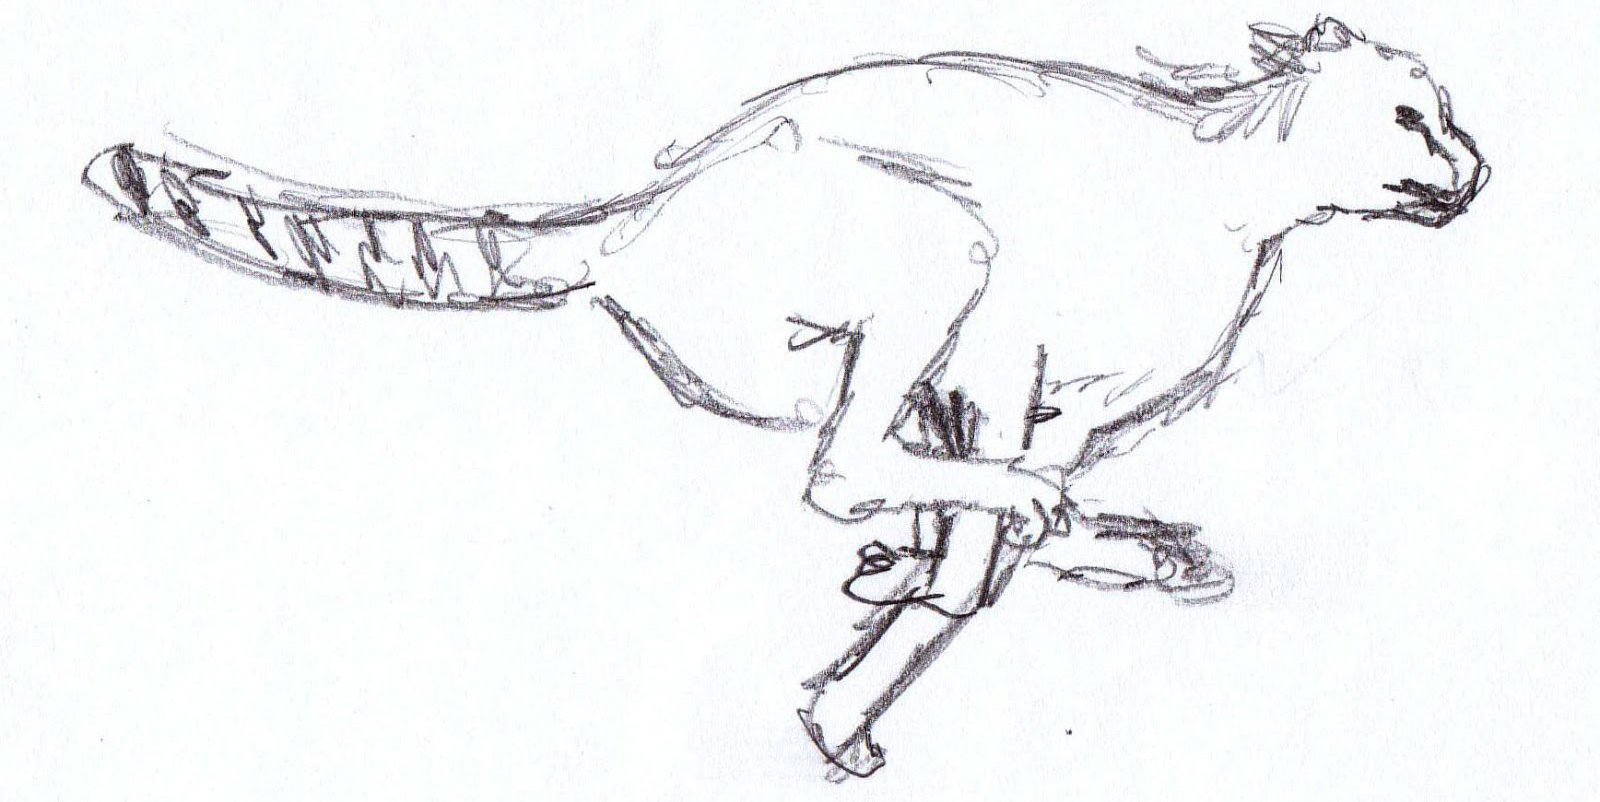
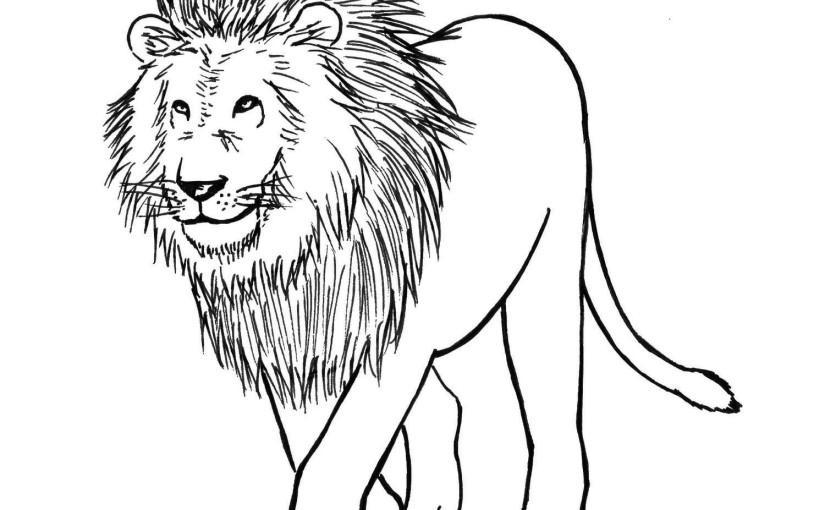
Pay a visit to the zoo / safari.
Take a notebook and a pencil. You will be amazed at how many cool sketches you will leave with. Also, you will have to draw fast, since most animals move all the time.
Animals are one of my personal favorites to draw, especially in their natural habitat (and NOT in the zoo).
Sit somewhere crowded.
A busy street, the bus or wherever you choose, and sketch people. Try drawing many different people: old, young, male and female.
This will improve your ability to later on draw people based on different anatomy rules, without a model.
Go for a variety of different types of sketches.
Go with rough and delicate lines. Draw things in a realistic way, and also bend reality at your will and throw all rules out the window. Go detailed and then extremely simplistic.
These will help you to get started and bring some passion into your sketches. A passion you will be able to later on take with you to your more finished projects.
That’s it for this drawing lesson, lets conclude:
- Anyone and everyone can sketch and draw.
- Go to places which will allow you to sketch a large variety of things.
- Practice the techniques mentioned in this drawing lesson.
- Feel free to sketch and draw in whatever way you choose.
- No rules. Have fun with it. That’s how you get awesome results (=
- Study sketches of great artists.
I hope this will help some people to improve their skills, and maybe even help light the fire for those who have abandoned their true gift of art, and shouldn’t have.
And if that’s you reading this, I ask you to give it a shot, and give value to the world with your artistic talent. I actually dare and challenge you to get back on track and start drawing again.
If you are ready to take your sketching abilities to the next level, SUBSCRIBE HERE and receive my ebook for FREE + personal drawing advice and tips.
Also, check out my How to Sketch book here.
And I’ll talk to you soon,
– Liron