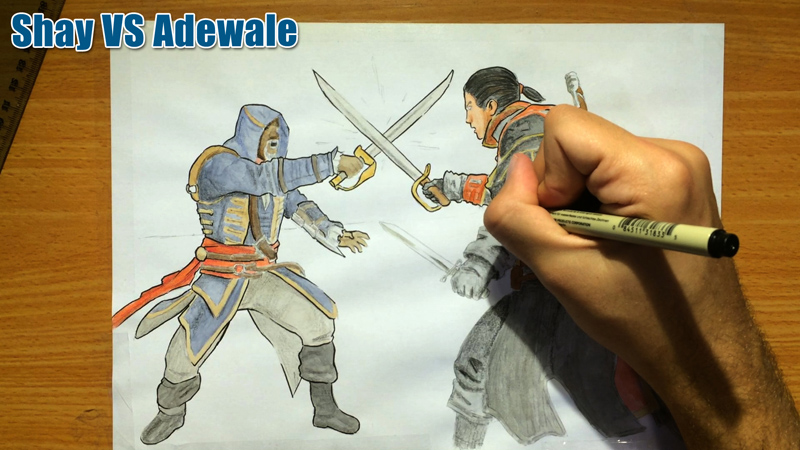
In this video I show you how to draw a battle scene between Shay Patrick Cormac and Adewale – two characters from the Assassin’s Creed Rogue video game.
This is less of a drawing lesson, and more of a speed-drawing demonstration of my complete drawing process.
You’ll see everything from drawing, to painting (watercolors AND colored pencils) and inking.
So without further ado, here it is!
A few notes:
1. I like to paint before I ink.
This is something I talked about before.
This type of process allows the colors to really shine, and then also allows you to be minimal with your pen and ink.
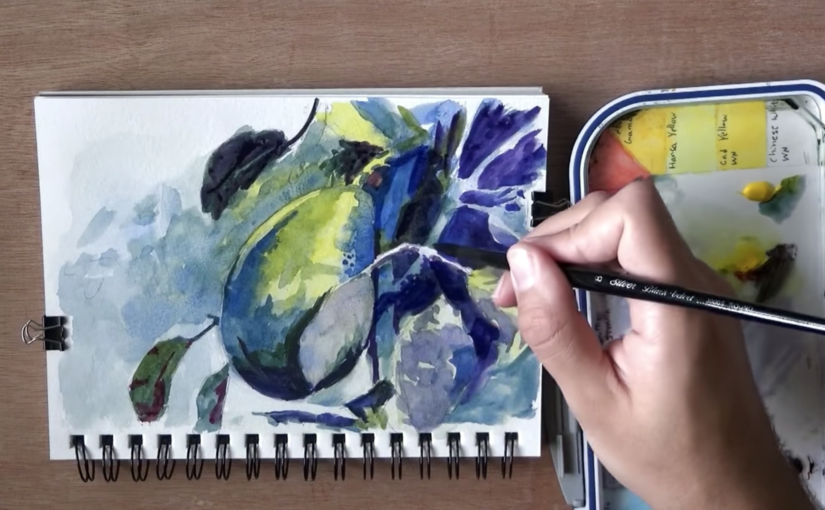
2. I mix watercolors with colored pencils.
I like the look I achieve by applying watercolors and then completing the look using colored pencils.
This is a common practice, and is my favorite way to go. The watercolors easily cover large surfaces and give the base tone. Then, the colored pencils add the texture and more accurate shading.
However, you are invited to try a different way, and let me know if it works better for you (=
Anyway, this is it. Let me know if you have any questions!
And if you want to become a king at drawing, inking, painting, sketching and whatnot, be sure to subscribe here. You’ll also receive my book as a gift! (=
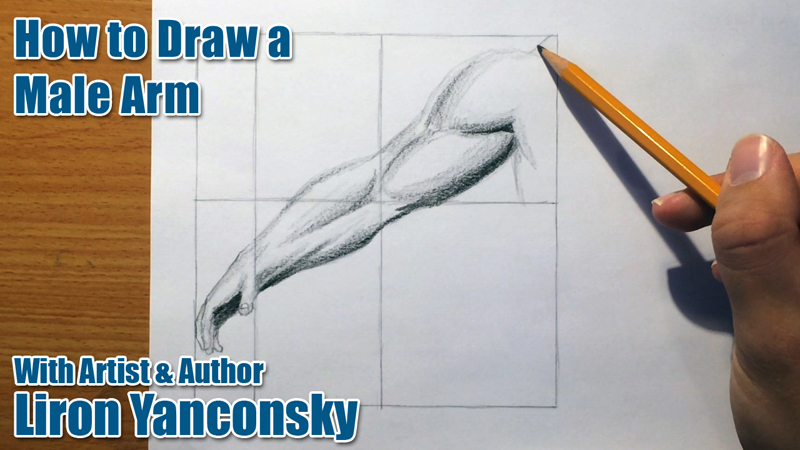
In today’s drawing lesson I’ll teach you how to draw an arm of a male figure.
We’ll do this step by step, so you understand exactly how to draw the arm’s shape, including the muscles and the hand.
Check out the full video tutorial, or read on if you prefer text instructions (=
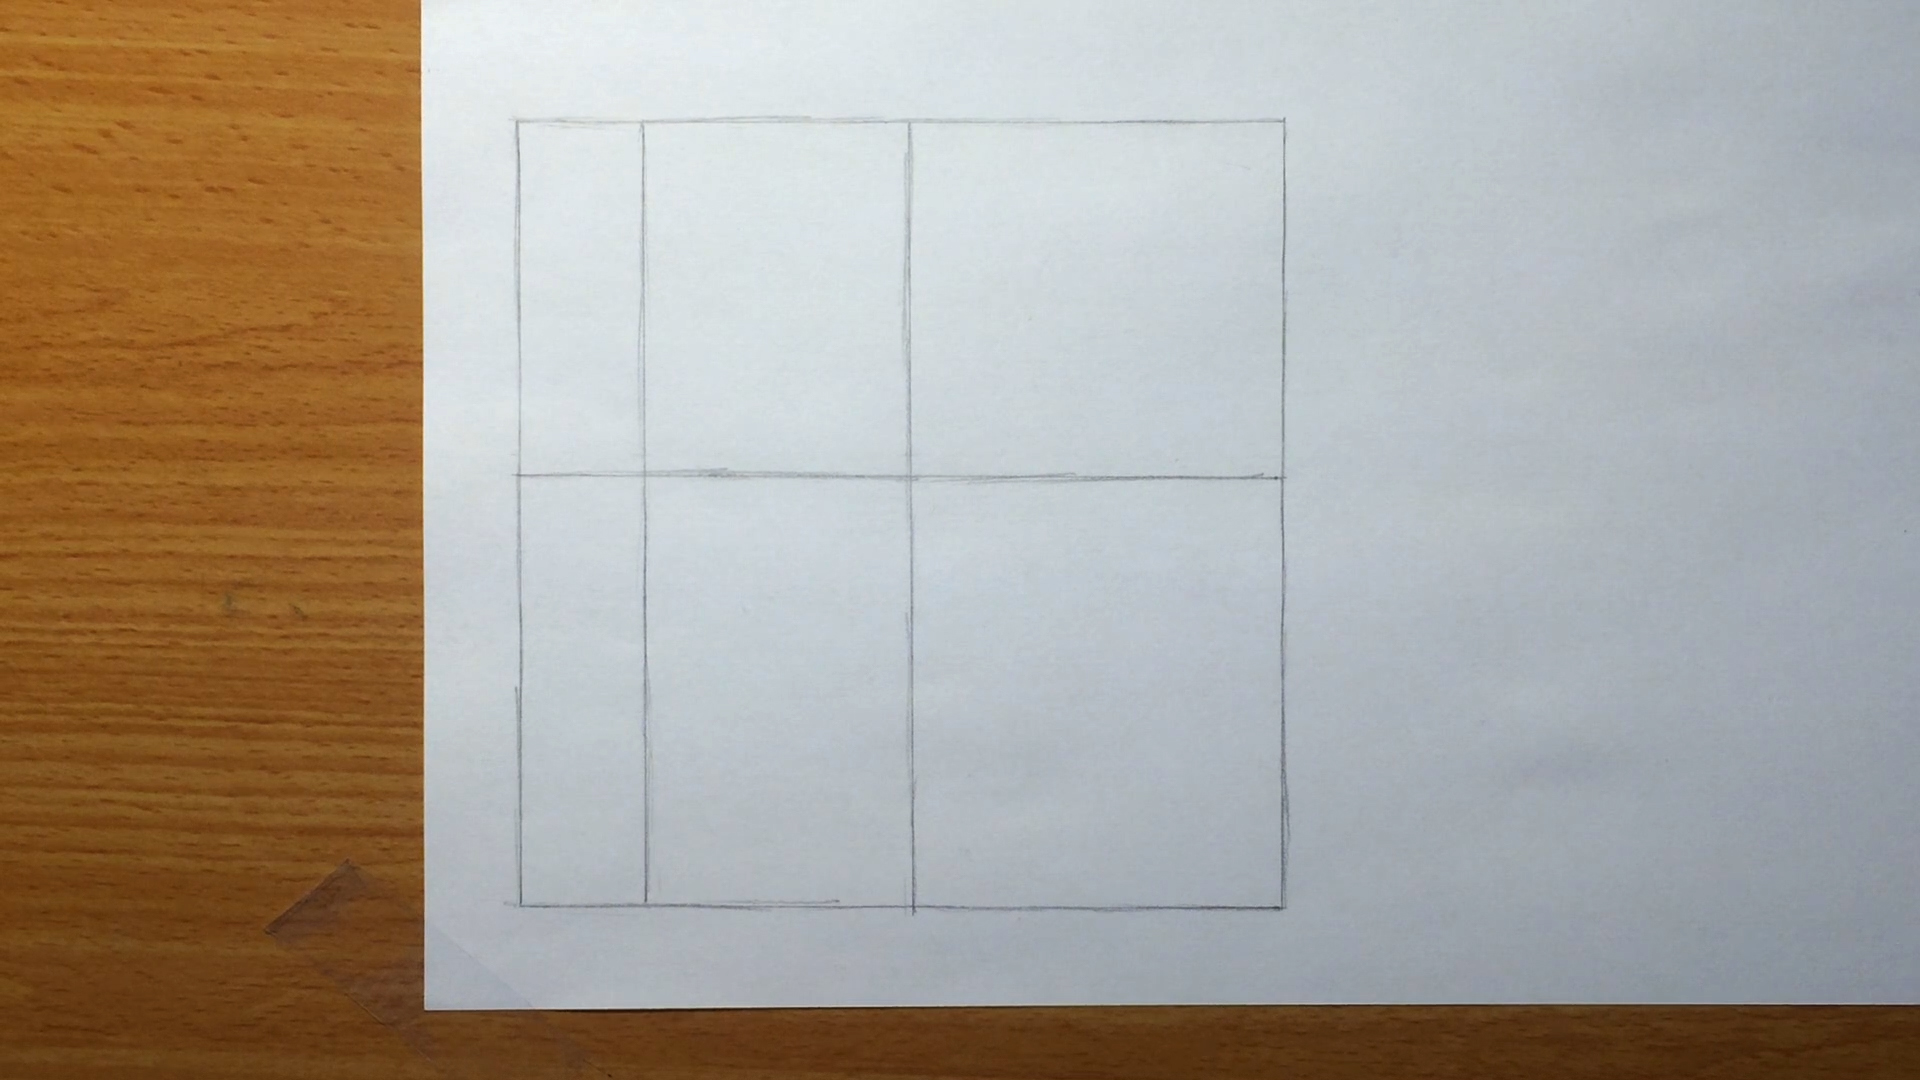
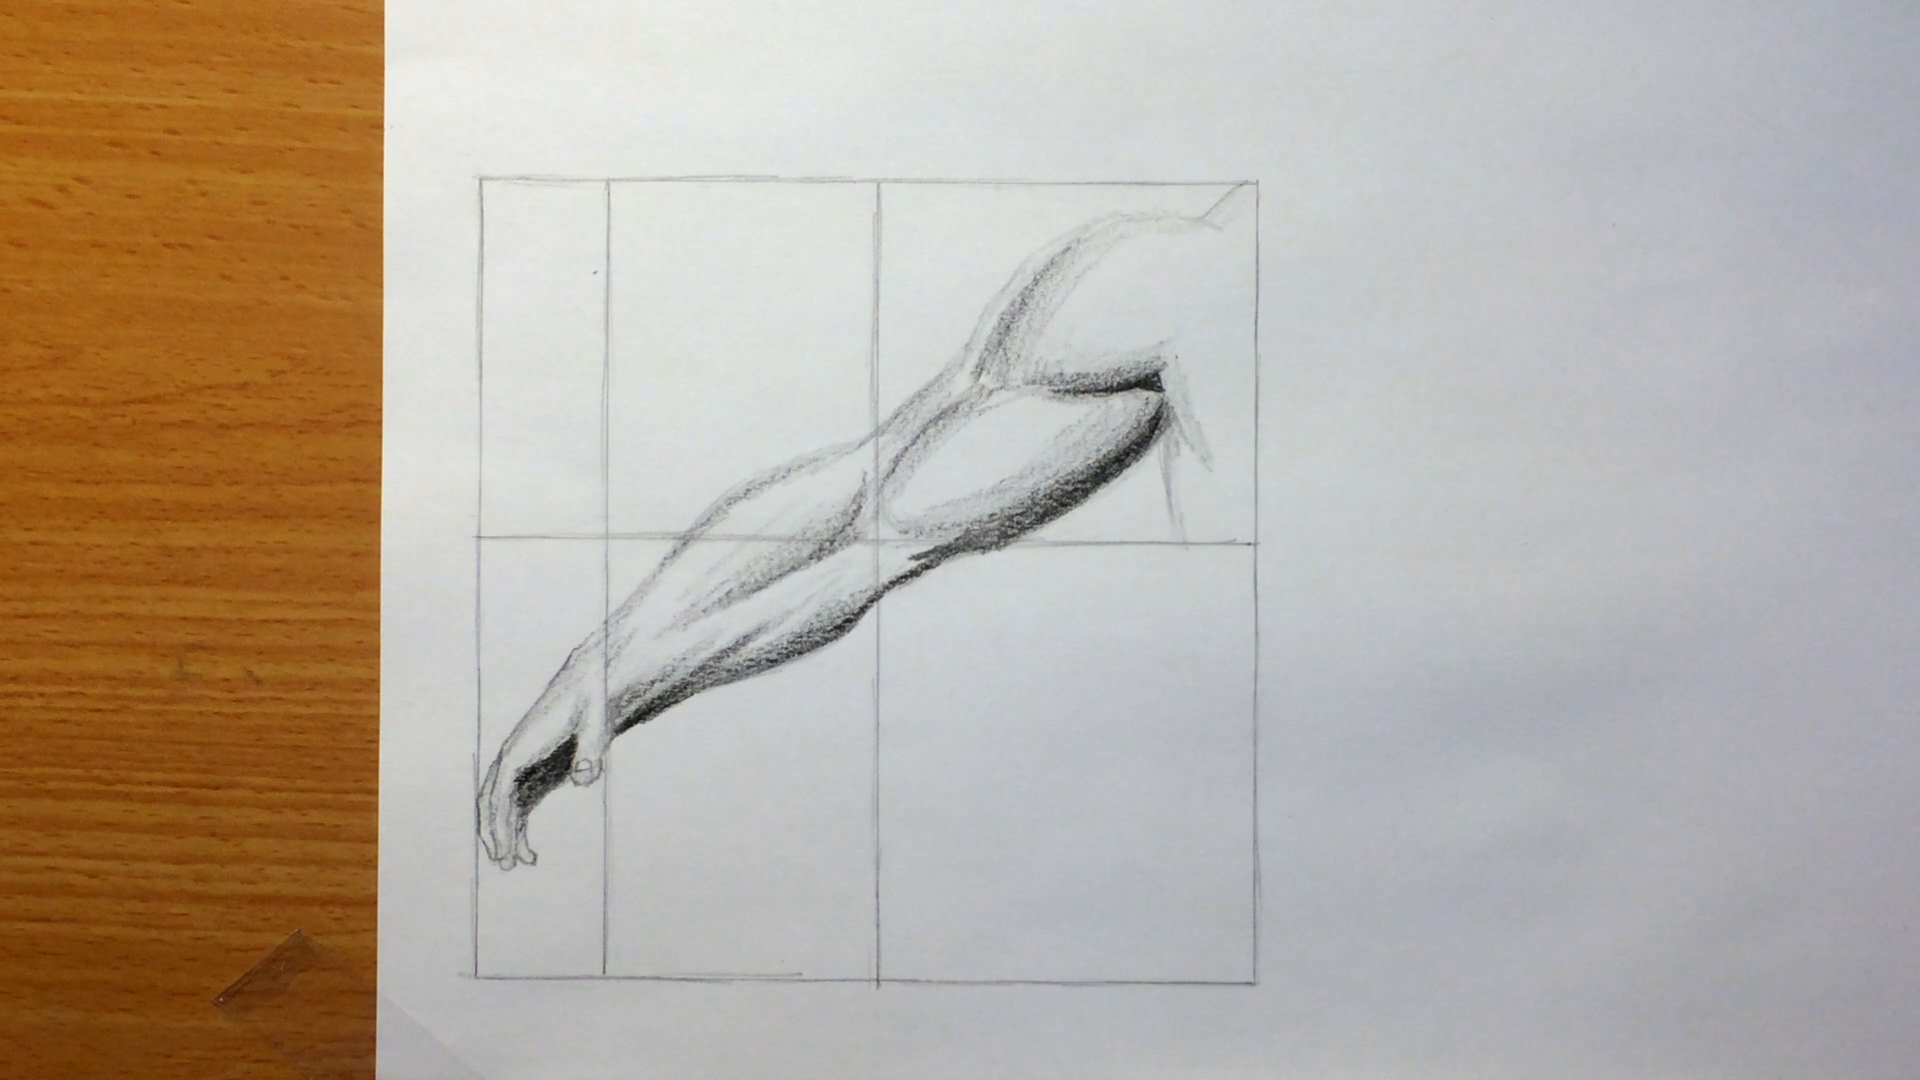
1. The Setup
I have a square that is 5.2 inches long on each side.
I divided it into 4 relatively equal parts, using two lines: horizontal and vertical.
In addition, there is another vertical line dividing the left half into a third and 2 thirds.
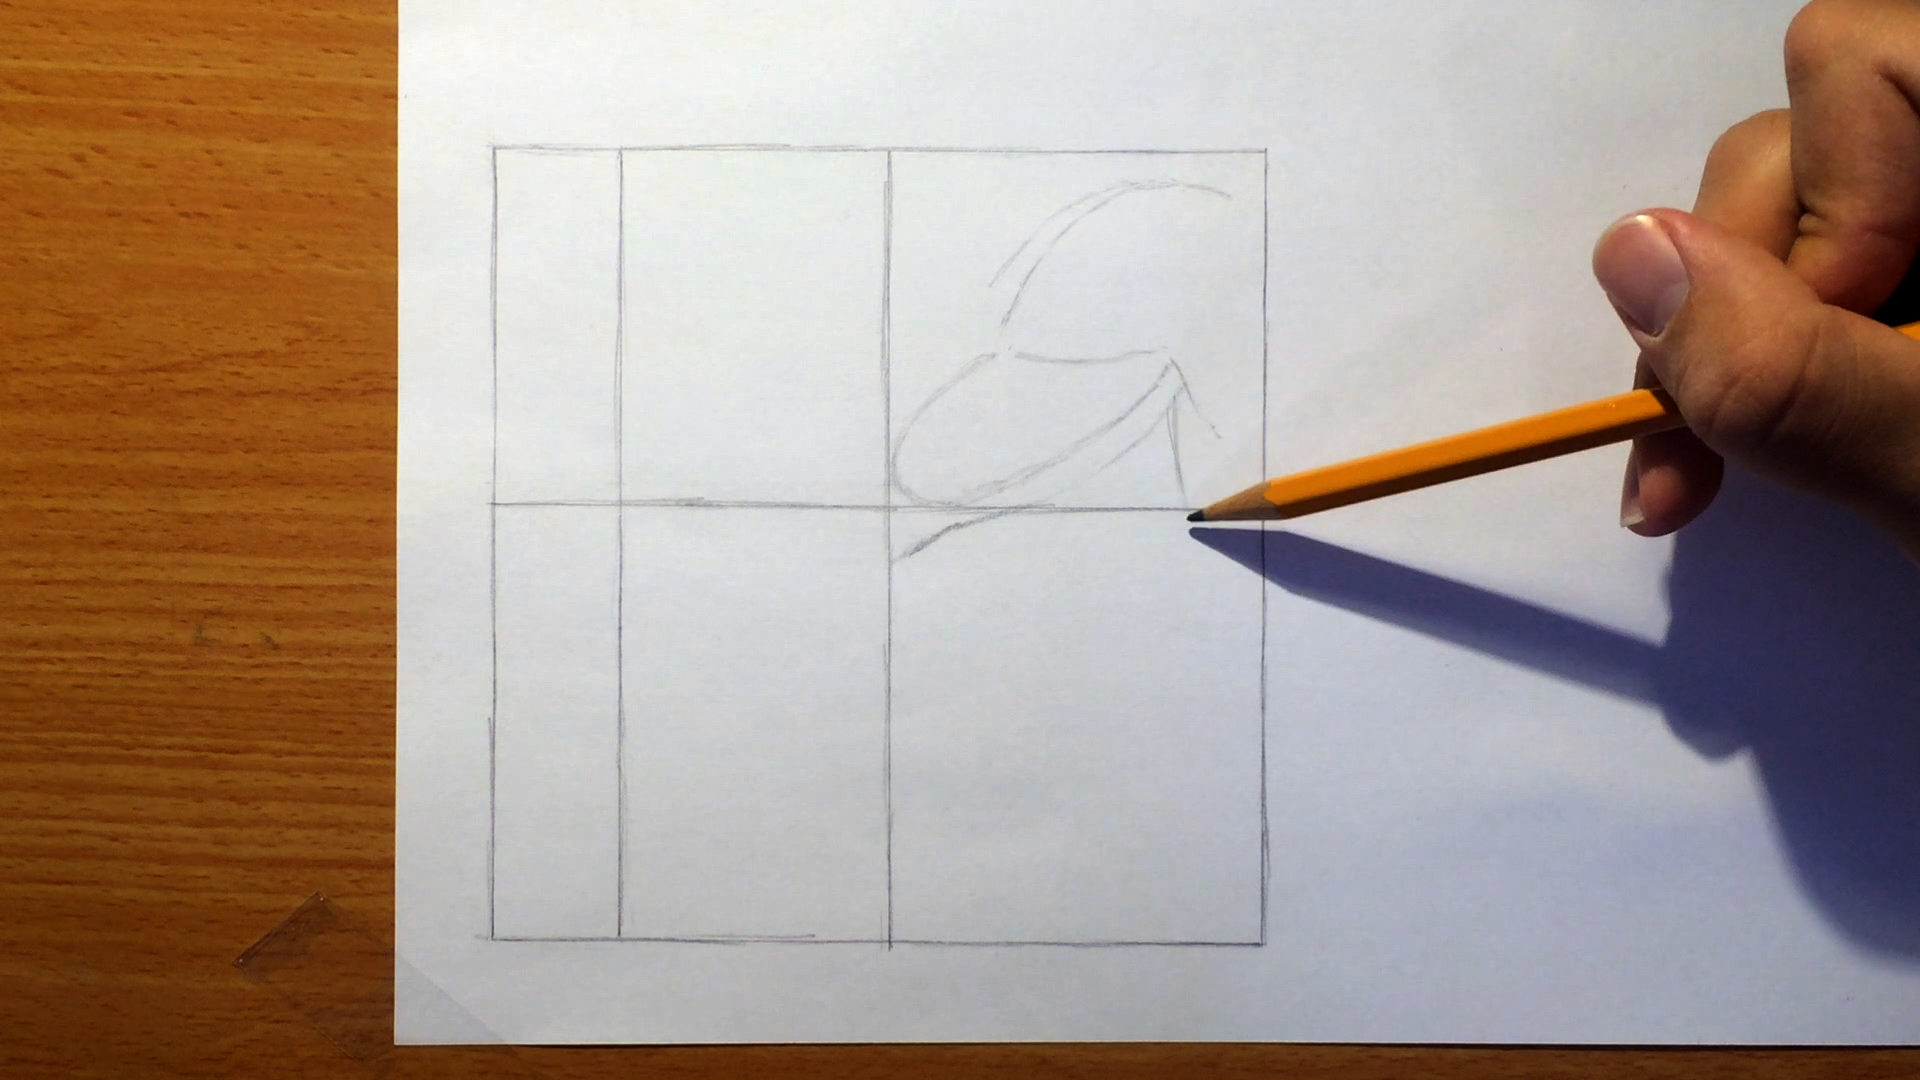
2. Beginning to Draw the Arm
Begin drawing the shoulder muscle, as well as the muscle “hidden” behind it.
The arm is facing towards us (while the hand is turned downwards). In this angle – these are the muscles we get to see.
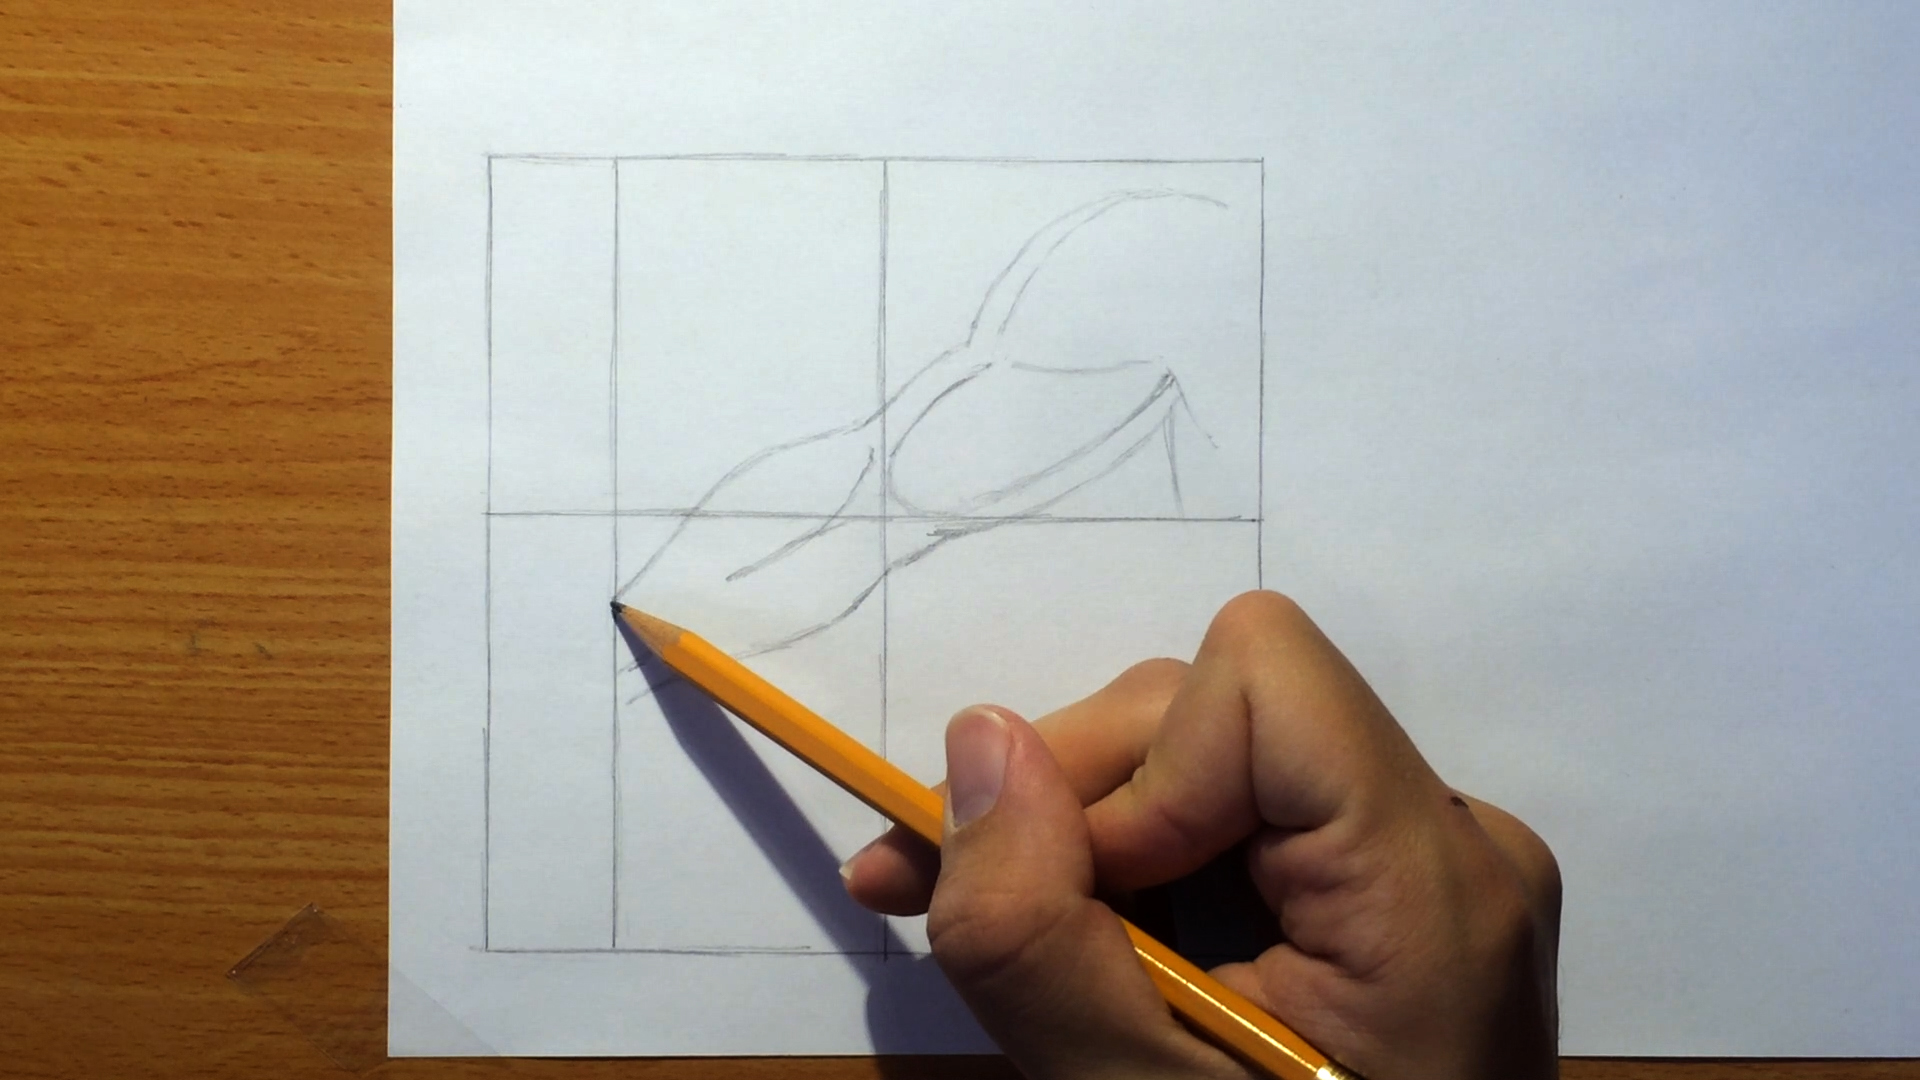
3. Another Muscle
Add another long, oval-shaped muscle that begins below the shoulder muscle, and ends in the center of the square.
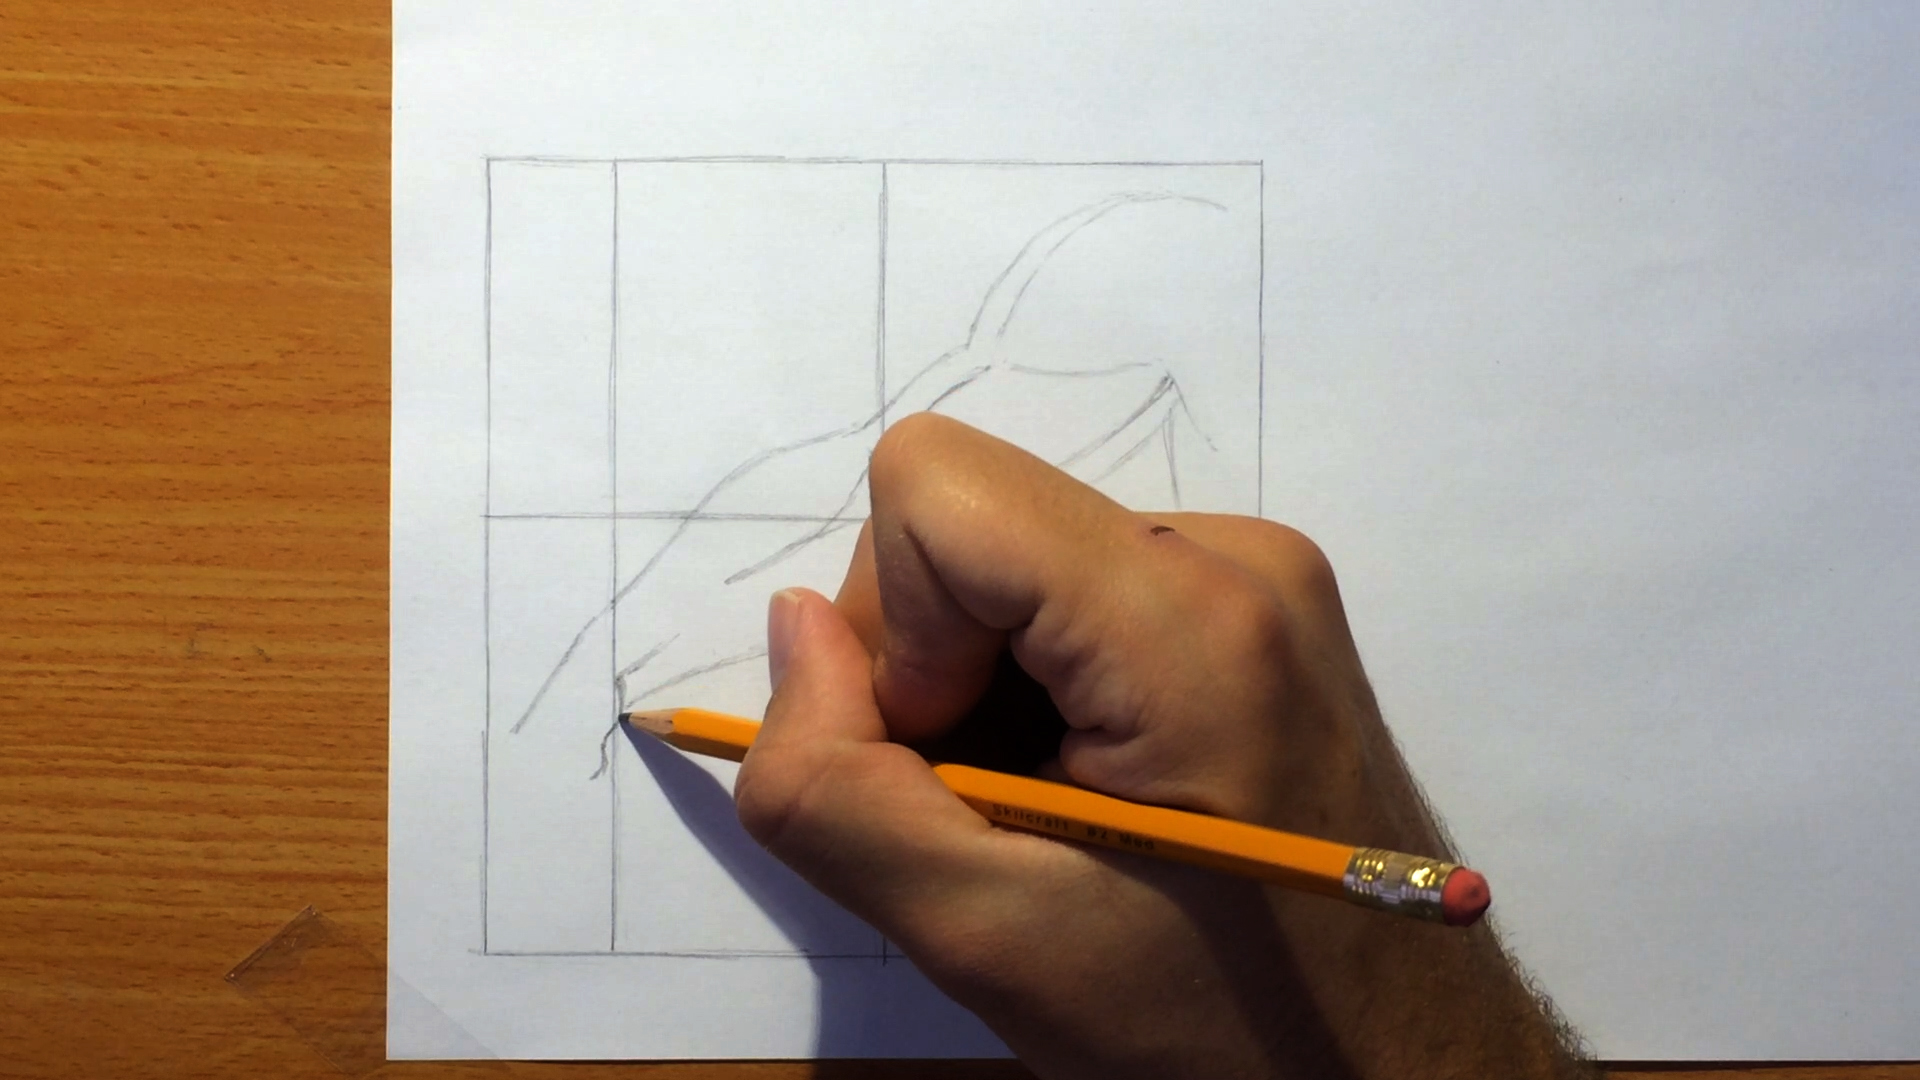
4. Lower Part of the Arm
Next it’s time to add the lower part of the arm.
I will mention how I am, as always, using reference for this. I still can’t draw these things entirely from imagination.
Actually, drawing this from memory is quite an amazing feat, that not many possess.
5. The Hand!
Hands are a well-known landmine for artists – but fear not! By using reference you are already somewhat immune.
In this angle, the hand is pointing downwards. We also see its inner part, and so the thumb is pointed towards us. There is some foreshortening going on too.
I begin with the area of the thumb.
Notice how the entire hand is going to be contained within that left-most third.
Next, I start drawing the fingers one by one. Make sure to have them pointing at slight different angles. This creates a natural look.
Notice how I made the pinky point in a very different direction than that of the other fingers. That’s a nice little effect that helps convey looseness, and the absence of tension in the hand.
By the way, I believe I made the hand a tiny bit too small, but I’m still pleased with the result.
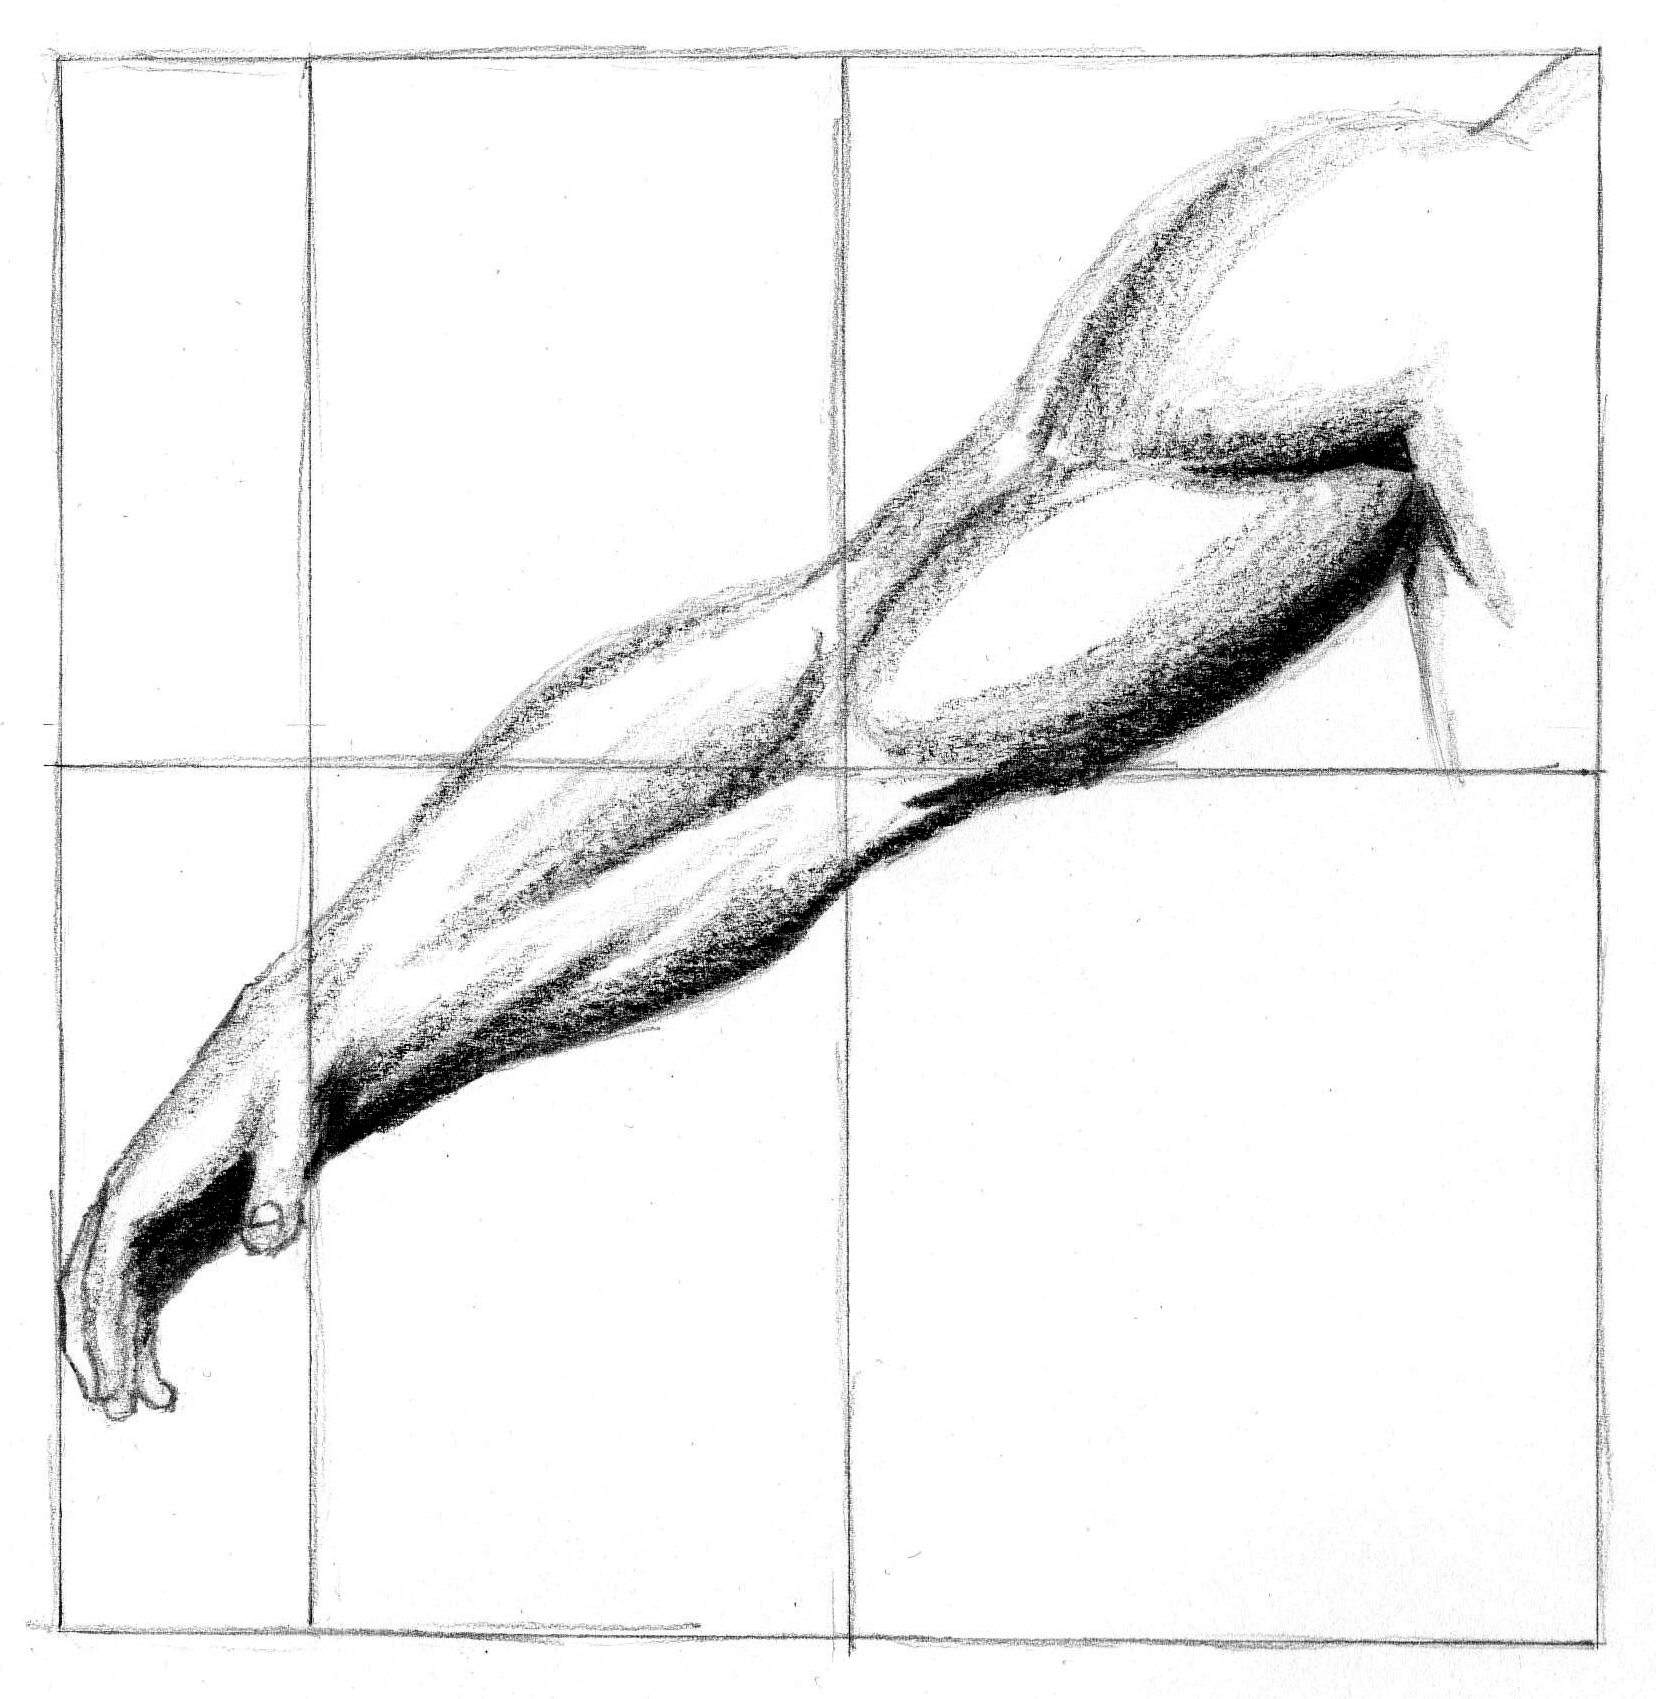
6. Let’s Add Some Shading
This is what’s going to really give the muscles their shape and volume.
And this is it! Here is the final scanned result:
I hope you enjoyed this lesson, and learned how to draw an arm. Feel free to leave a comment or ask a question below (=
And as always, Be sure to SUBSCRIBE HERE to get my eBook for free + great tips and advice on drawing, delivered straight to you! (=
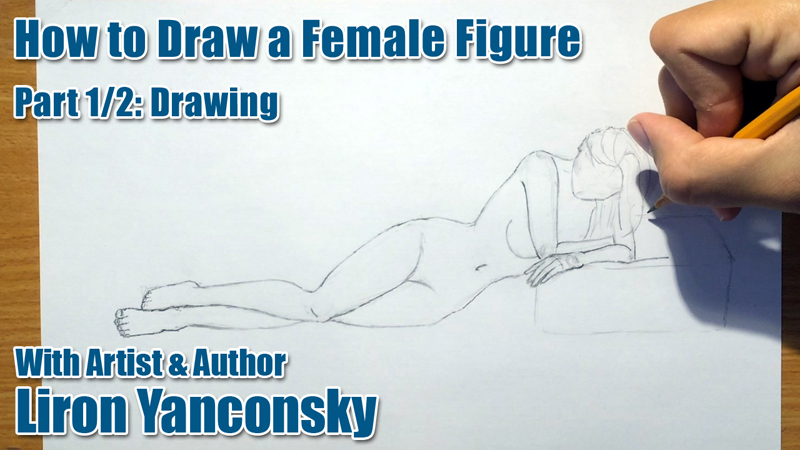
In this drawing lesson we’ll briefly talk about how to draw a female figure, in a laying down pose.
#1 – Skeleton Guidelines
The first step I took in order to draw the female figure, was using simple “stick figure” guidelines.
This step is fairly simple technically, BUT a lot of anatomy knowledge needs to support it in order for it to be correct.
Try and understand the proportions of length of each part.
Notice how I have yet to indicate the hands and feet.
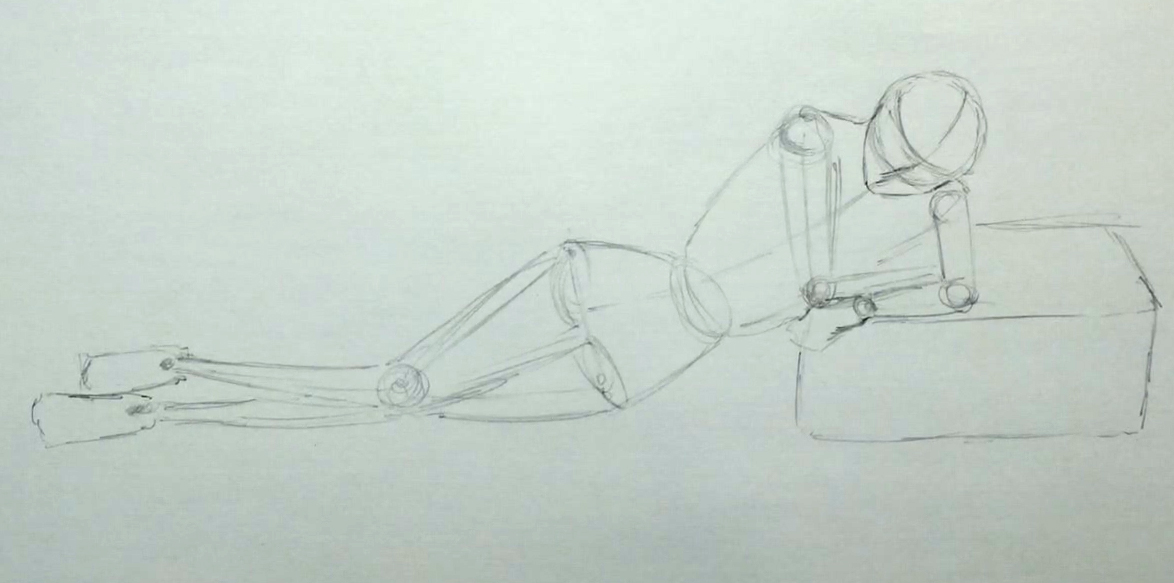
#2 – Giving the Skeleton Volume
In this step we will turn the skeleton into basic three-dimensional shapes.
Note how she is leaning on a mini sofa. This is something we’ll have to take into account in later steps.
Our main shapes here are balls / circles, and cylinders. These represent the basic structure of the limbs and the core of the body.
Notice how they still DON’T convey the accurate shape of anything.
Also, I just wanted to note how the left hand (that’s leaning on the sofa) is foreshortened, as it is pointing towards us. This will become even more obvious in the next steps.
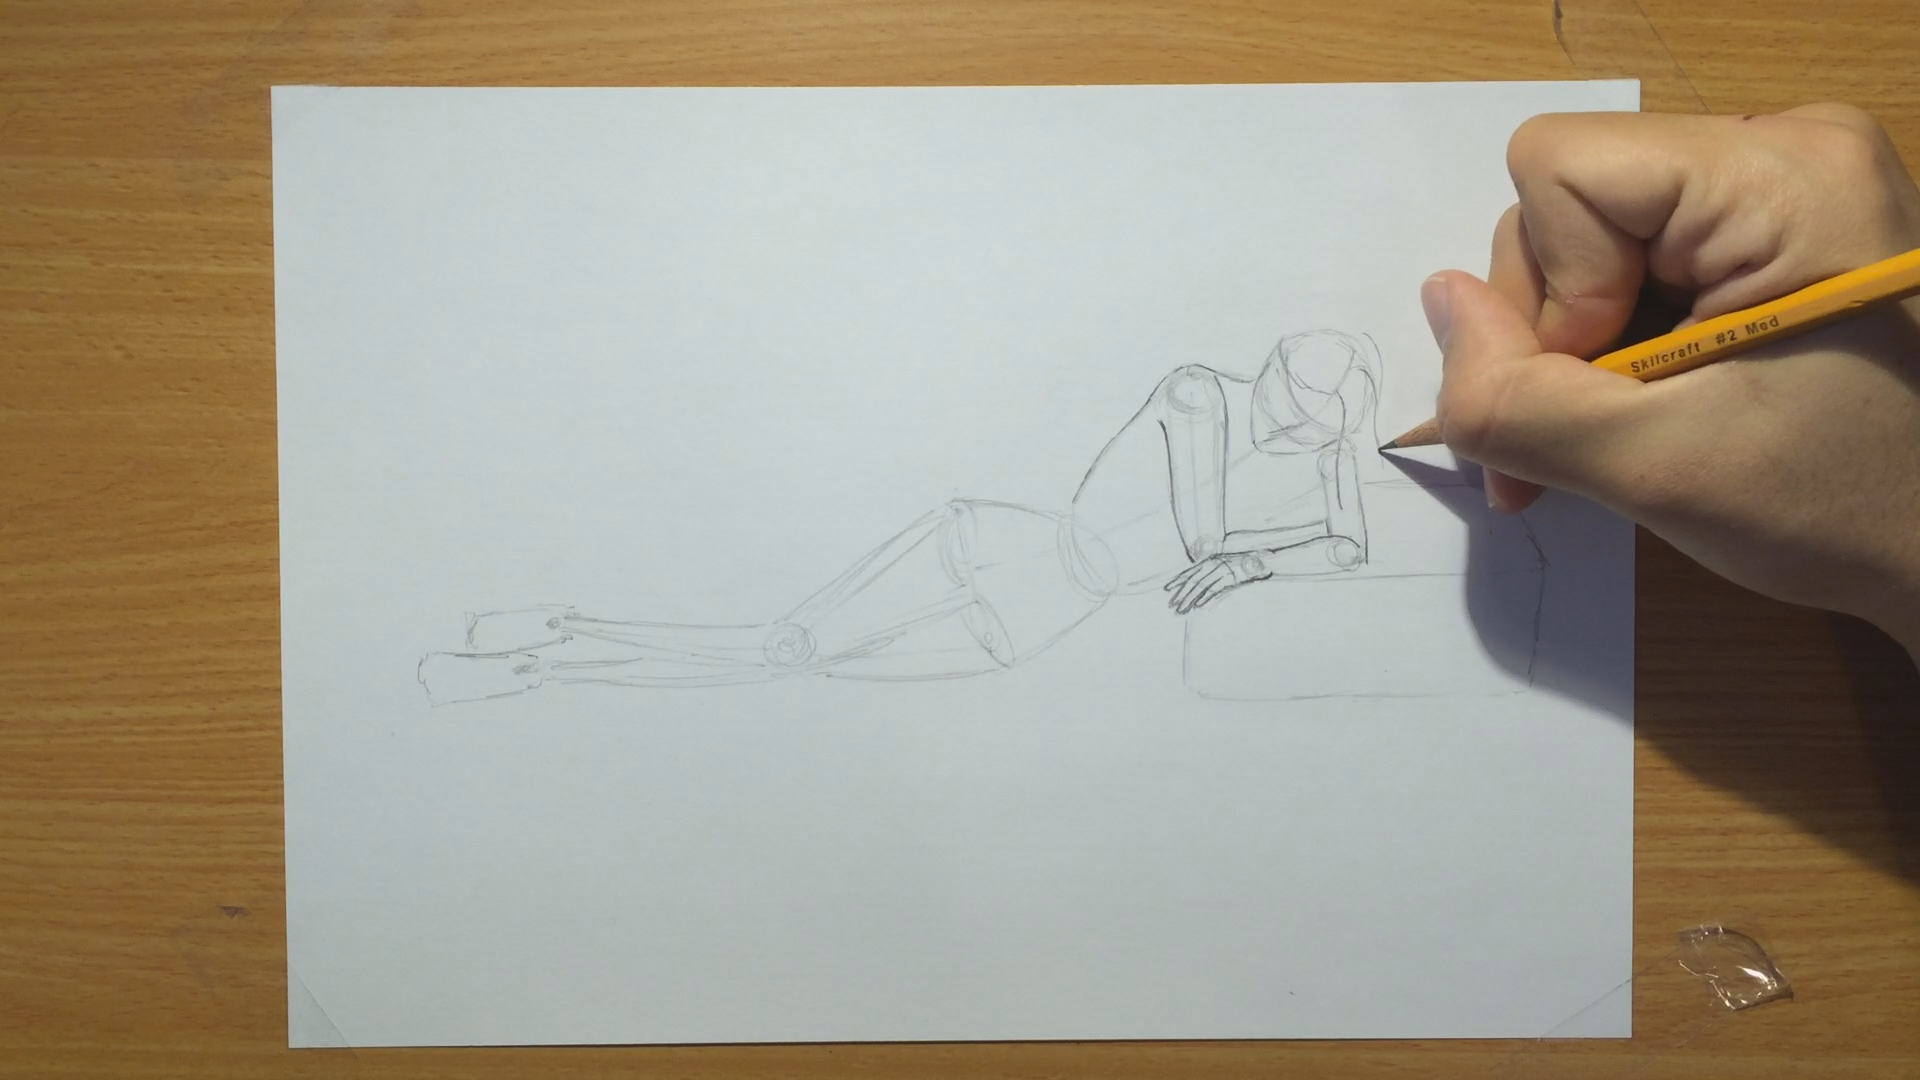
#3 – Drawing the Human Figure
In this step we’ll actually begin turning this simple three-dimensional representation into an actual female figure.
This step requires actual knowledge of the shape of each limb or body part. This is the real challenge.
This step takes into account the structure in terms of muscles and fat too.
Notice how the left are sort of “sinks” into the sofa. This is a useful way to express the softness of the sofa, and her weight being applied on it.
Now we can move onto the final step.
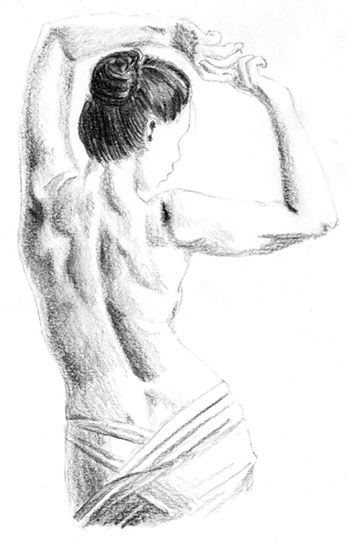
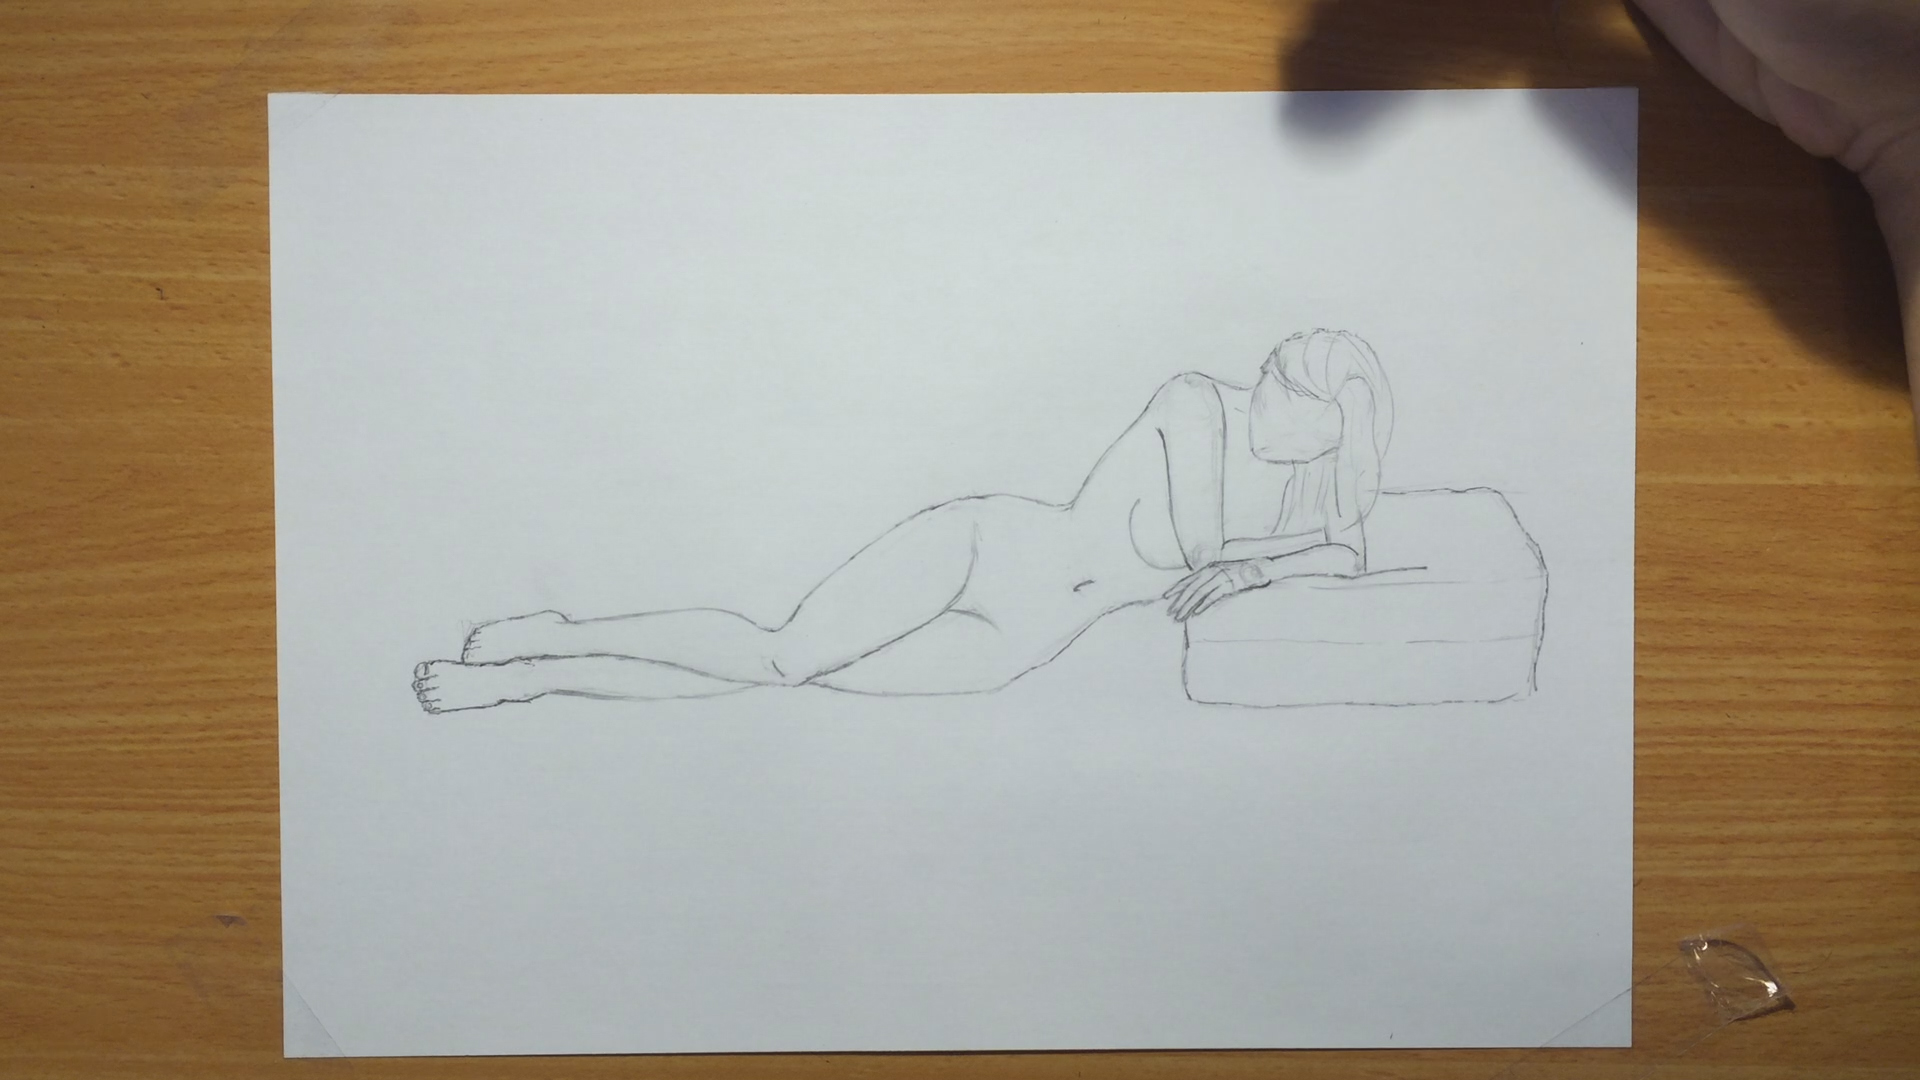
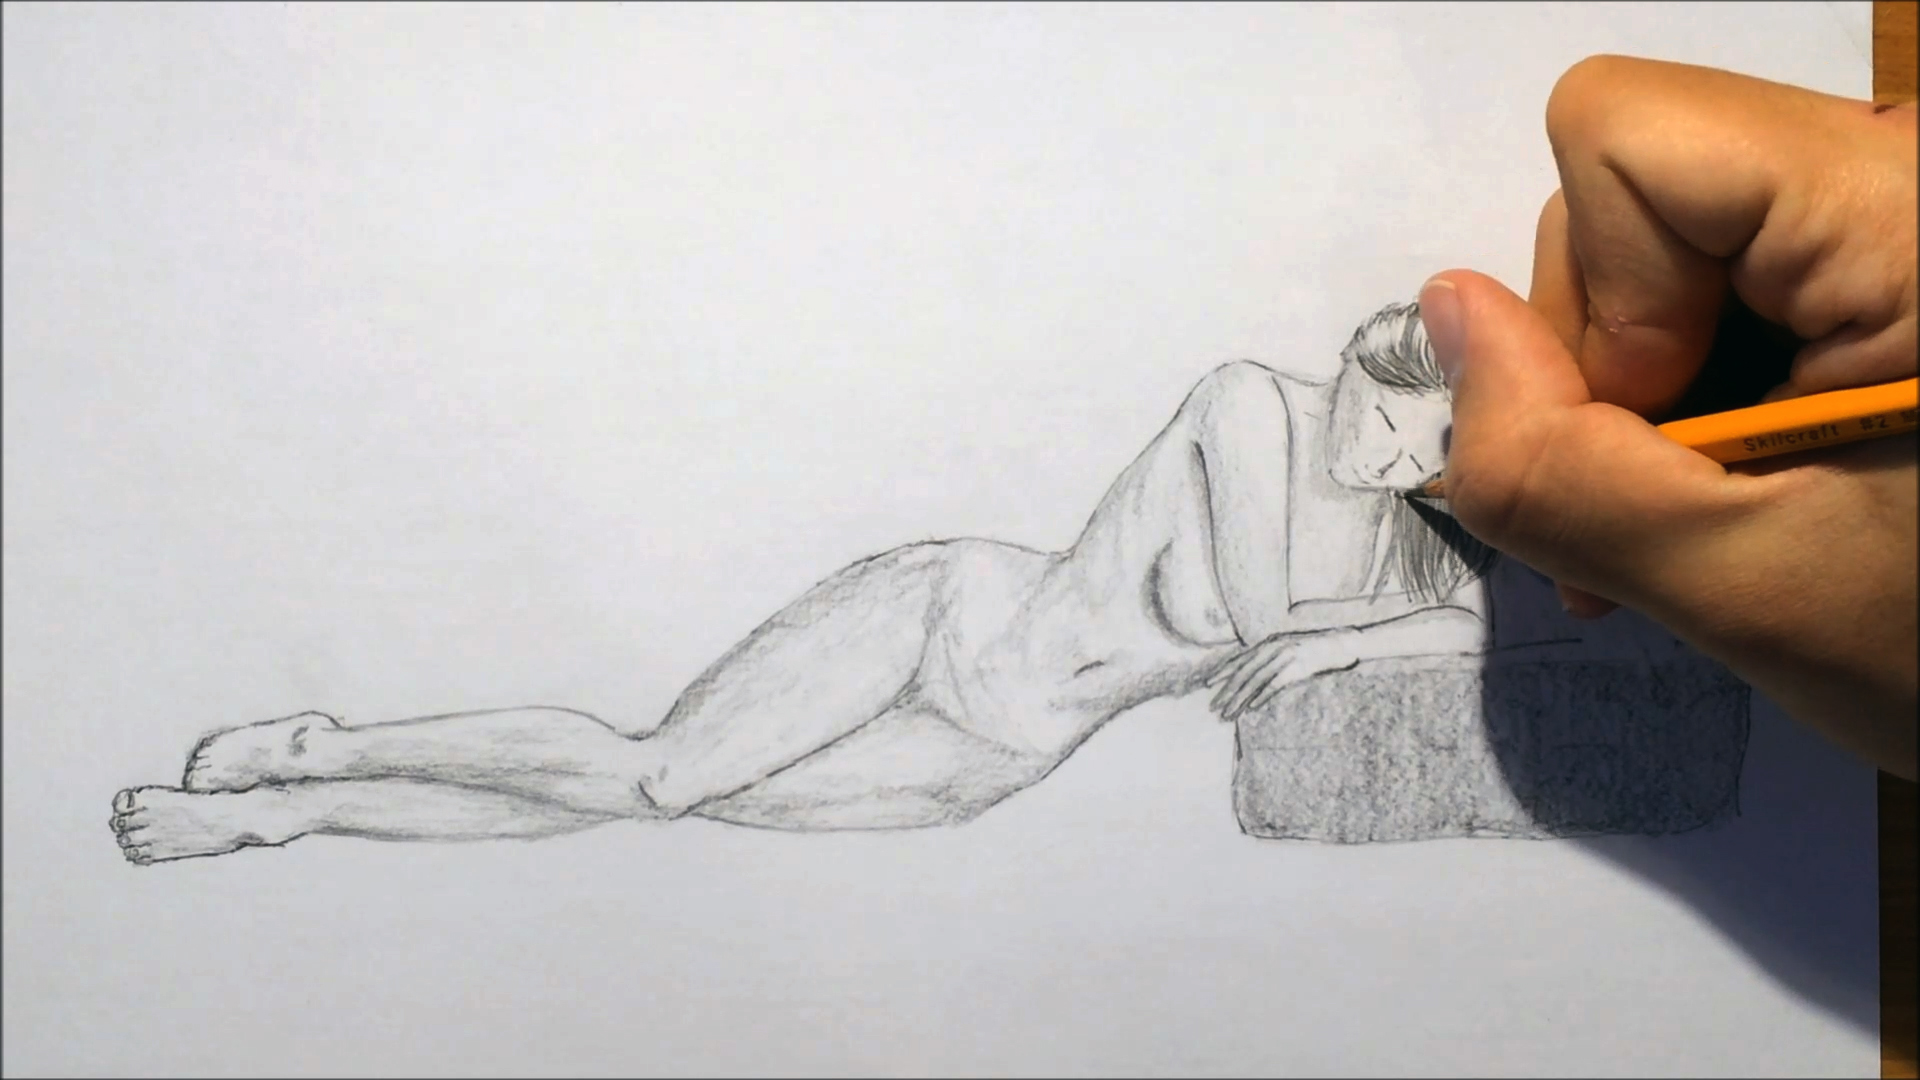
#4 – Shading
In this step we’ll shade the figure, giving it some more volume.
I worked too fast, and the shading is a bit grainy and uneven. Be sure to work slowly, and perhaps use gentle circular motions with the pencil.
Check out the full video tutorial:
And that’s it!
As always, Be sure to SUBSCRIBE HERE to get my eBook for free + great tips and advice on drawing, delivered straight to you! (=