Should You Mix Watercolor Paint Brands? Painting Advice!

In today’s episode (76) of my podcast, I want to answer a question I received several times – Should you mix multiple watercolor paint brands?

The Importance of Watercolor Brands

The question at hand may be tactical, but my answer is also an indication of my general approach to painting and art.

I always try focusing on the 20% that matters. I do that in my art, business and hopefully in life.

There’s always a lot of noise and clutter around what’s really important.

Watercolor painting is already complex as it is – so I’m always trying to simplify the process as much as possible. This is also why I’m a huge fan of using a minimal palette.

Paint > Brand

The quick answer is that I care FAR MORE about the specific paint and its usefulness to me, rather than the brand.

I personally find most (ARTIST GRADE) paints mix well, regardless of brand.

There are certain things you want to be aware of (that I further elaborate on in the episode), such as:

  • Producing a large variety of values
  • Artist grade VS student grade
  • Single pigment / multiple pigments
  • Granulation
  • Lightfastness

I hope you find the explanation in the episode helpful, and that it allows you to change your focus from specific brands and into specific paints.

And by the way, if you want to watch the video from which I grabbed the audio for this episode, be sure to check it out here:

And with that, it is time for the Artist Corner

Artist Corner – Jennifer Branch

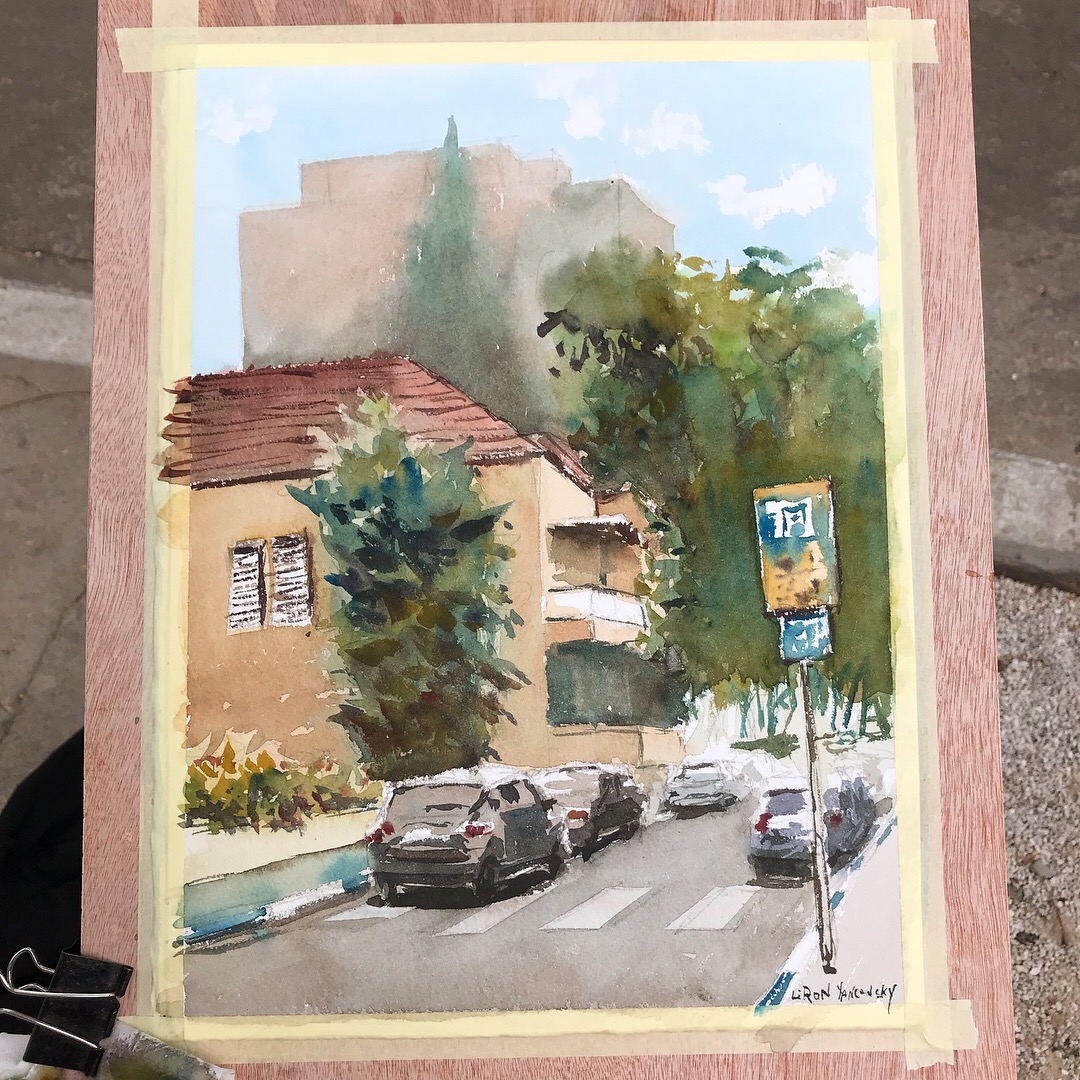
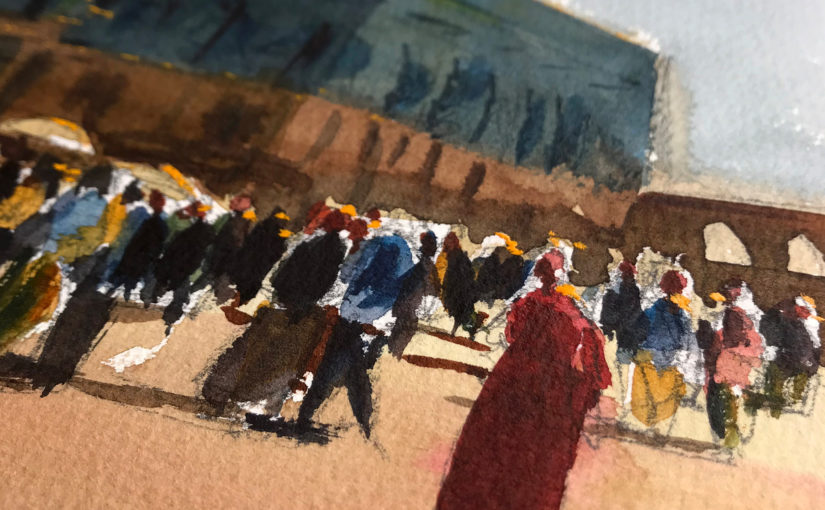
Today I showcase Jennifer Branch, a watercolor painter from Georgia, US.

I love her simplistic impressionistic painting style, as well as focus on happy colors.She has a way of simplifying a scene in a skilled way that preserves its original essence.

Some of her work reminds me of Shari Blaukopf’s work, although the latter’s work has more of an “urban sketching” vibe to it.

Be sure to check out Jennifer’s work here: Jennifer Branch’s Website

And Here’s where you can find me

Check out my YouTube Channel – Liron Yanconsky

Or ask me questions on Instagram – @LironYanIL or Snapchat – @LironYan3

I hope you enjoyed this one. Take care, and we’ll talk again really soon,

— Liron

Use Pure Colors in Your Watercolor Painting

Hi there!

Today I want to present to you a painting process I did a while ago.

It’s not my best painting. However, it’s an experiment I did with preserving the purity of colors and letting them mix on the palette.

You can watch the entire process below, and scroll down for the written version (:

Use Pure Colors in Your Watercolor Painting

So here’s the scene I wanted to paint.

And here’s the drawing stage.

Notice it’s quite the busy scene. There are many cars, people and buildings. This was very challenging to break down.

I think this is actually one part where I “failed” with the painting process. With that being said, I still did a decent job simplifying it.

The funny part is that, I think, the drawing itself is inaccurate, especially in regards to its perspective.

In any case – off we go with the first wash.

First Wash

This is exactly where I wanted to keep the purity the most. I found out it’s important to get it right in this particular step.

The reason stems from the transparency of watercolor. If you start of with over-mixed, muted colors, the next wash may still show them through. And so, glazing yellow over muted blue won’t do much good (;

Next, we have an additional wash.

Second Wash And Beyond

I’ll admit, this isn’t the best of my work. But I was able to improve the purity.

In this stage it’s important to still use vibrant colors. This is true especially for the areas you want to keep colorful.

After that, I continue adding more layers.

And this is the final result!

I went for a rather complex scene, and challenged myself to try something new. This is why I’m very pleased with the result.

Putting Pure Colors in The Correct Context

It’s important to remember that this is one particular approach out of many. It doesn’t mean you have to ALWAYS ALWAYS keep your colors pure, or avoid grays.

This is a tool to be used at the right moments. You can use it, perhaps, to direct the viewer’s eye in some way. You could use it to create a focal point or area.

And this is it for today. I hope you enjoyed this one! (:

Let me know what you think in a comment below, or under the video.

Also, if you enjoy my content – consider supporting me on Patreon. This REALLY helps (:

And I’ll talk to you soon.

– Liron

How to Paint an Urban Sketch (watercolors) – Red Mailbox

Hey friends!

In this video I show you how to paint an urban sketch I made a while ago!

I use watercolors for this sketch, and try to keep the color scheme as simple as possible.

Watch the video first, and then read on for my key tips on how to paint with watercolors (=

Okay! Hope you enjoyed the video (=

Now, for my key tips of how to paint using watercolors…

1. Start light

At first, you want to apply a very diluted, bright layer of color. It’s so much easier starting with bright and then moving onto darker tones.

If you start with a dark tone, you’ll possibly lose much of the potential beauty of the drawing.

2. Test the color first

Before applying the color to your drawing or sketch, use a “test” paper to get a preview for the color.

how to paint with watercolors
My test paper

If you are not pleased – simple re-mix the color!

If you want it to be lighter – draw a few quick lines on the test paper to “get rid of” some of the paint, and then apply it to your drawing.

3. Play with the blot

If you ever worked with watercolors, you probably know this one.

When you start painting with the brush, there will be a big “blot” – an area that is more loaded with color.

You want to imagine that you are spreading out this blot as evenly as possible, over your drawing.

If you have a small area to paint, get rid of some of the paint first, or that blot will stay there, un-smeared…

But what if you already painted, and are stuck with the leftover of this “blot”…?

4. Dab it away!

If you are left with excess paint, simply use a tissue or a napkin to dab some of it away.

A word of warning though – don’t dab it multiple times with the same side of the tissue, or you may paint some of it back in a nearby area.

Use a new tissue for every individual dab (=

5. Layering

Now that you have a basic light layer, decide on a light source.

Then, simply begin adding a second layer, using the same tone, or a darker / different tone if you please.

Watercolors mix pretty well, but I think 3-4 layers is the limit. Four is for extreme cases as well.

6. Blend it in

What if you already painted with too dark of a tone for a second layer, and can’t / don’t want to dab it away?

Simply blend it in with the previous tone!

How?

Well, first make sure the brush currently has very little (to none) paint in it.

Then, use the side of the brush (meaning the length of the hairs of the brush) to blend the border between the two different tones.

Don’t be afraid to apply some pressure and use short quick movements.

And that is it!

Thank you for watching / reading / subscribing!

Please remember to SUBSCRIBE (ON THE LEFT), or via my Get Awesome Stuff page!

You’ll get my eBook for free + great tips and advice on drawing, delivered straight to you! (=

Let me know if you have any additional questions, and I’ll be happy to help.

Until next time,

– Liron