How to Draw a Drop Fold: One Way

Hey friends!

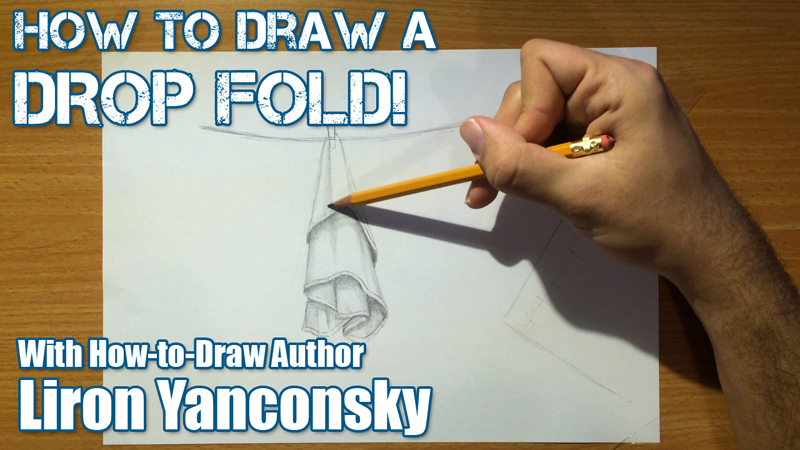
In this drawing lesson I’ll teach you how to draw a drop fold.

The drop fold is created when a cloth hangs freely from an anchor point or an anchor area.

Here is an example.

Drop fold - simple example

This is a simple example of a towel hanging in the air. The only forces affecting it are gravity and the clothespin holding it in place.

Remember this rule: folds radiate from the anchor point and outwards. In this example they radiate downwards.

This fold is basic and challenging at the same time. The concept of a piece of cloth hanging loosely from an anchor point is relatively simple to grasp. There is, however, a large variety of shapes that can be created.

Here is another example of a drop fold.
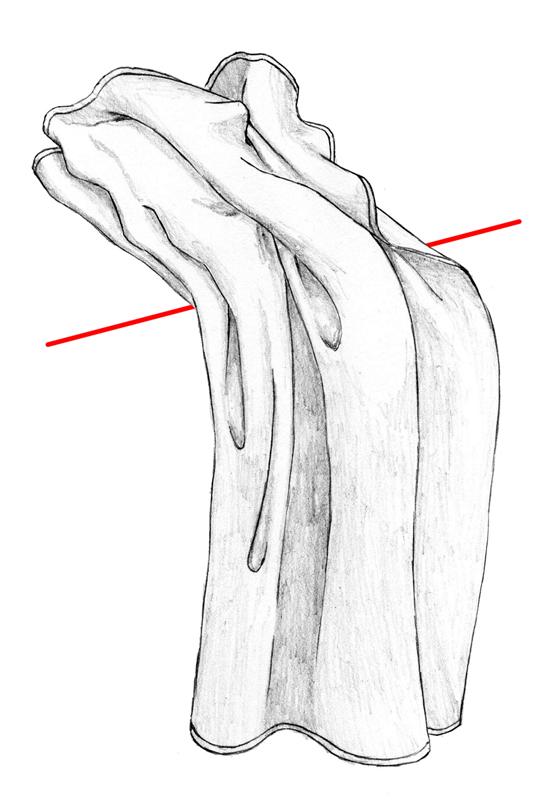
How to draw a drop fold - anchor area

This example shows a drop fold created in cloth supported by an anchor area. The cloth is leaning against a ledge of some sort. Notice the different, hook-like shapes created in this example.

Now let’s make some order in the mess.

Drop folds, like all other folds, conform to the principles we learned earlier.

Let’s focus on two key principles:

1. The power of gravity is always present.
2. Folds radiate outwards from the anchor point or anchor area.

The most prominent characteristic of the drop fold is the direction of the fold, radiating downwards.

When supported by an anchor point, these folds tend to receive the shape of a cone. This happens because the cloth is held by the anchor point while being bunched up. As all the folds radiate downwards the cloth becomes wider and wider, taking the shape of a cone.

Here is a good example of this.
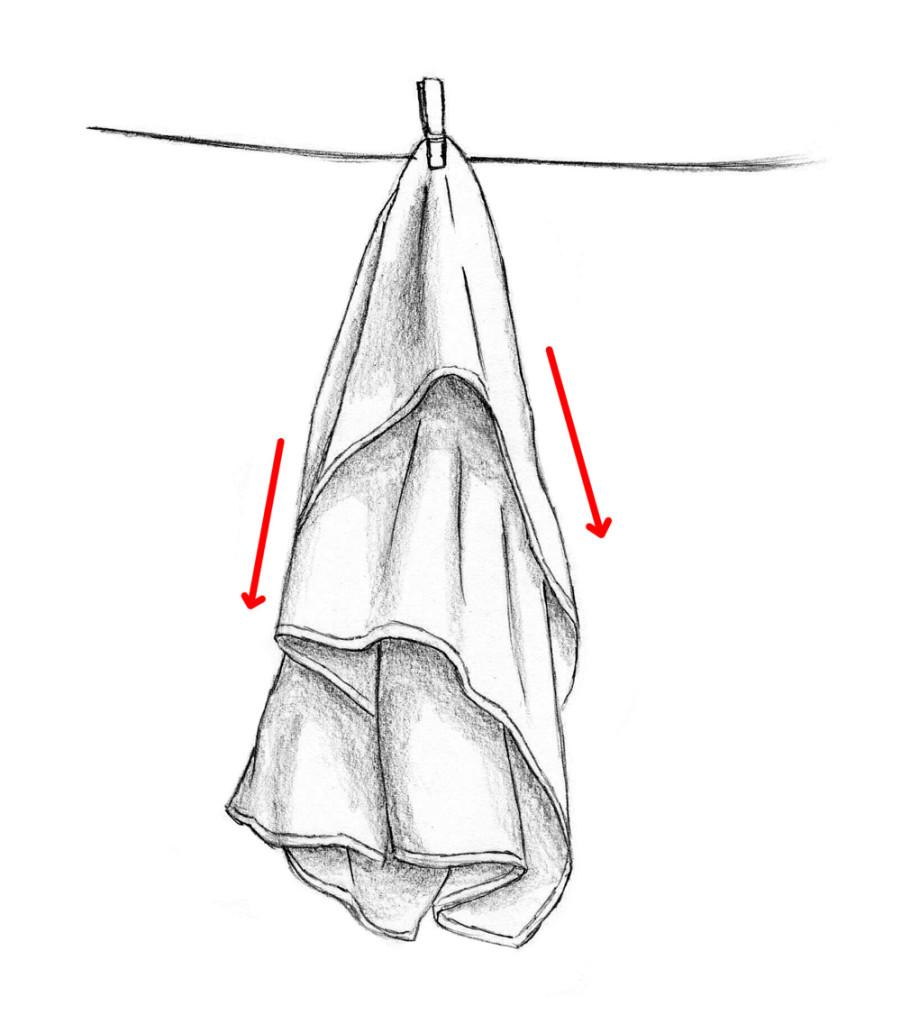
How to draw drop fold downwards

There is literally an infinite amount of drop folds, and the only way to study them is… you guessed it, using reference! (looking for them in the real world)

For this, take a towel and hold it in your hand, close to one of the edges. Hold it in the air and take a look at the folds created.

Now repeat this a few times, and notice how every time the folds look slightly different. This is the wonder of the drop fold – Basic, yet challenging.

And finally – watch my step by step video:

Keep looking for this fold in as many places possible, and slowly but surely you will be able to draw it yourself.

If you want more useful info on drawing folds in clothes, check out my book: How to Draw Folds and Clothes.

How to draw folds and clothes

Also, be sure to SUBSCRIBE to my blog (ON THE LEFT), or via my Get Awesome Stuff page! You’ll get my eBook for free + great tips and advice on drawing! (=

And until next time – take care!

– Liron

How to Draw Jeans

Hey friends!

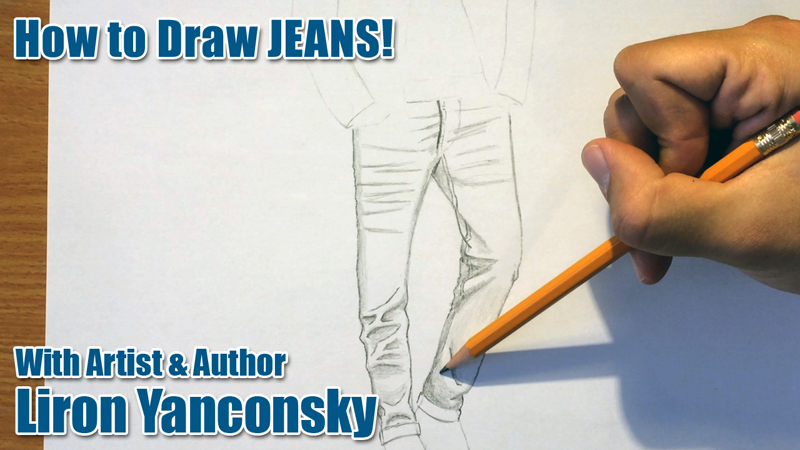
In this short drawing lesson we’ll learn how to draw Jeans.

How to draw jeans

Here are a few key pointers:

1. Learn how to draw folds in clothes.

2. Understand where folds are created in pants and jeans.

3. Learn how to shade your drawing properly.

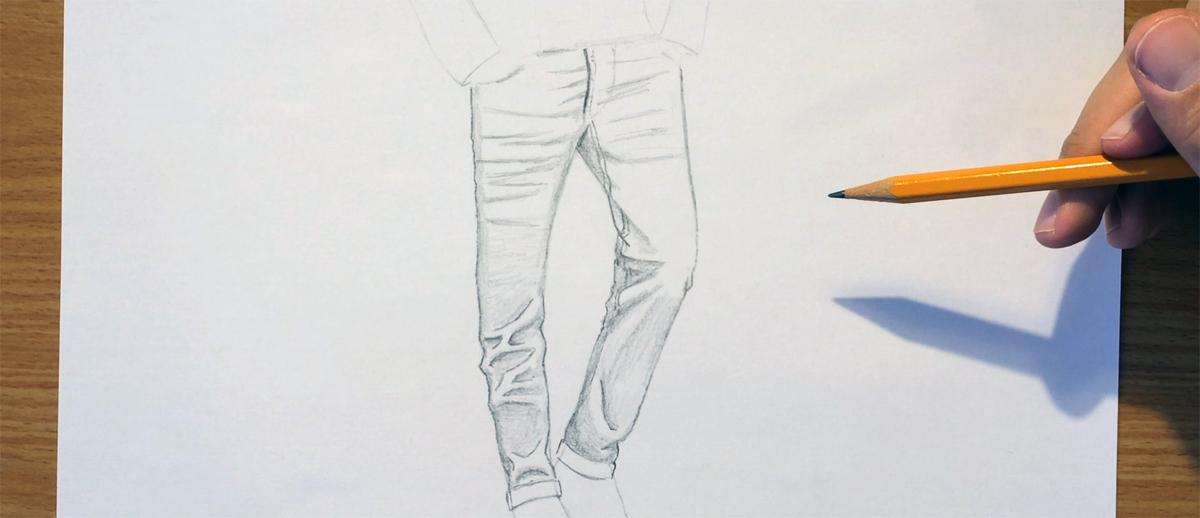
In Jeans, this is where most folds are created:

Around the waist

This area is usually stretched, and also has the zipper. This causes straight horizontal folds to be created.

Around the knees

This is an area that is bended often (with each step you take!), and so there will be many folds and wrinkles there.

They will usually be zigzag folds.

Here is what common zigzag folds look like:

how to draw jeans zigzag fold

For more information on drawing folds and clothes, check out my course on drawing folds and clothes, or my book on Amazon (=

Right above the shoes

This is where a lot of pants are folder, or just tend to bunch up into simple zigzag / horizontal folds.

And that’s mostly it!

Watch the video for the full steps (=

Please remember to SUBSCRIBE HERE to get my eBook for free + great tips and advice on drawing, delivered straight to you! (=

And I’ll talk to you soon,

– Liron


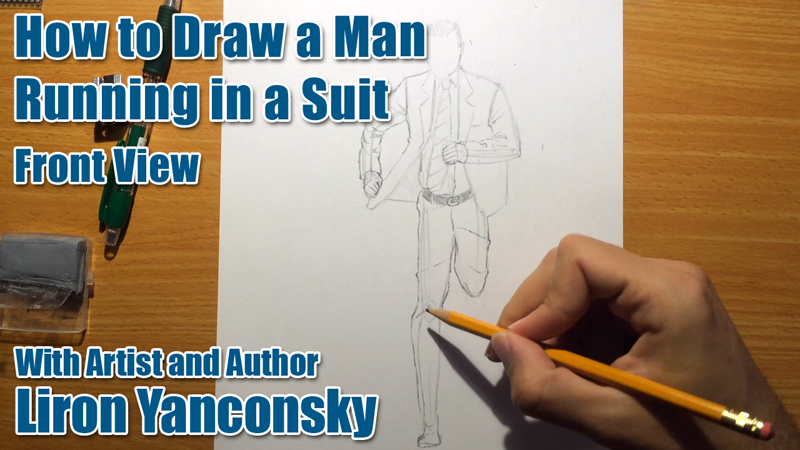
How to Draw a Running Man in a Suit

Hey friends!

In this fun drawing lesson I’ll teach you how to draw a running man in a suit!

We’ll go over all steps from start to finish.

First watch the video. Then read on for more step-by-step details!

If you prefer a written article, here are some more drawing tips and details.

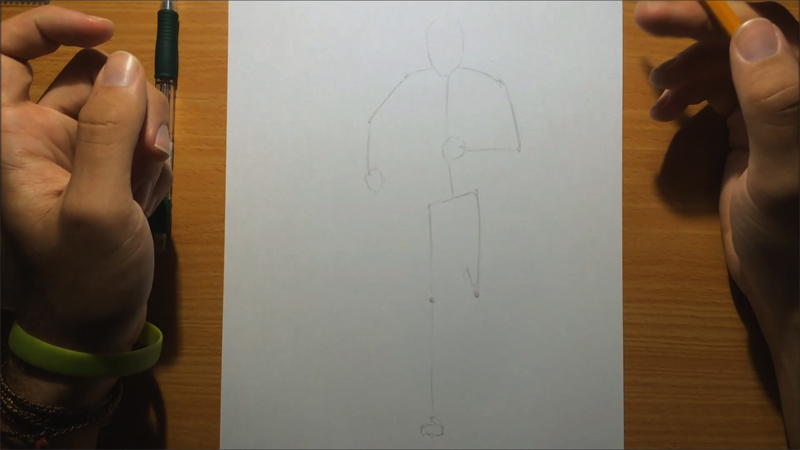
1. Draw the figure’s guidelines

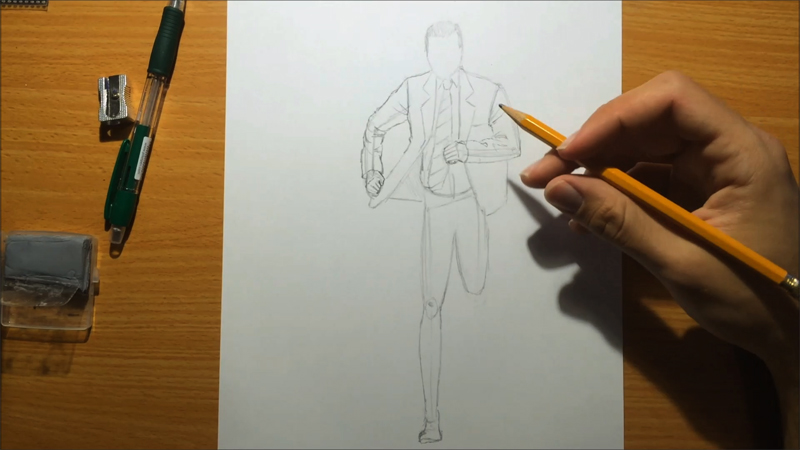
In this step you create a simple skeleton composed of lines, that represents the figure in motion.

how to draw a running man

We are drawing a running man here, so it’s important getting this right.

I’ll note that I am not yet an expert in figure drawing, it’s something that takes a lot of time.

The key to this pose is to draw one hand being sent forward, and the opposite leg being sent forward as well. Here I drew the right hand moving forward, and the left leg sent forward as well.

Use reference to really get this down.

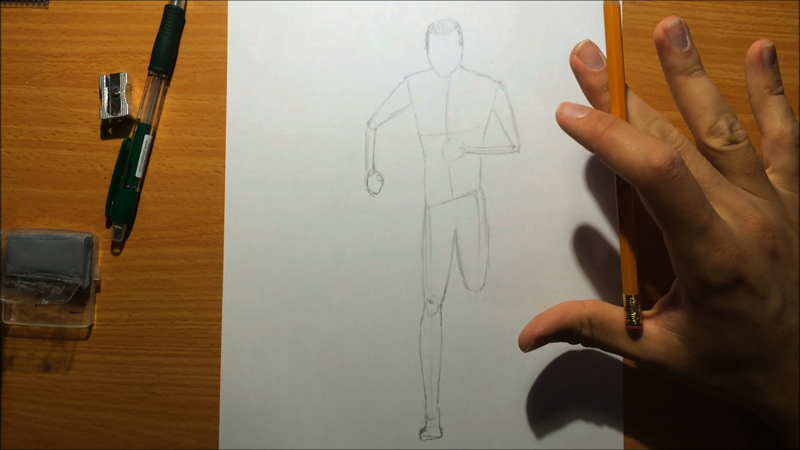
2. Turn it into a three-dimensional shape

In this step we want to turn our skeleton into a more three-dimensional body.

One way to do this is by turning all lines into cylinders and all joints into ovals.

how to draw a running man

In this specific drawing I didn’t go into too many details, because the entire figure will be covered in multiple layers of clothes.

In many cases however, you can’t get away with what I’ve done here (= You have to actually add in all details of the figure, such as the muscles.

3. Drawing the clothes

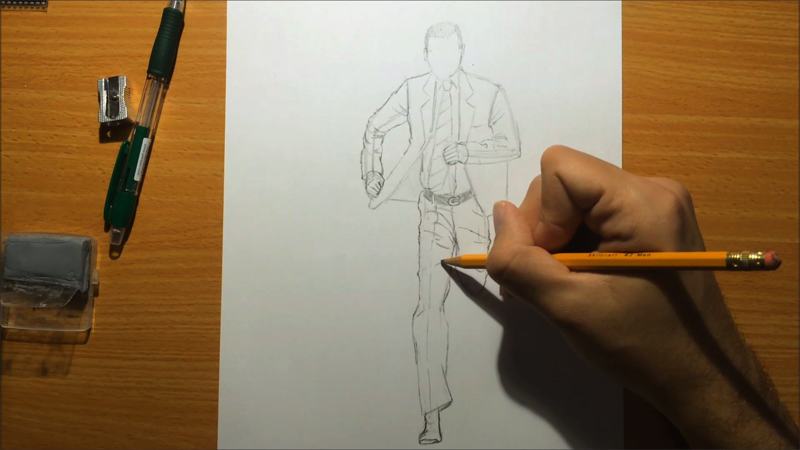
In this stage we begin drawing the clothes.

The key here is to take into account the running movement, and understand how it affects the clothes.

how to draw a running man

Notice how I made the upper part of his suit “fly” in the air.

You’ll notice the same thing happen when I draw the pants.

how to draw a running man

And there you have it – a running man in a suit!

Thank you so much for reading / watching the video! Let me know if this helps you.

Don’t forget to SUBSCRIBE to my blog (ON THE LEFT), or via my Get Awesome Stuff page!

You’ll get my eBook for free + great tips and advice on drawing, delivered straight to you! (=

And I’ll see you soon,

– Liron

How to Draw a Hoodie: Back and Side View

Hey friends!

First of all – I’d like to thank ANYONE who subscribed to my channel. It means a lot to me! I really am thankful for every new follower.

Now – let’s get to business.

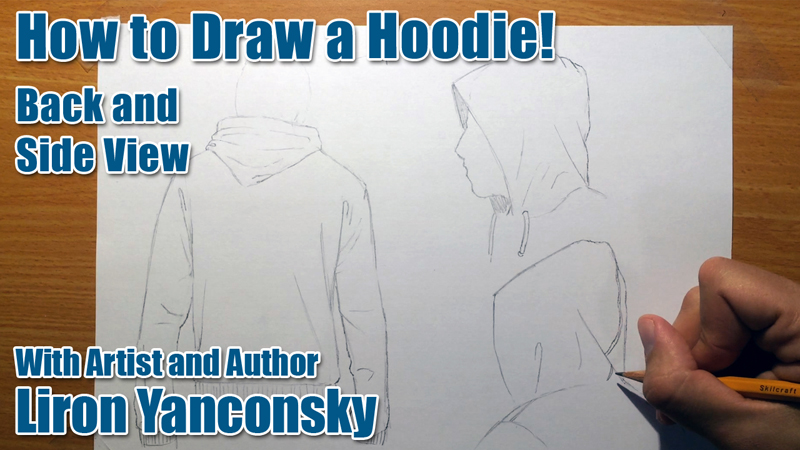
In this drawing lesson I’ll teach you how to draw a hoodie, from two different angles: Back and side!

Watch the video, and then read on.

Hope that was helpful (=

Not a lot to add here.

The main thing that makes drawing hoodies special is… you guessed it – the hood!

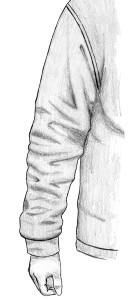
The rest of the hoodie works just like any other sweater / shirt. Folds are mainly around the armpits, shoulders and waist.

For a good beginner’s guide, check out my book on drawing folds and clothes on Amazon.

4 Cover Nov 2 copy - DS

Here are a few tips on drawing the hood

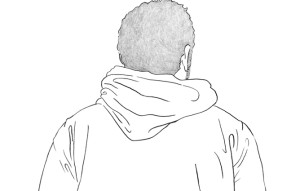
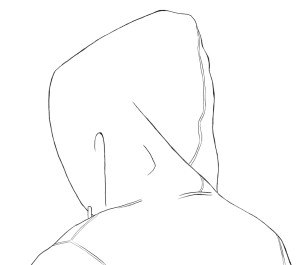
Remember the hood comes out the back of the hoodie (confusing, huh? =P). It is actually connected to the back, right below the back side of the neck.

Here is what it looks like when it’s resting on the back.

how to draw a hoodie back

Notice how the cloth bunches up, creating many folds.

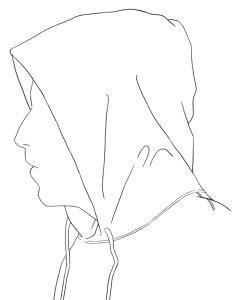
Also, remember that if your character tilts its head, the hood will move with it.

Here is an example:

004

In this example, the guy’s head is turned to the right, causing the hood to stretch. This causes that LONG diagonal fold.

Also, notice how the back of the hood is usually more abundant in folds.

003

This happens because the excess cloth tends to move there.

This is all there is to it! Practice drawing hoodies from different angles, and with different positions of the hood itself.

And let me know if you have any questions regarding how to draw a hoodie, or in general.

And as always, be sure to SUBSCRIBE to my blog (ON THE LEFT), or via my Get Awesome Stuff page!

You’ll get my eBook for free + great tips and advice on drawing, delivered straight to you! (=

I hope to hear from you soon,

– Liron

How to Draw a Leather Jacket

Hey friends!

In this lesson I’ll teach you how to draw a leather jacket.

Well, I’m vegan, so let’s say this is a synthetic leather jacket, shall we? (=

Anyway – check out the vid, and I’ll wrap up with some key tips!

Okay, hope you enjoyed this one!

Here are a few key tips for drawing jackets.

Learn How to Draw Folds and Clothes

This is rather obvious. You must understand folds in clothes, and learn how to draw them.

For a good beginner’s guide, check out my book on drawing folds and clothes on Amazon.

4 Cover Nov 2 copy - DS

Leather / synthetic Leather

What characterizes clothing items made of leather or synthetic leather is that they are mostly THICK and DURABLE.

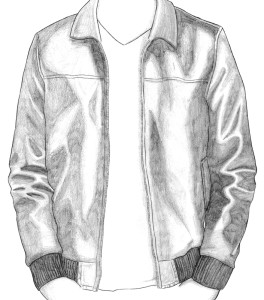
This cause LESS folds to appear. It also causes them to become thicker and larger.

This can very from one jacket to another, but it can be used as a general rule.

Also, this material is usually shiny. This means we’ll leave many areas entirely white in our drawings.

And that’s really all there is to it. Follow these guidelines while using reference, and I’m sure you’ll get this down.

Here is the final version of this drawing:

how to draw a leather jacket

Let me know if you have any questions.

And as always, be sure to SUBSCRIBE to my blog (ON THE LEFT), or via my Get Awesome Stuff page!

You’ll get my eBook for free + great tips and advice on drawing, delivered straight to you! (=

I’ll talk to you soon,

– Liron