
Hey Friends!
In this drawing lesson you’ll learn how to draw a LION! We’ll go at it step by step, so that you can understand everything.
How to Draw a Lion – step by step
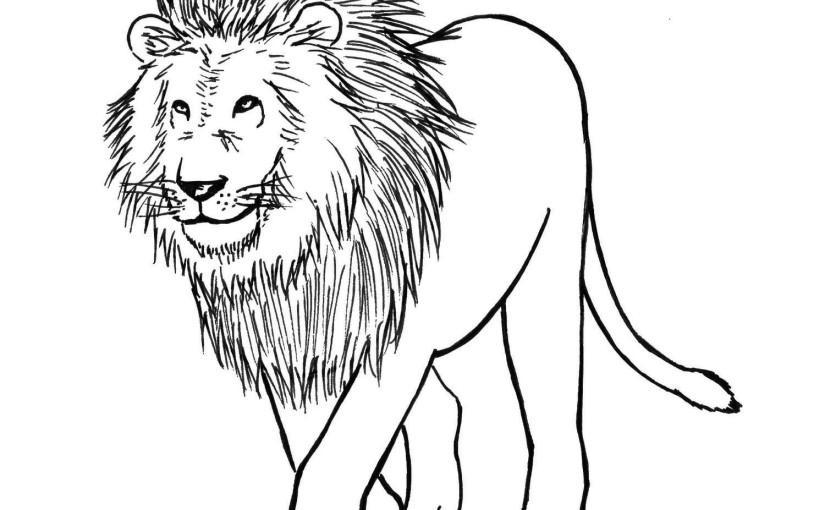
Step 1 – The head and the mane
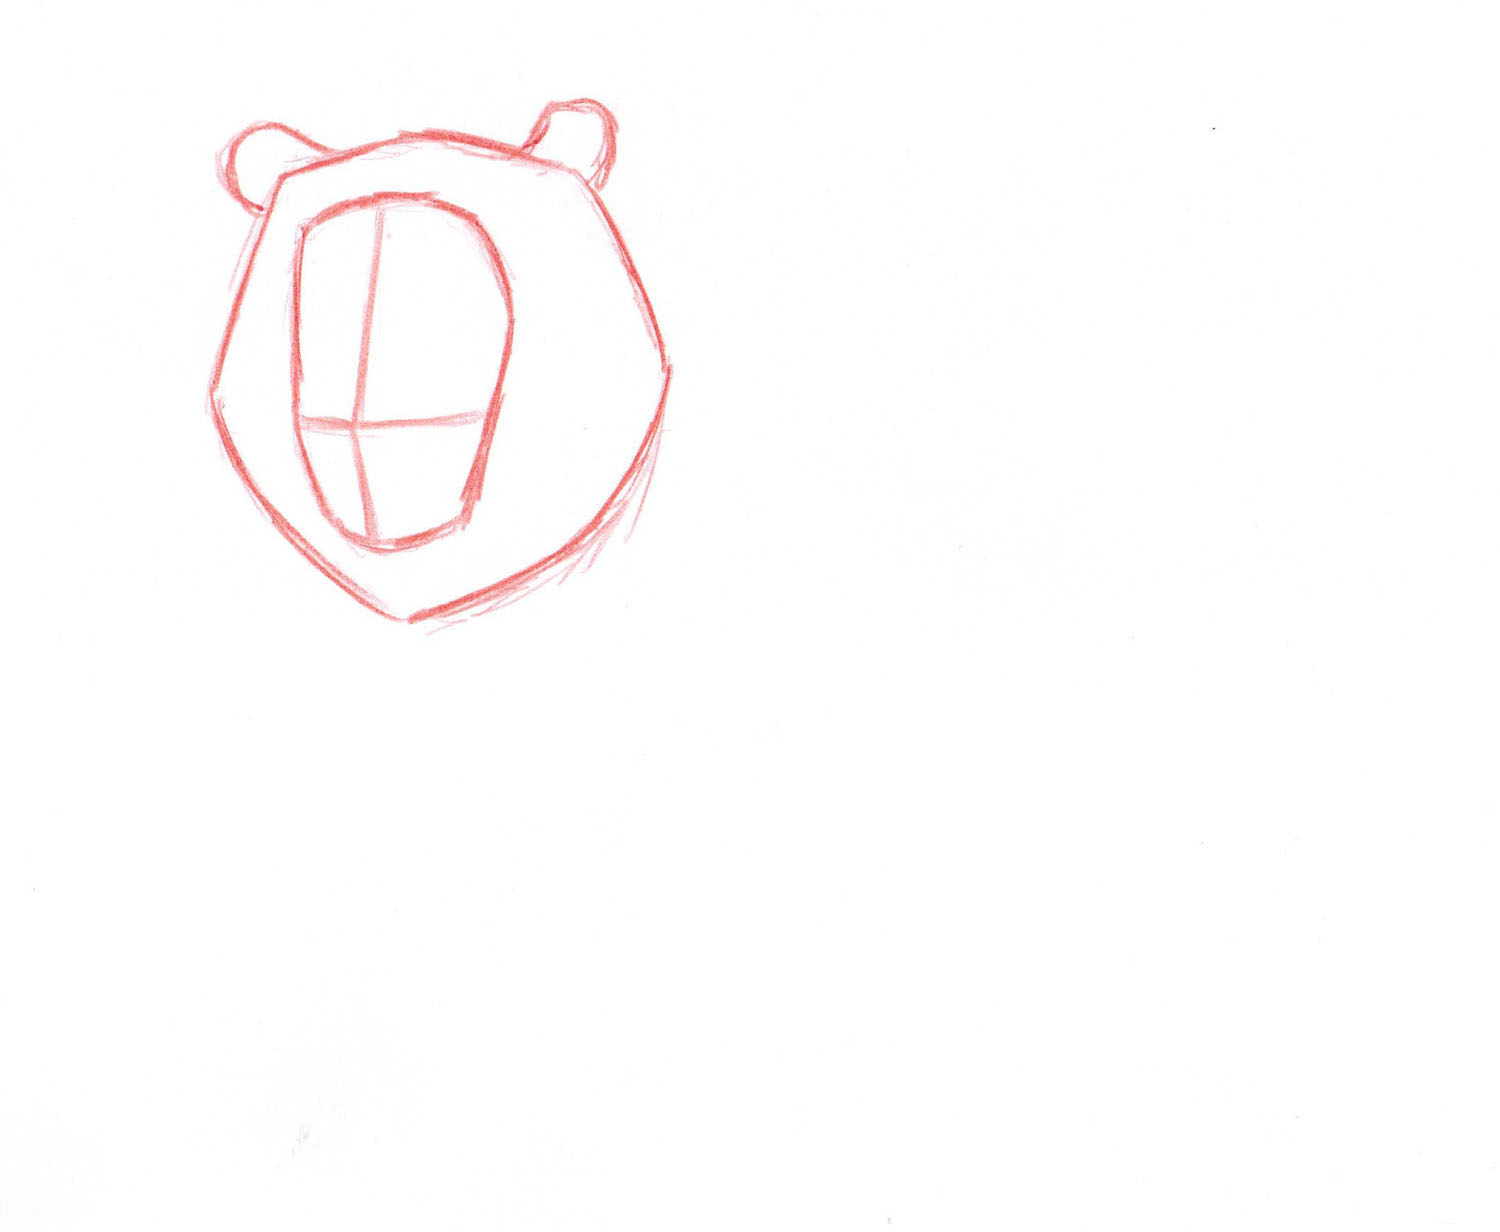 You can see I drew the head, together with two guide lines that will later tell us where the center of the lion’s face is.
Notice how the lion is turned to our left.
I also drew a mane. This is really simplistic, because the details will be added later with a black pen. It is important, however, that you get these shapes correctly, so the drawing looks cool eventually!
Step 2 – The second mane:
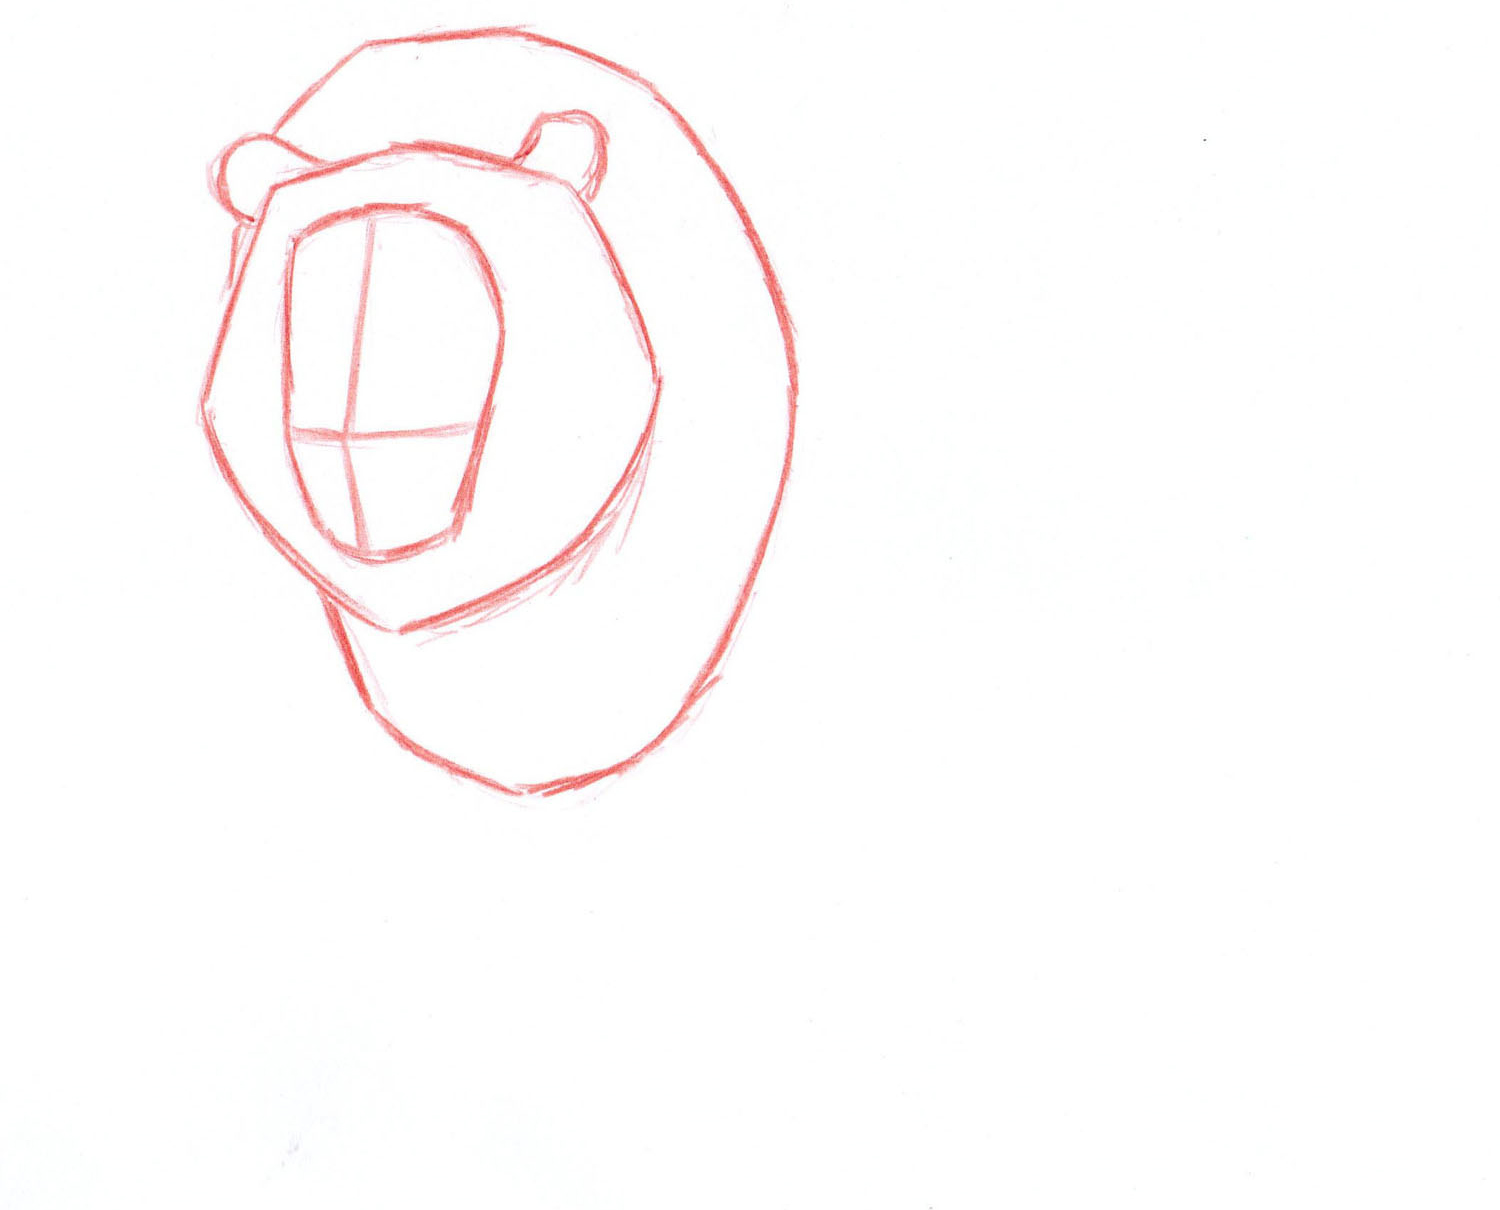 Here you can see I added a second mane. I notice after studying the way lions look, that they have what appears to be two manes. One is around their head, and the other one is bigger, usually darker, and reaches more to the back of their bodies.
Step 3 – Adding the body:
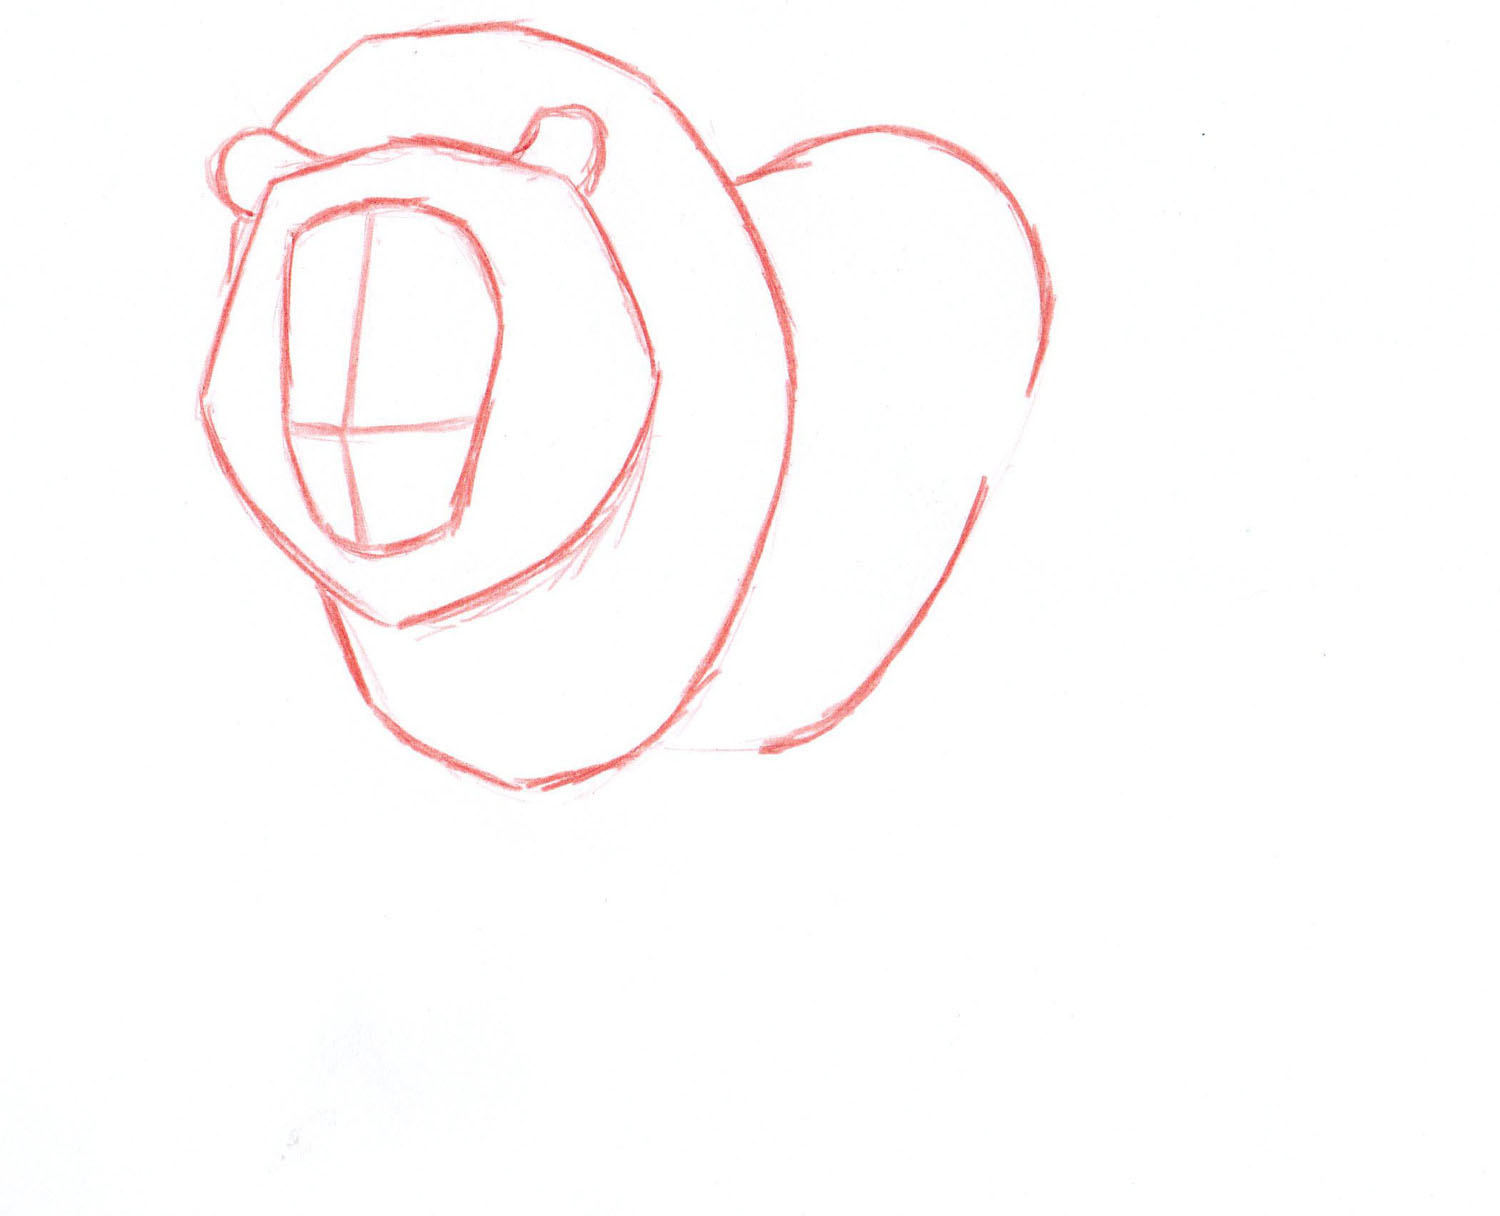 Here I added the body. Just like the head, it is turned to our left.
Also, some foreshortening is occurring here.
Step 4 – The legs and paws:
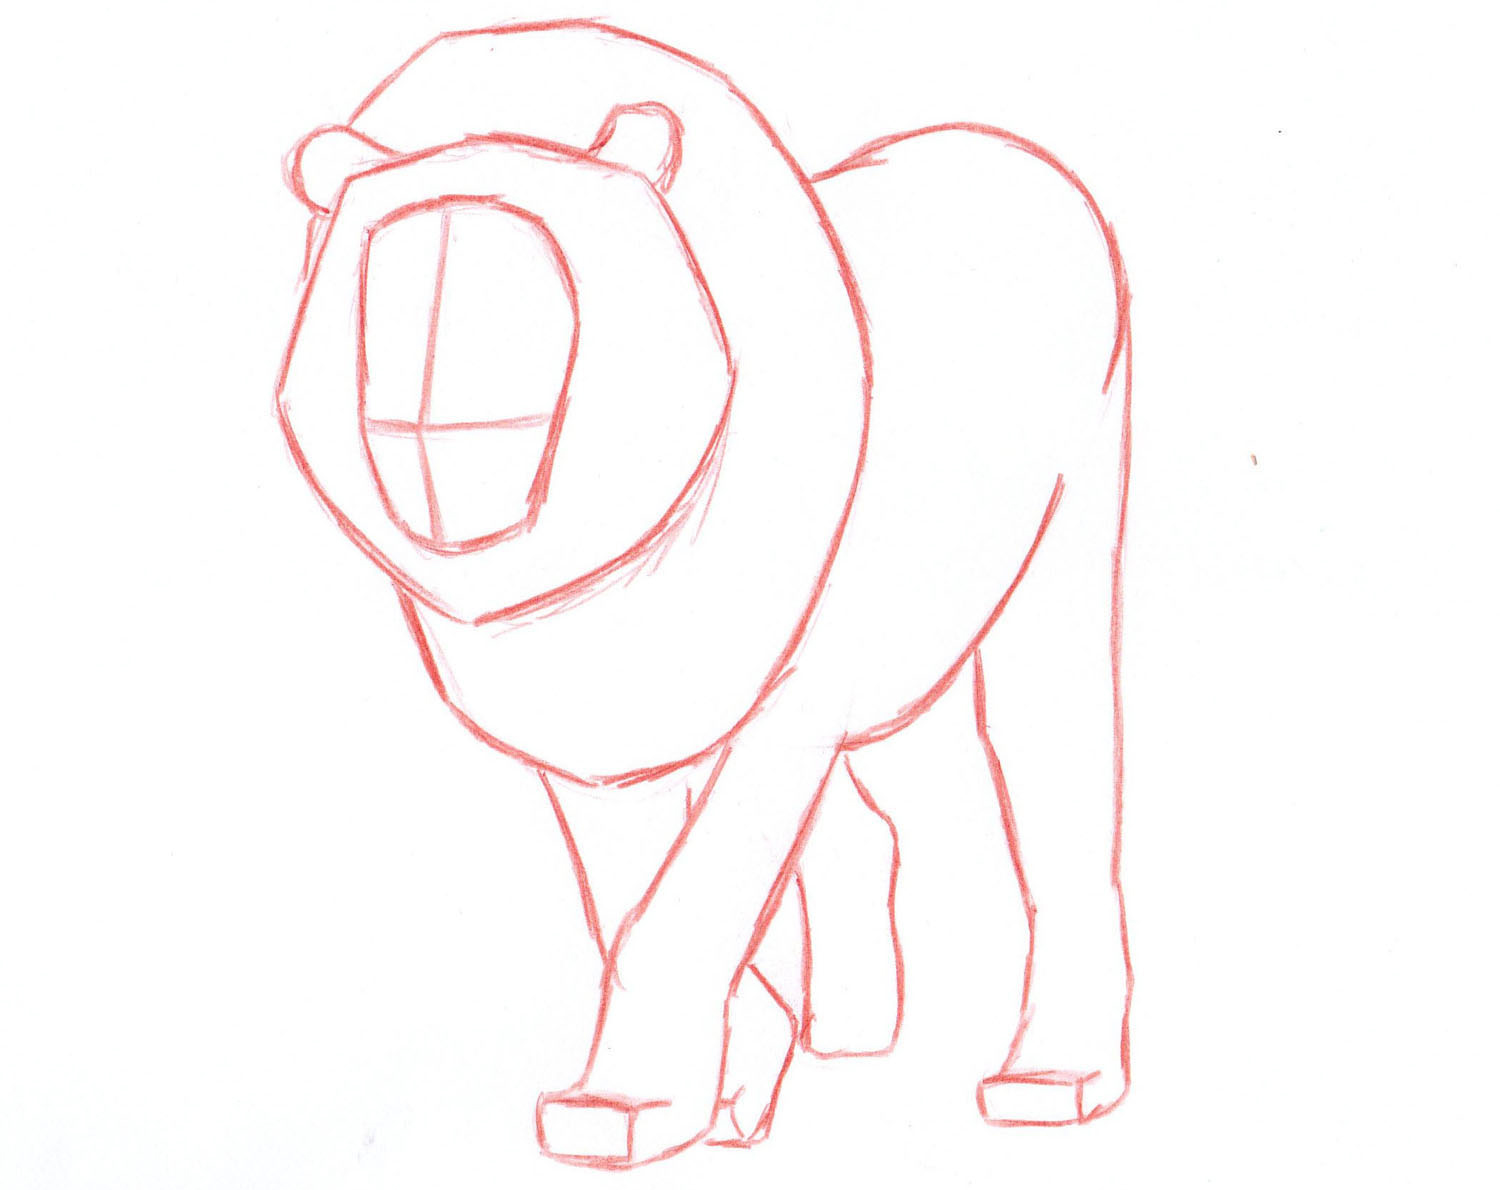 Here I added the legs, and lightly indicated the paws with square-ish forms, that will later be turned into rounder forms with the inking. This was the most challenging part for me, and it also challenges me in drawing the human body.
The best advice I can give you is to study further how lion’s / other big cat’s limbs look.
Step 5 – Details, details, details….
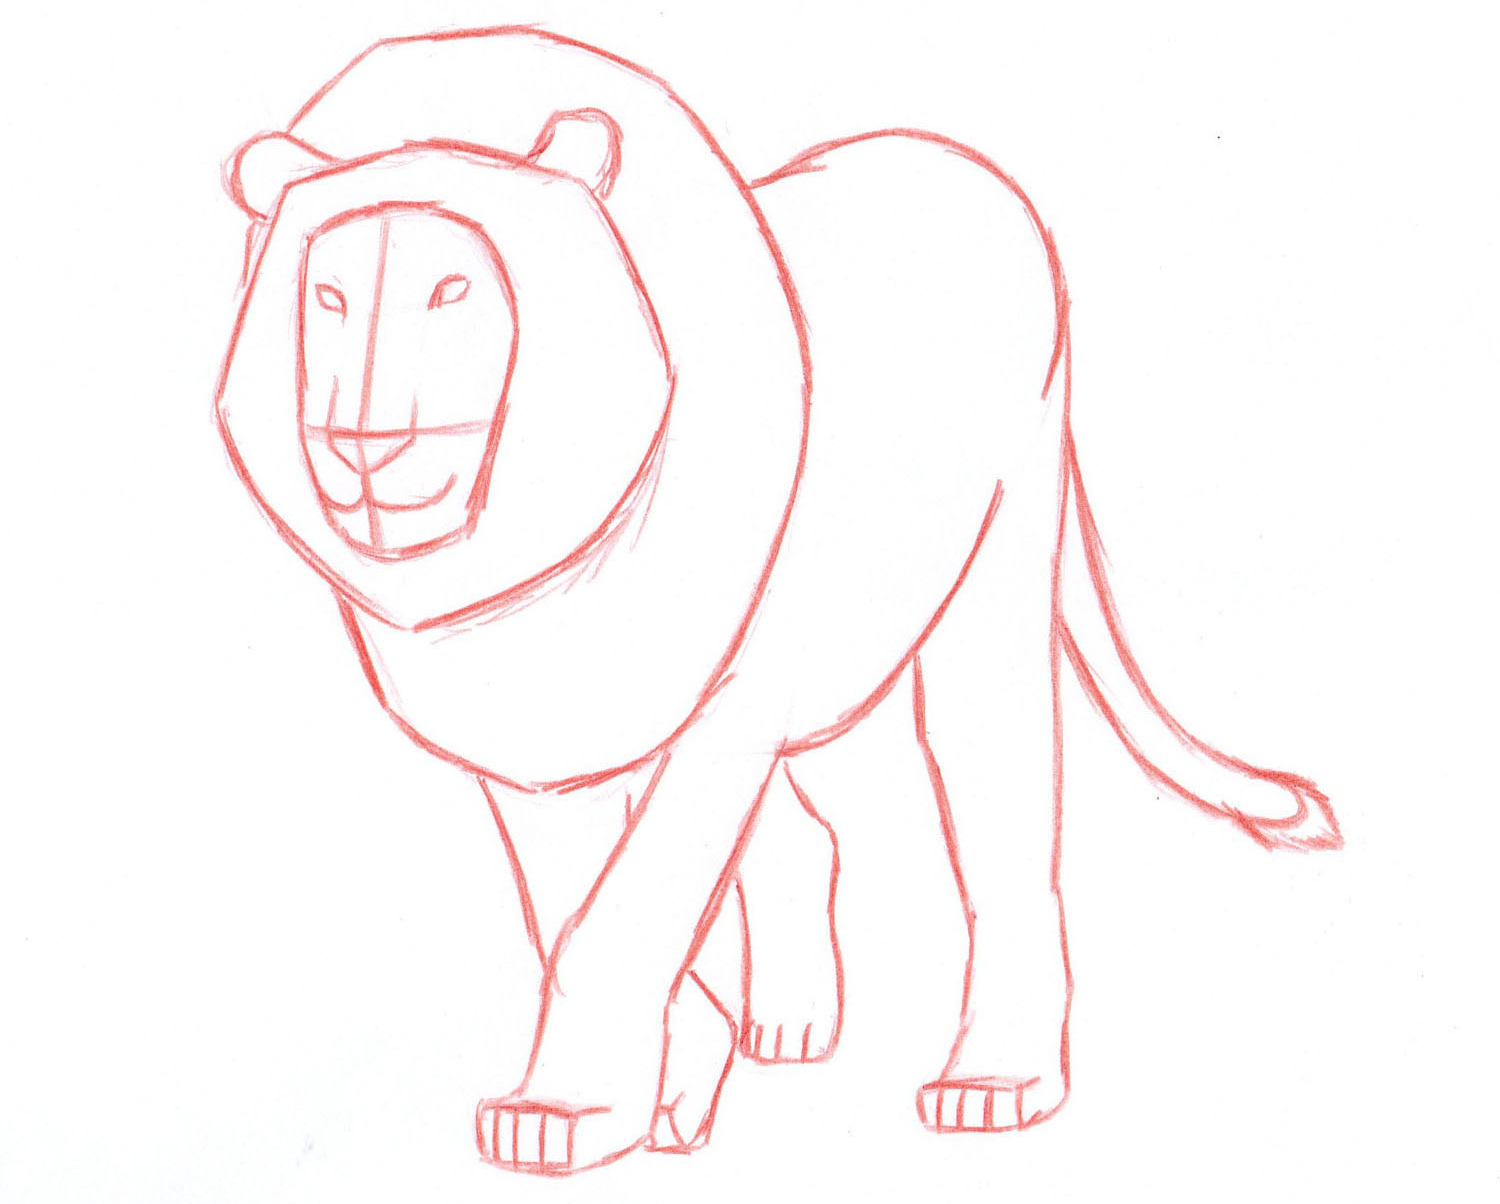 Here I added the details to the head and feet, as well as drawing a tail. This step, especially the face, will help us later on to ink this beast in a cool and correct manner.
Steps 6-8 – Inking
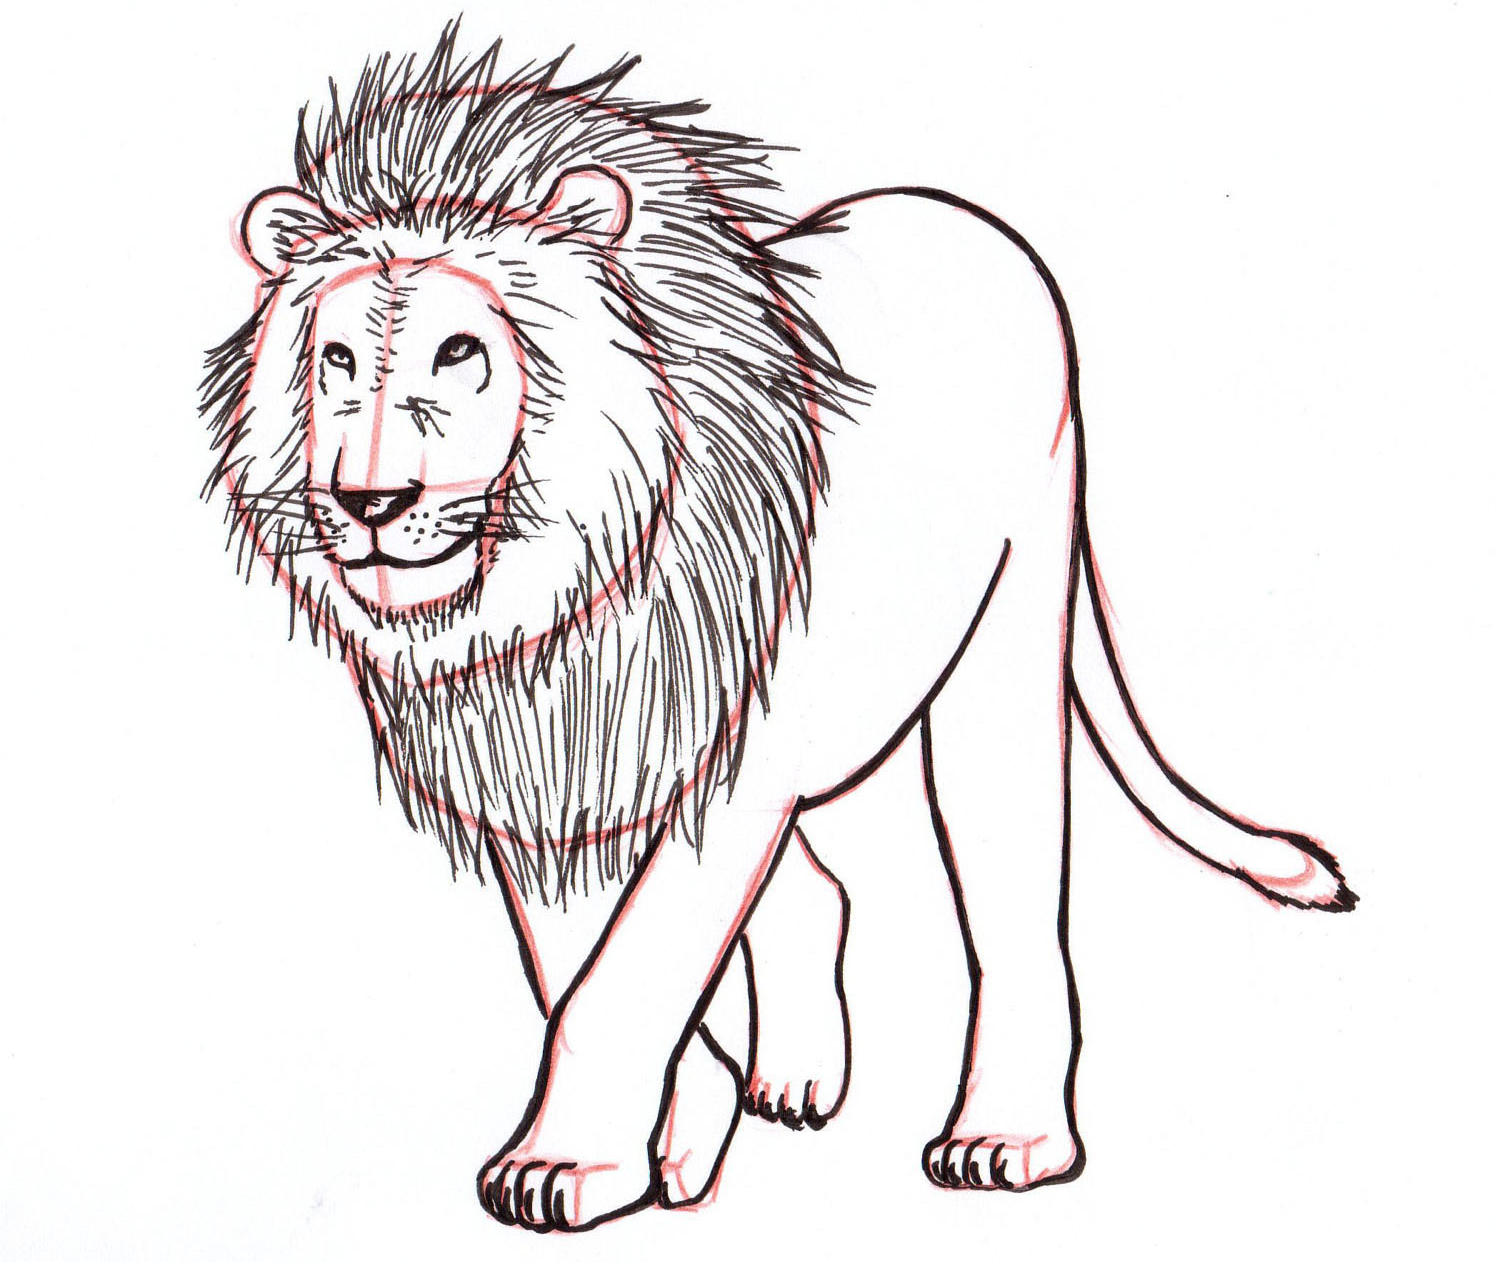 This is the inked lion. The body didn’t change much, but look at the face, manes and paws.
First, I added the details of the face. The nose sits in the dead center we marked earlier, and from there you get to the rest of the face.
The manes now look like manes! And the paws have been rounded up, and had nails added to them. This is basically all the details necessary.
And after erasing the red pencil…
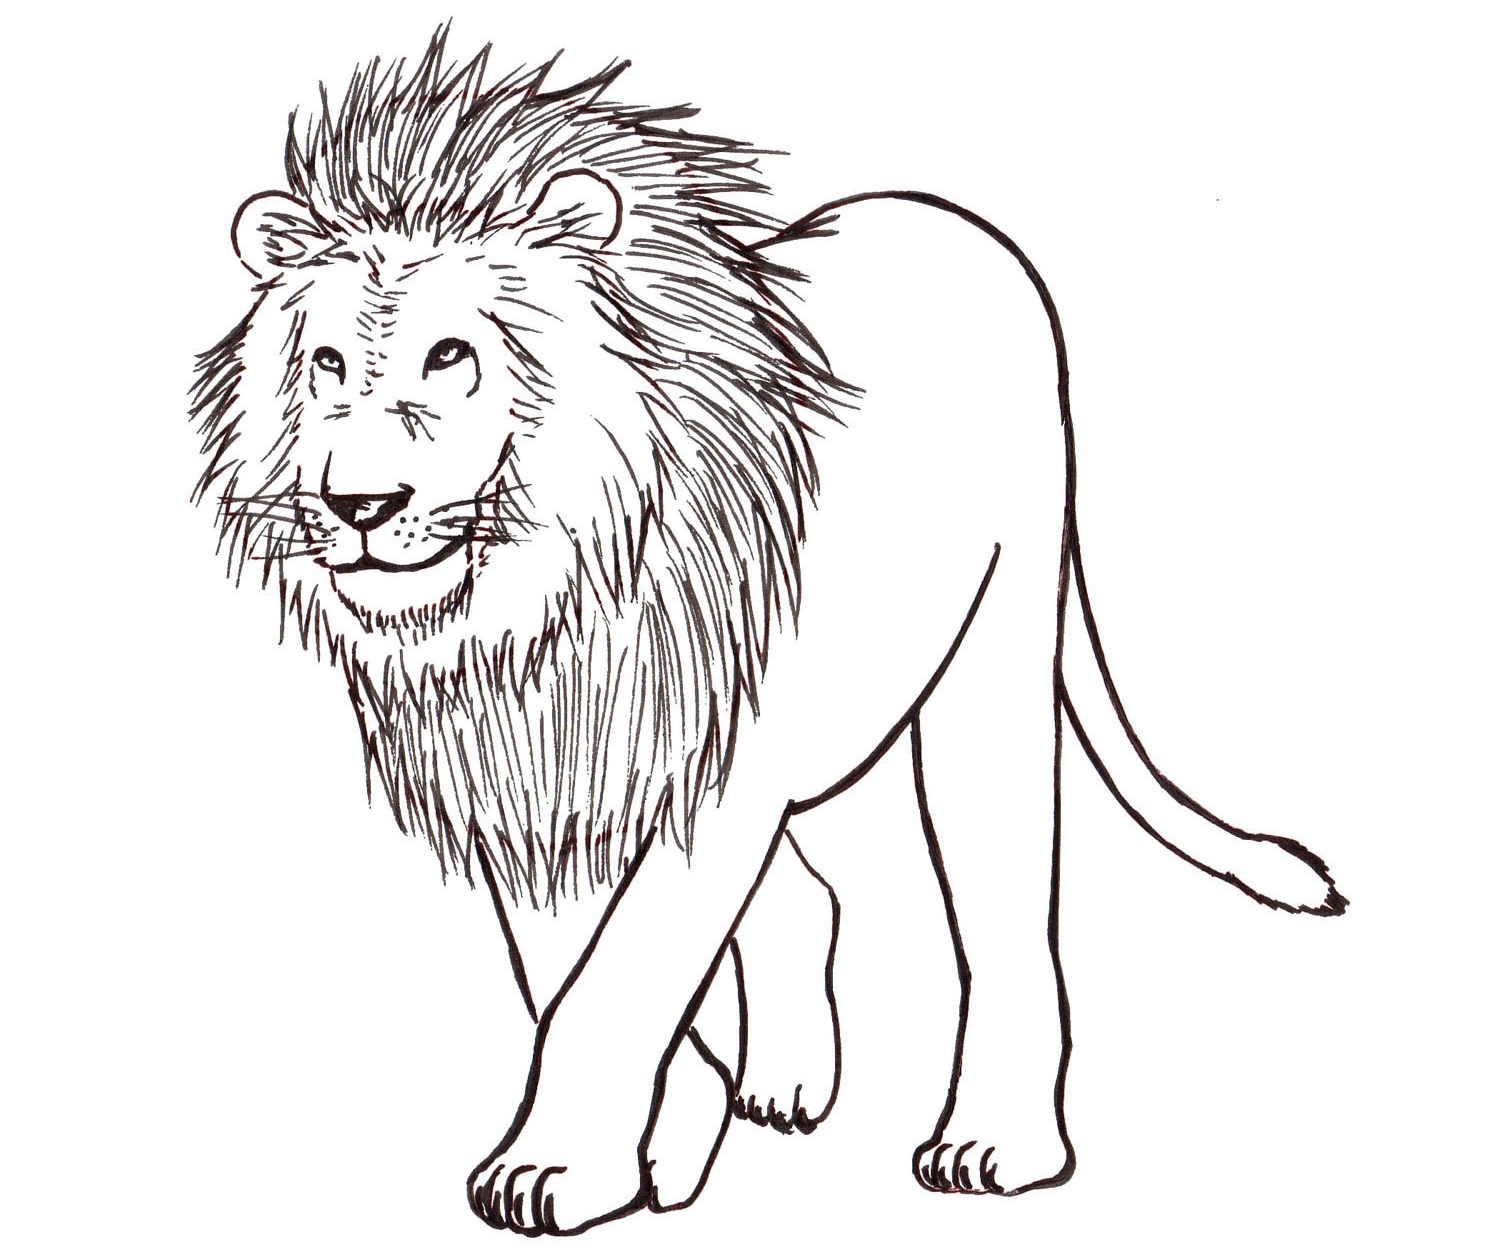 Voila!
Your big, bad, brave and cool lion!
That’s it for this drawing lesson.
Please remember to SUBSCRIBE HERE to get my eBook for free + great tips and advice on drawing, delivered straight to you! (=
And I’ll talk to you soon,
– Liron