Podcast: Play in new window | Download
Today I want to teach you how I go about choosing my colors for watercolor painting.
We will talk about both the MACRO and the MICRO.
How I Choose my Colors – Macro
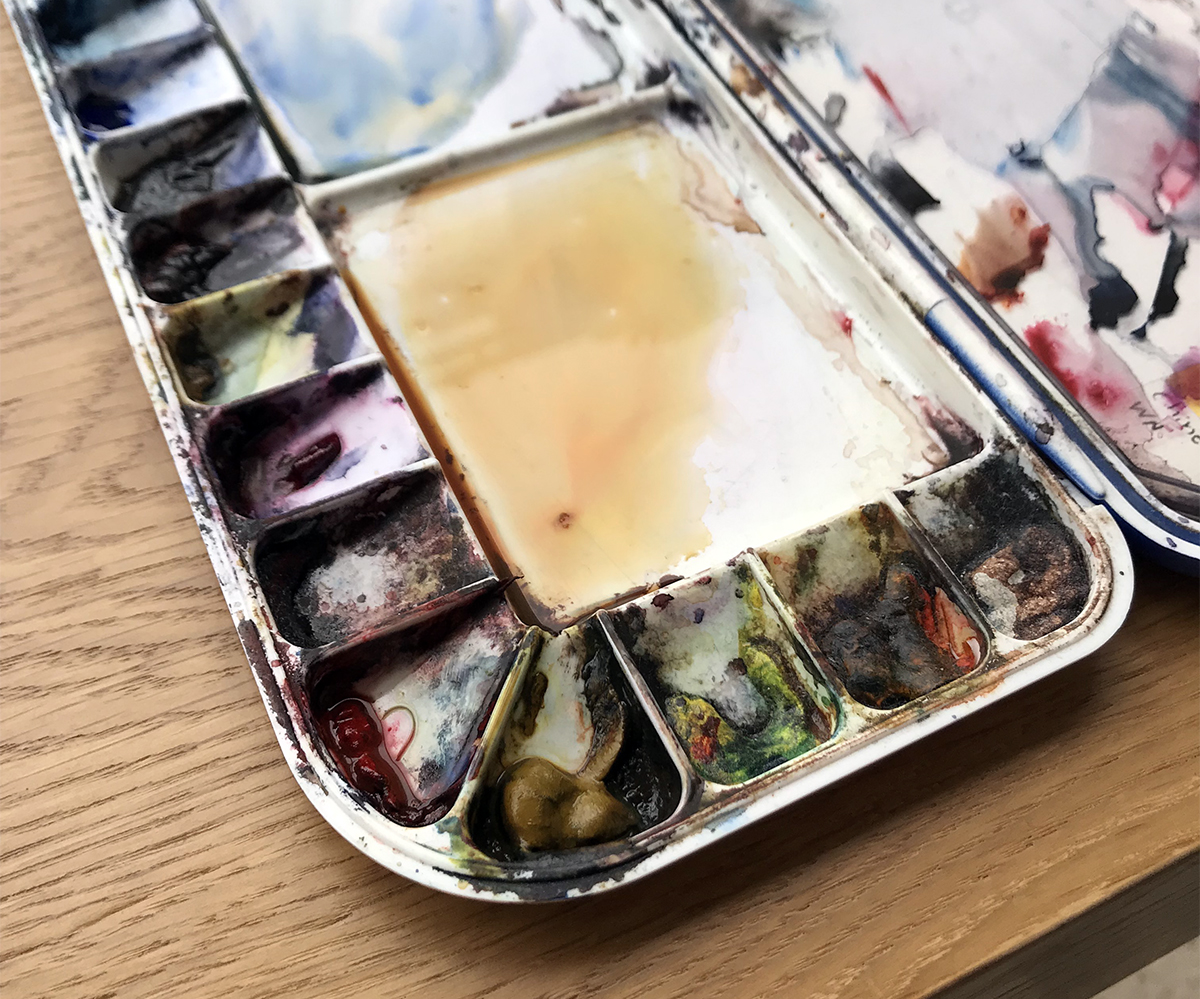
Colors on a macro level means – what colors do I even have on my palette? What colors are my go-to?
Generally speaking, there are a couple of criteria I look into when choosing which colors to purchase. Here are some of them.
Primary colors – I generally work mostly with primary colors. I don’t like convenience mixtures as much, and prefer to mix my own.
So I make sure to always have 1-2 versions of every primary color in my palette – blues, reds and yellows.
Temperatures – I am in the “I care more about the values rather than a specific color” camp (gee, that’s a long name!). But one thing I do pay attention to is temperature.
I find this is important for creating a sense of depth in my works.
Lightfastness – This basically means how much resistant the paint is to light. Lower lightfastness means that with continuous exposure to light, the paint will fade / change over time.
I prefer my paints to stay the same long into the future, so I make sure to use lightfast paints as much as possible, especially when it comes to works made for clients.
Range of Values – This is crucial for me. I tend to create strong contrasts in my works. And I need paints that can mix dark values. This is why I try to use paints that have a large range of values.
This is why I love, for example – Phthalo Blue. It can simply get so dark, which makes it very useful. Another paint in this category is Carbazole violet (and so despite it being a secondary color, I still use it for this specific merit).
Transparency – Lately I’ve come to love transparent watercolors more and more. I find they mix more easily and predictably.
This is a matter of personal taste really, so see what works for you.
These are all guidelines I use for choosing my colors on a macro level.
How I Choose my Colors – Micro
Now I’ll explain how I choose colors while working on a painting.
I get asked about this ALL THE TIME.
INTUITION
People always seem to wonder how I “knew” to use a specific paint somewhere.
The answer is simpler than people think. I developed an intuition for using different colors. This means I don’t know exactly what the end result will look like, but I do have a sense for what will work out.
Minimal Palette – One of my guiding principles are to use as few paints as I can. I find this leads to better color harmony (all mixes stem from the same 3-5 paints). But in addition to harmony, it also simplifies the work process – less decisions to make (;
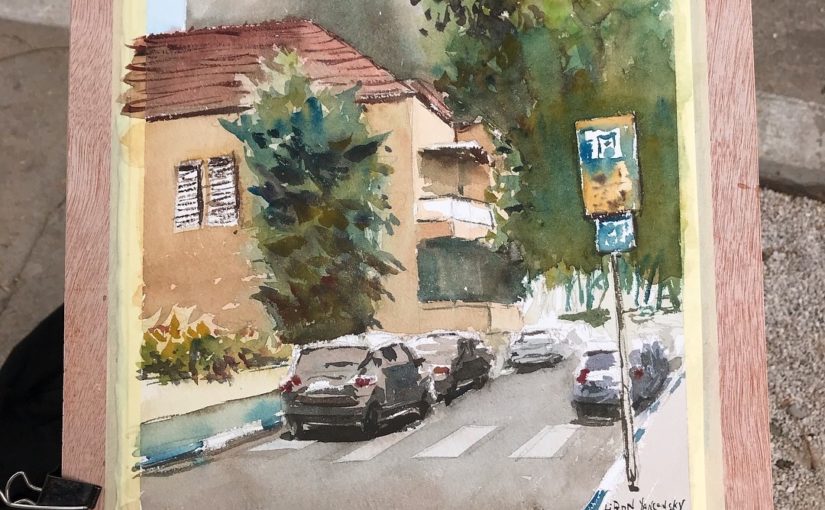
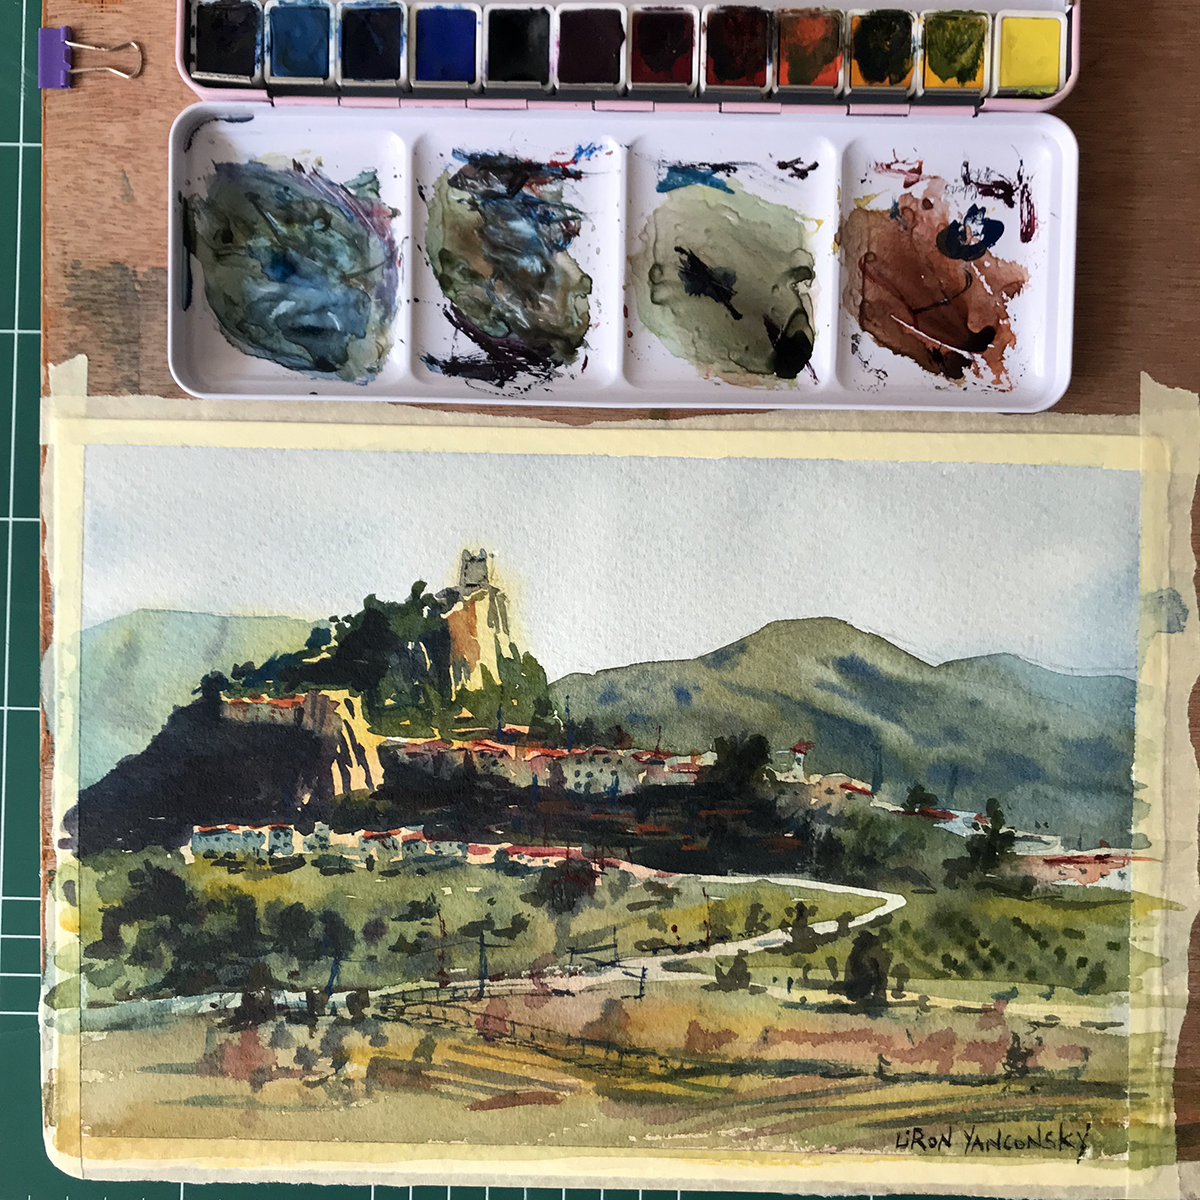
Temperature – I talked about this earlier. When choosing what color to use, I almost always take temperature into account. Is this a direct warm sunlight? Then I’ll probably use yellow. Is it a mid-value? Perhaps red. A dark shadow? Blue.
These can of course be alternated. I spice up my shadows with warm colors as well. Shadows aren’t monotone.
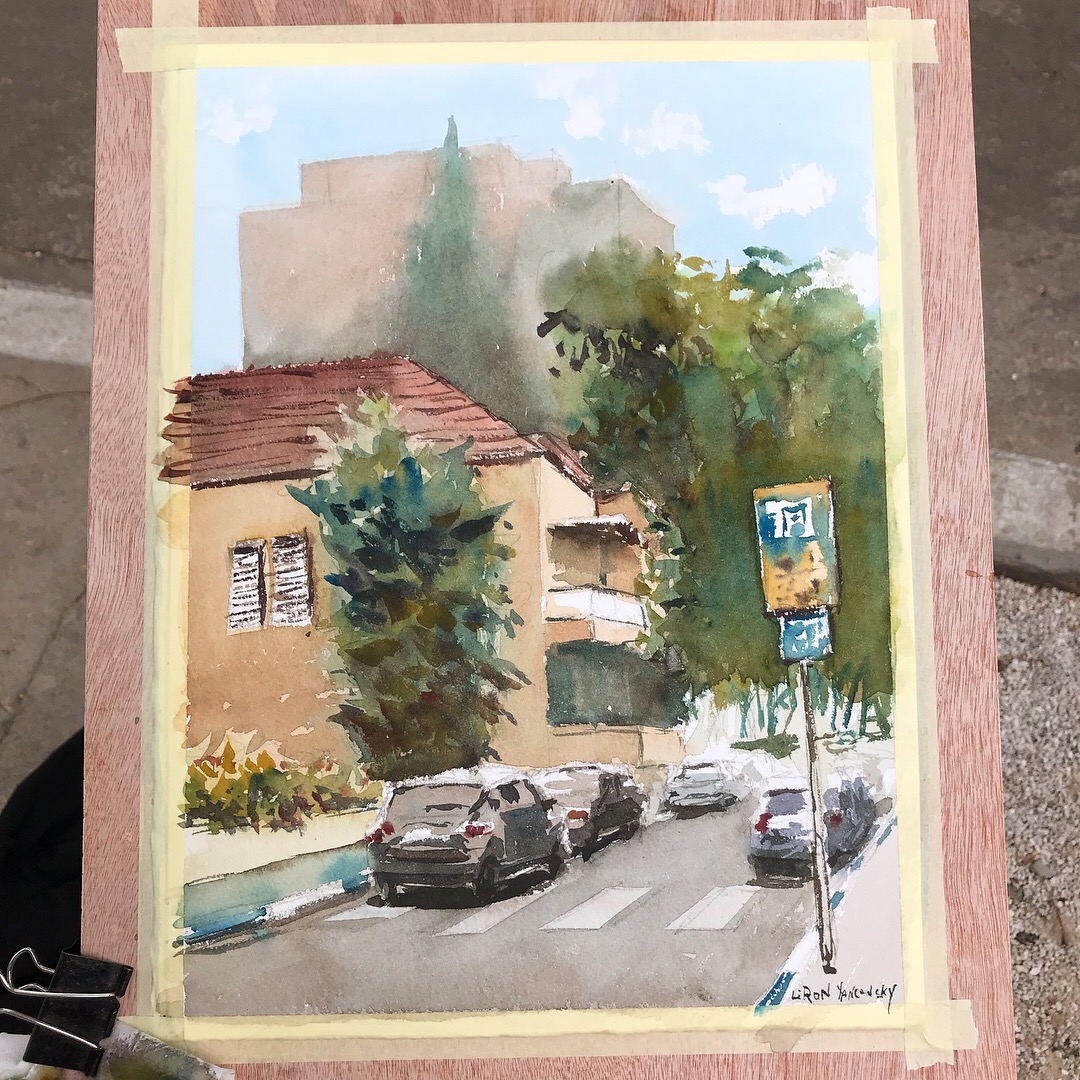
Exaggeration – Sometimes I’ll simply exaggerate the color bias I see. So if there’s a building wall that’s slightly brown / red – I may paint it using a PURE red. It may seem like too much initially, but I find that I can very easily mute it down by glazing over it with blue, for example.
Most of this really isn’t science. Rather – it’s more of a habit, stylistic choice or trial and error.
See What Colors Work for YOU
The main advice I can give YOU, is to see what works best for you. Don’t worry about my own paints – experiment and see what looks good to your eyes, and how it works with your style.
And with that being said – let’s move onto the Artist Corner.
Artist Corner
Today’s featured artist is Manolo Jimenez. Not to be confused with the football manager of the AEK Athens team, our Manolo is a watercolor painter.
I couldn’t find much information about him, but he is a fantastic painter. His focus, from the works I’ve seen is on larger scale compositions, relative to the focal point. This means the center of focus usually takes up a small part of the painting. So it could be a large corridor in a building, with a tiny single figure, for example.
He is a member of the Association of Watercolors of Andalucia, and exhibits both in Spain and worldwide.
You can see some of his fantastic works here: Manolo Jimenez
And Here’s where you can find me
Check out my YouTube Channel – Liron Yanconsky
Or ask me questions on Instagram – @LironYanIL or Snapchat – @LironYan3
I hope you enjoyed this one. Take care, and we’ll talk again really soon,
— Liron