Cold-Press VS Hot-Press Watercolor Paper – MY PREFERENCE

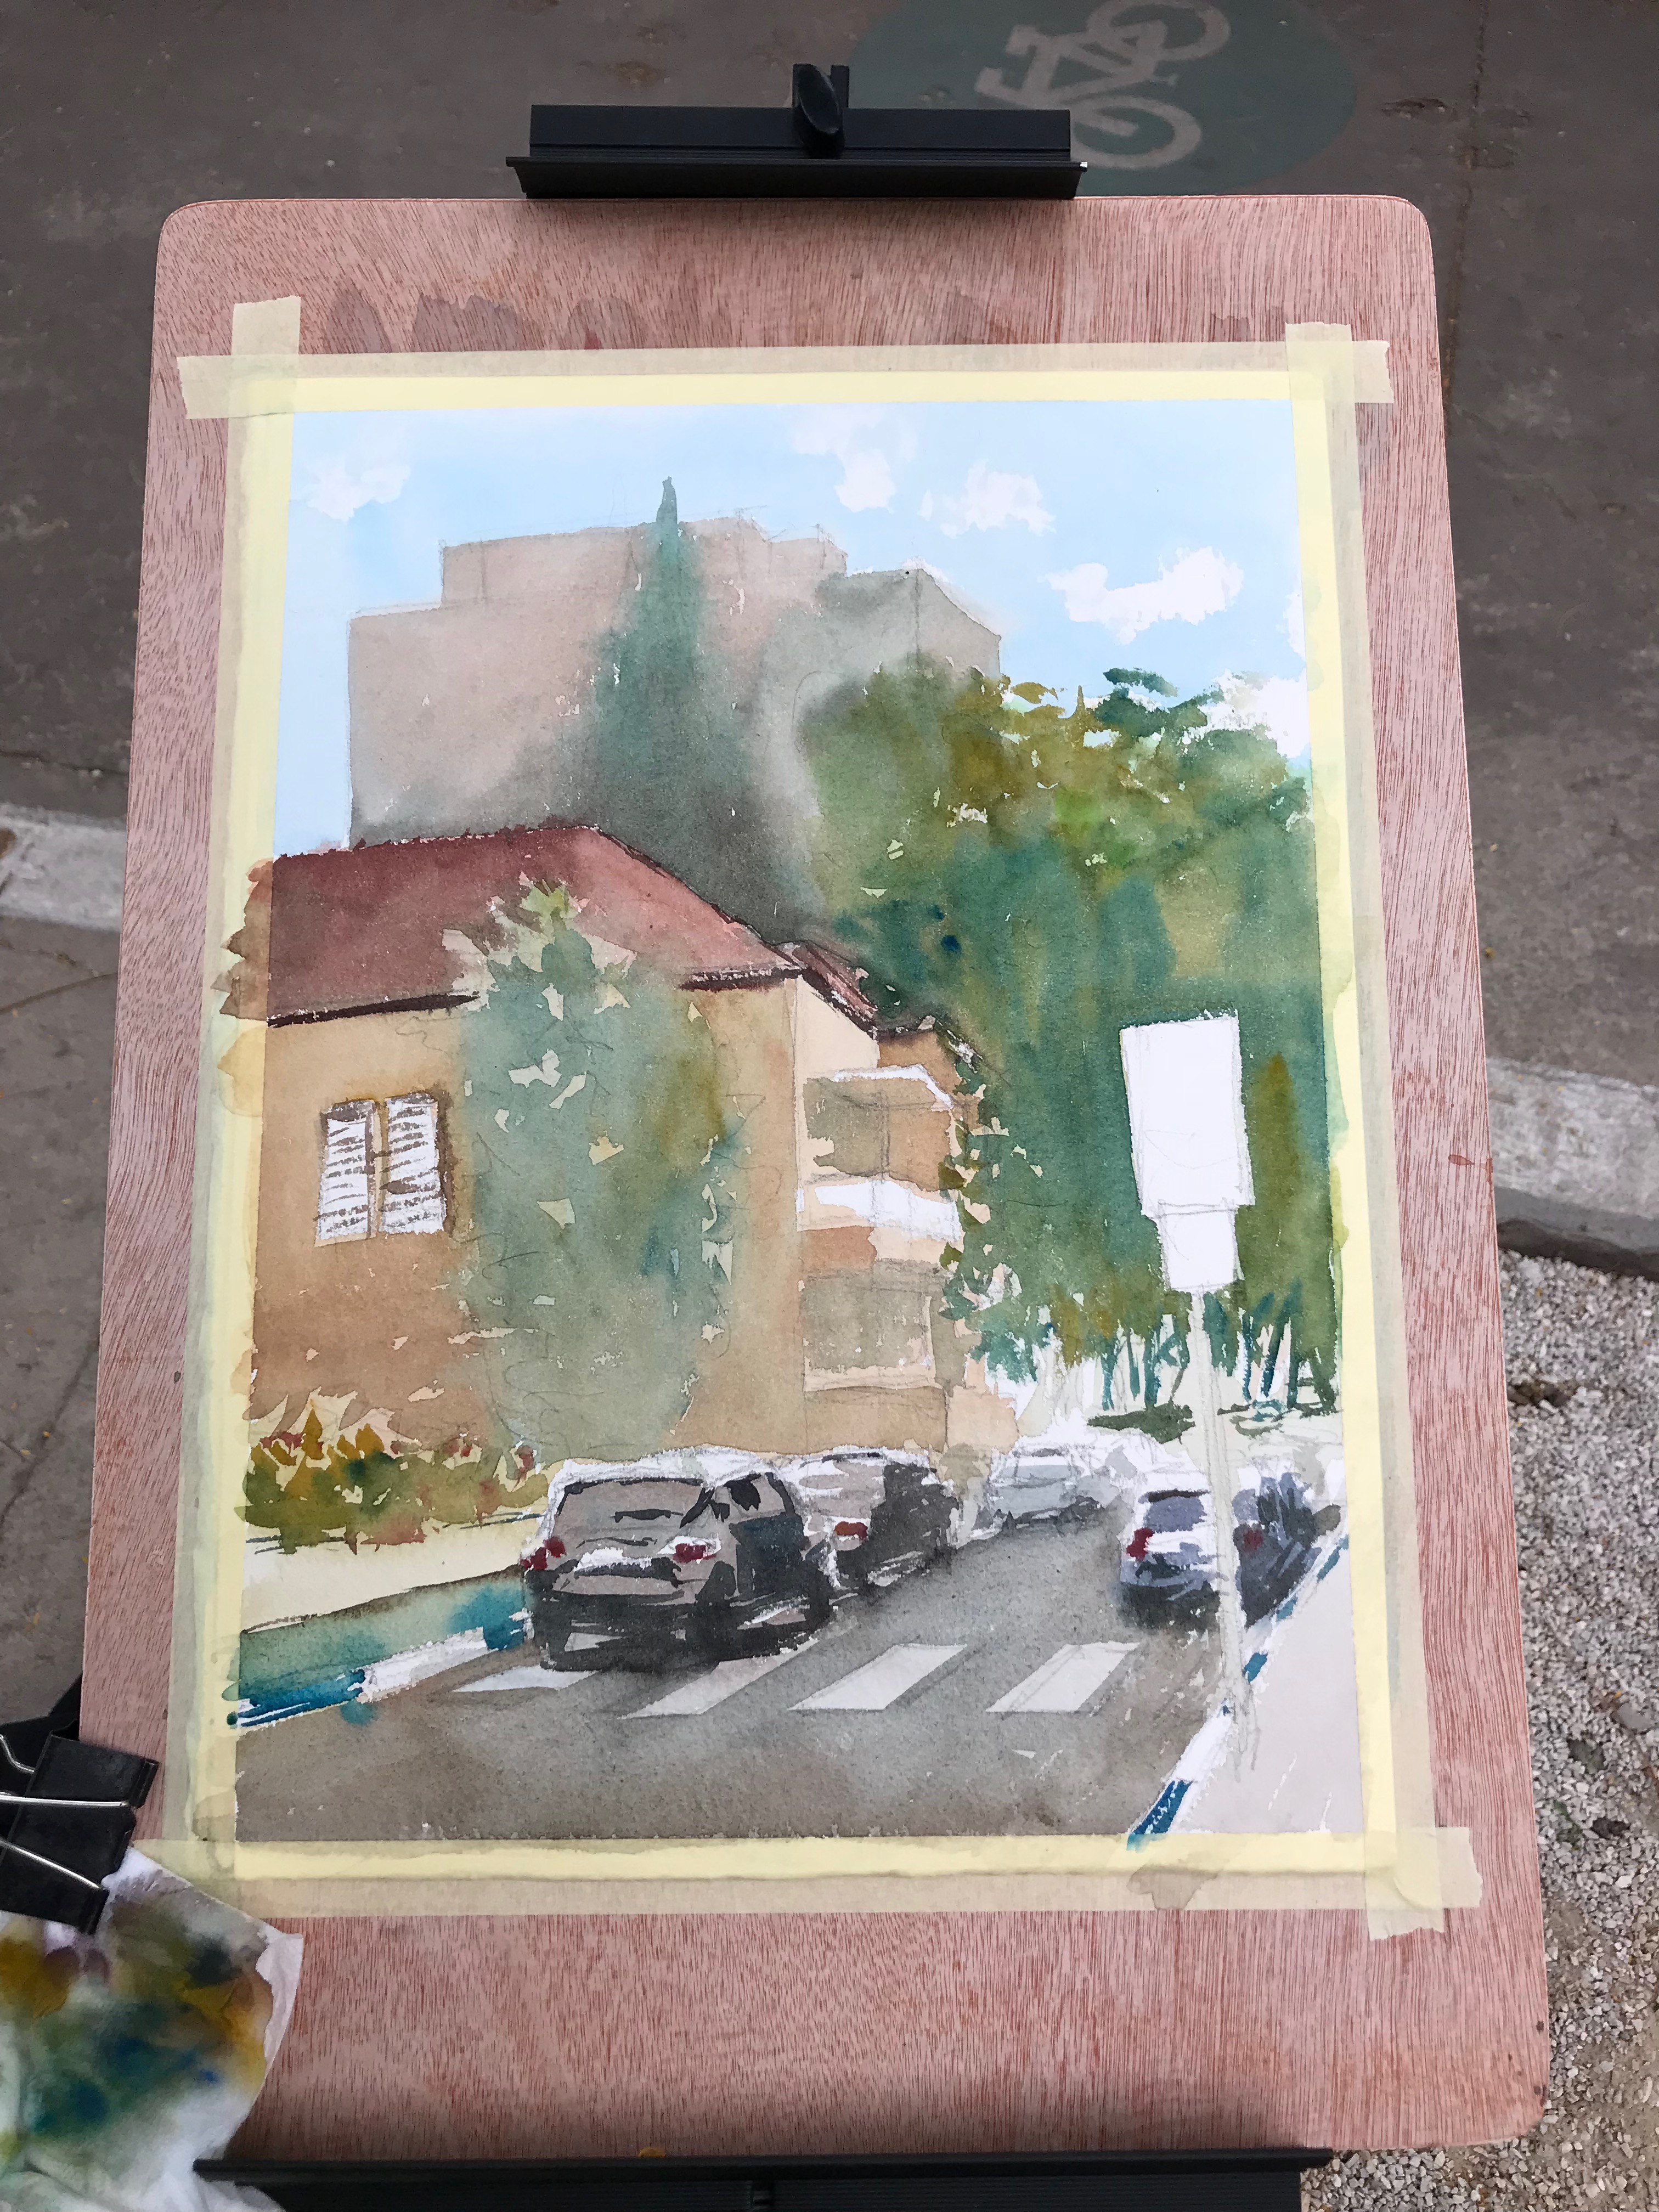
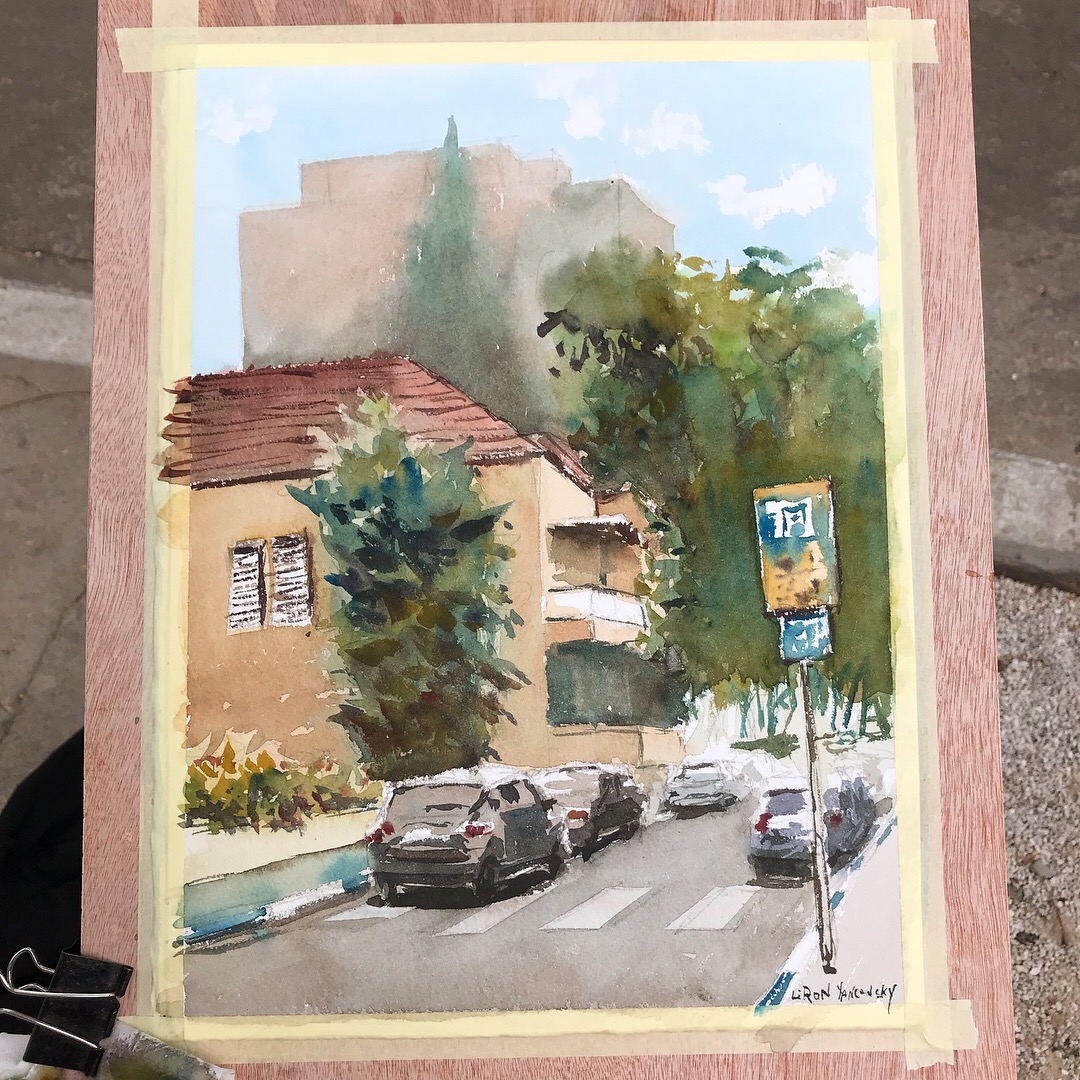
Hi there! Today I want to quickly let you know about my favorite watercolor paper(s).

This really is a personal matter, so don’t worry if our opinions are different. That’s what opinions are for (;

Here’s the full video. For a written version, read on.

In Watercolor, Paper’s IMPORTANT

I want to preface this by saying that paper really matters when it comes to watercolor painting. It has to be of good quality.

I find that I can work well with simple brushes and ok paints. But the paper is crucial for success.

Cold-Press VS Hot-Press

These are the two main watercolor paper types.

Hot-press paper has a soft surface. Paint tends to sit a little more on its surface, and may take a little longer to dry.

Cold-press paper has tooth, aka texture. It tends to be a little thirstier in my experience. It tends to absorb paint faster.

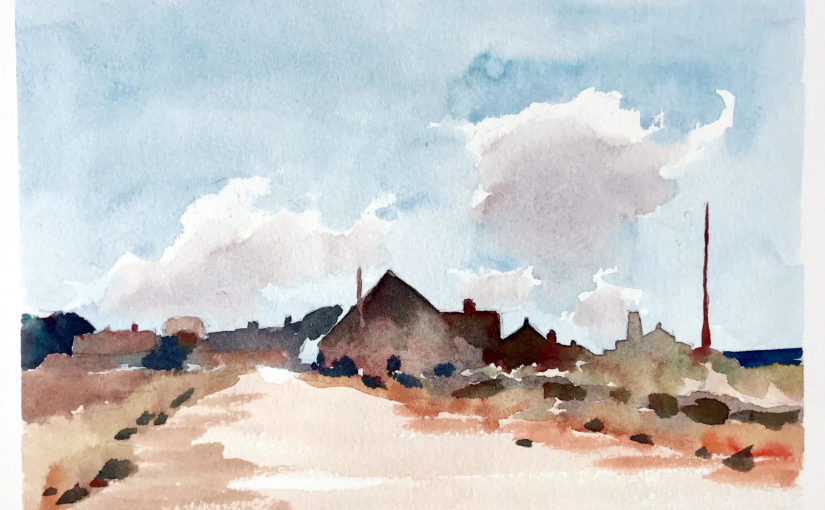
I am an absolute fan of cold-press.

I love the texture and tooth. It’s very forgiving, and holds paint very well. It can be used to create different effects and “dictate” the focus in a painting, by using dry brush techniques.

An Argument FOR Hot-Pressed Paper

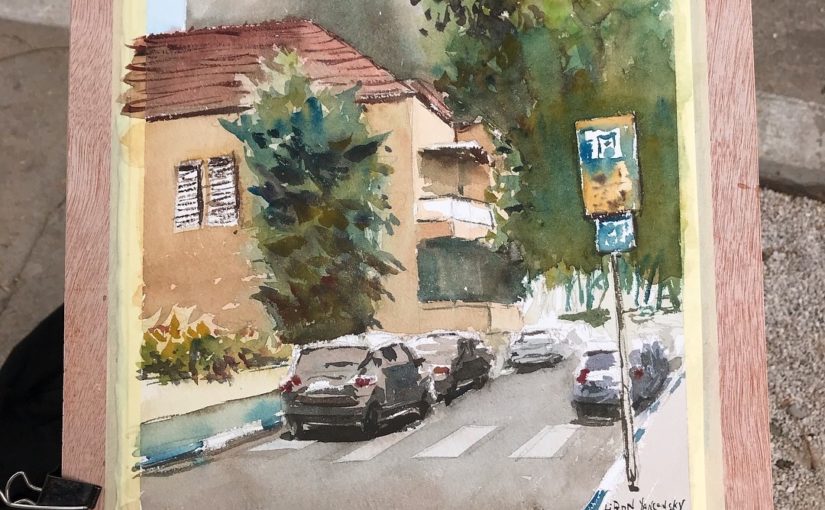
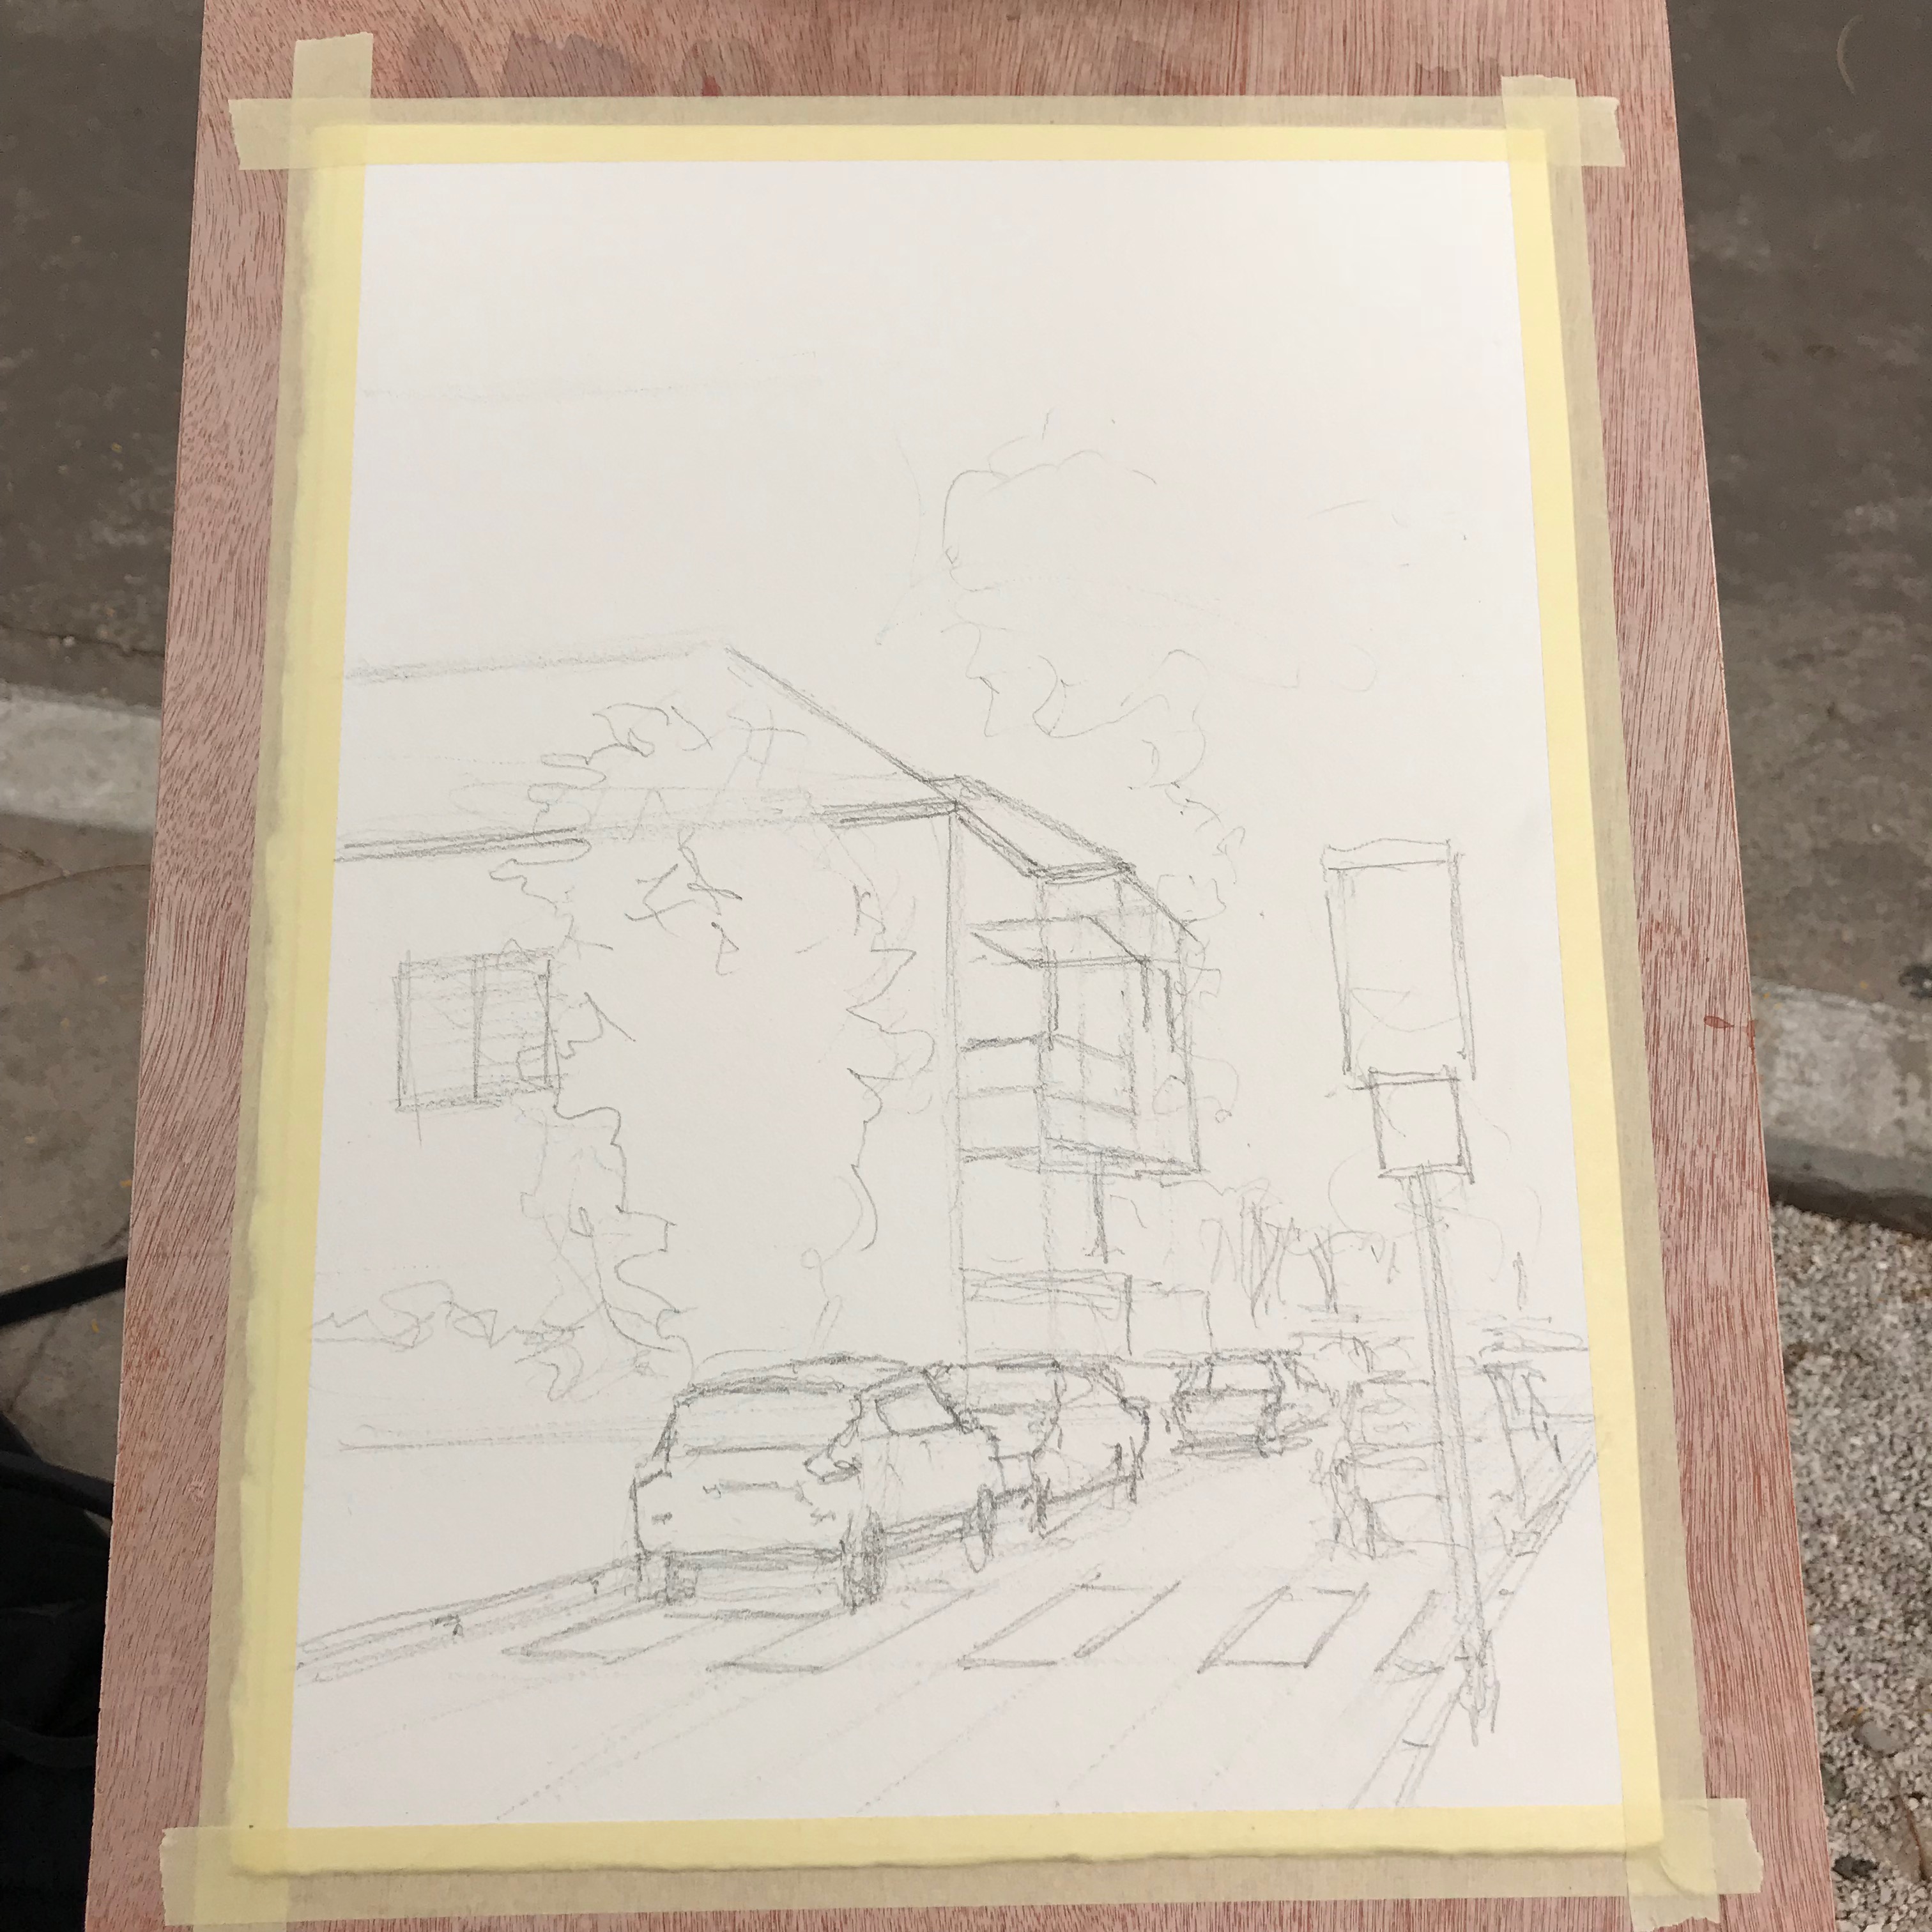
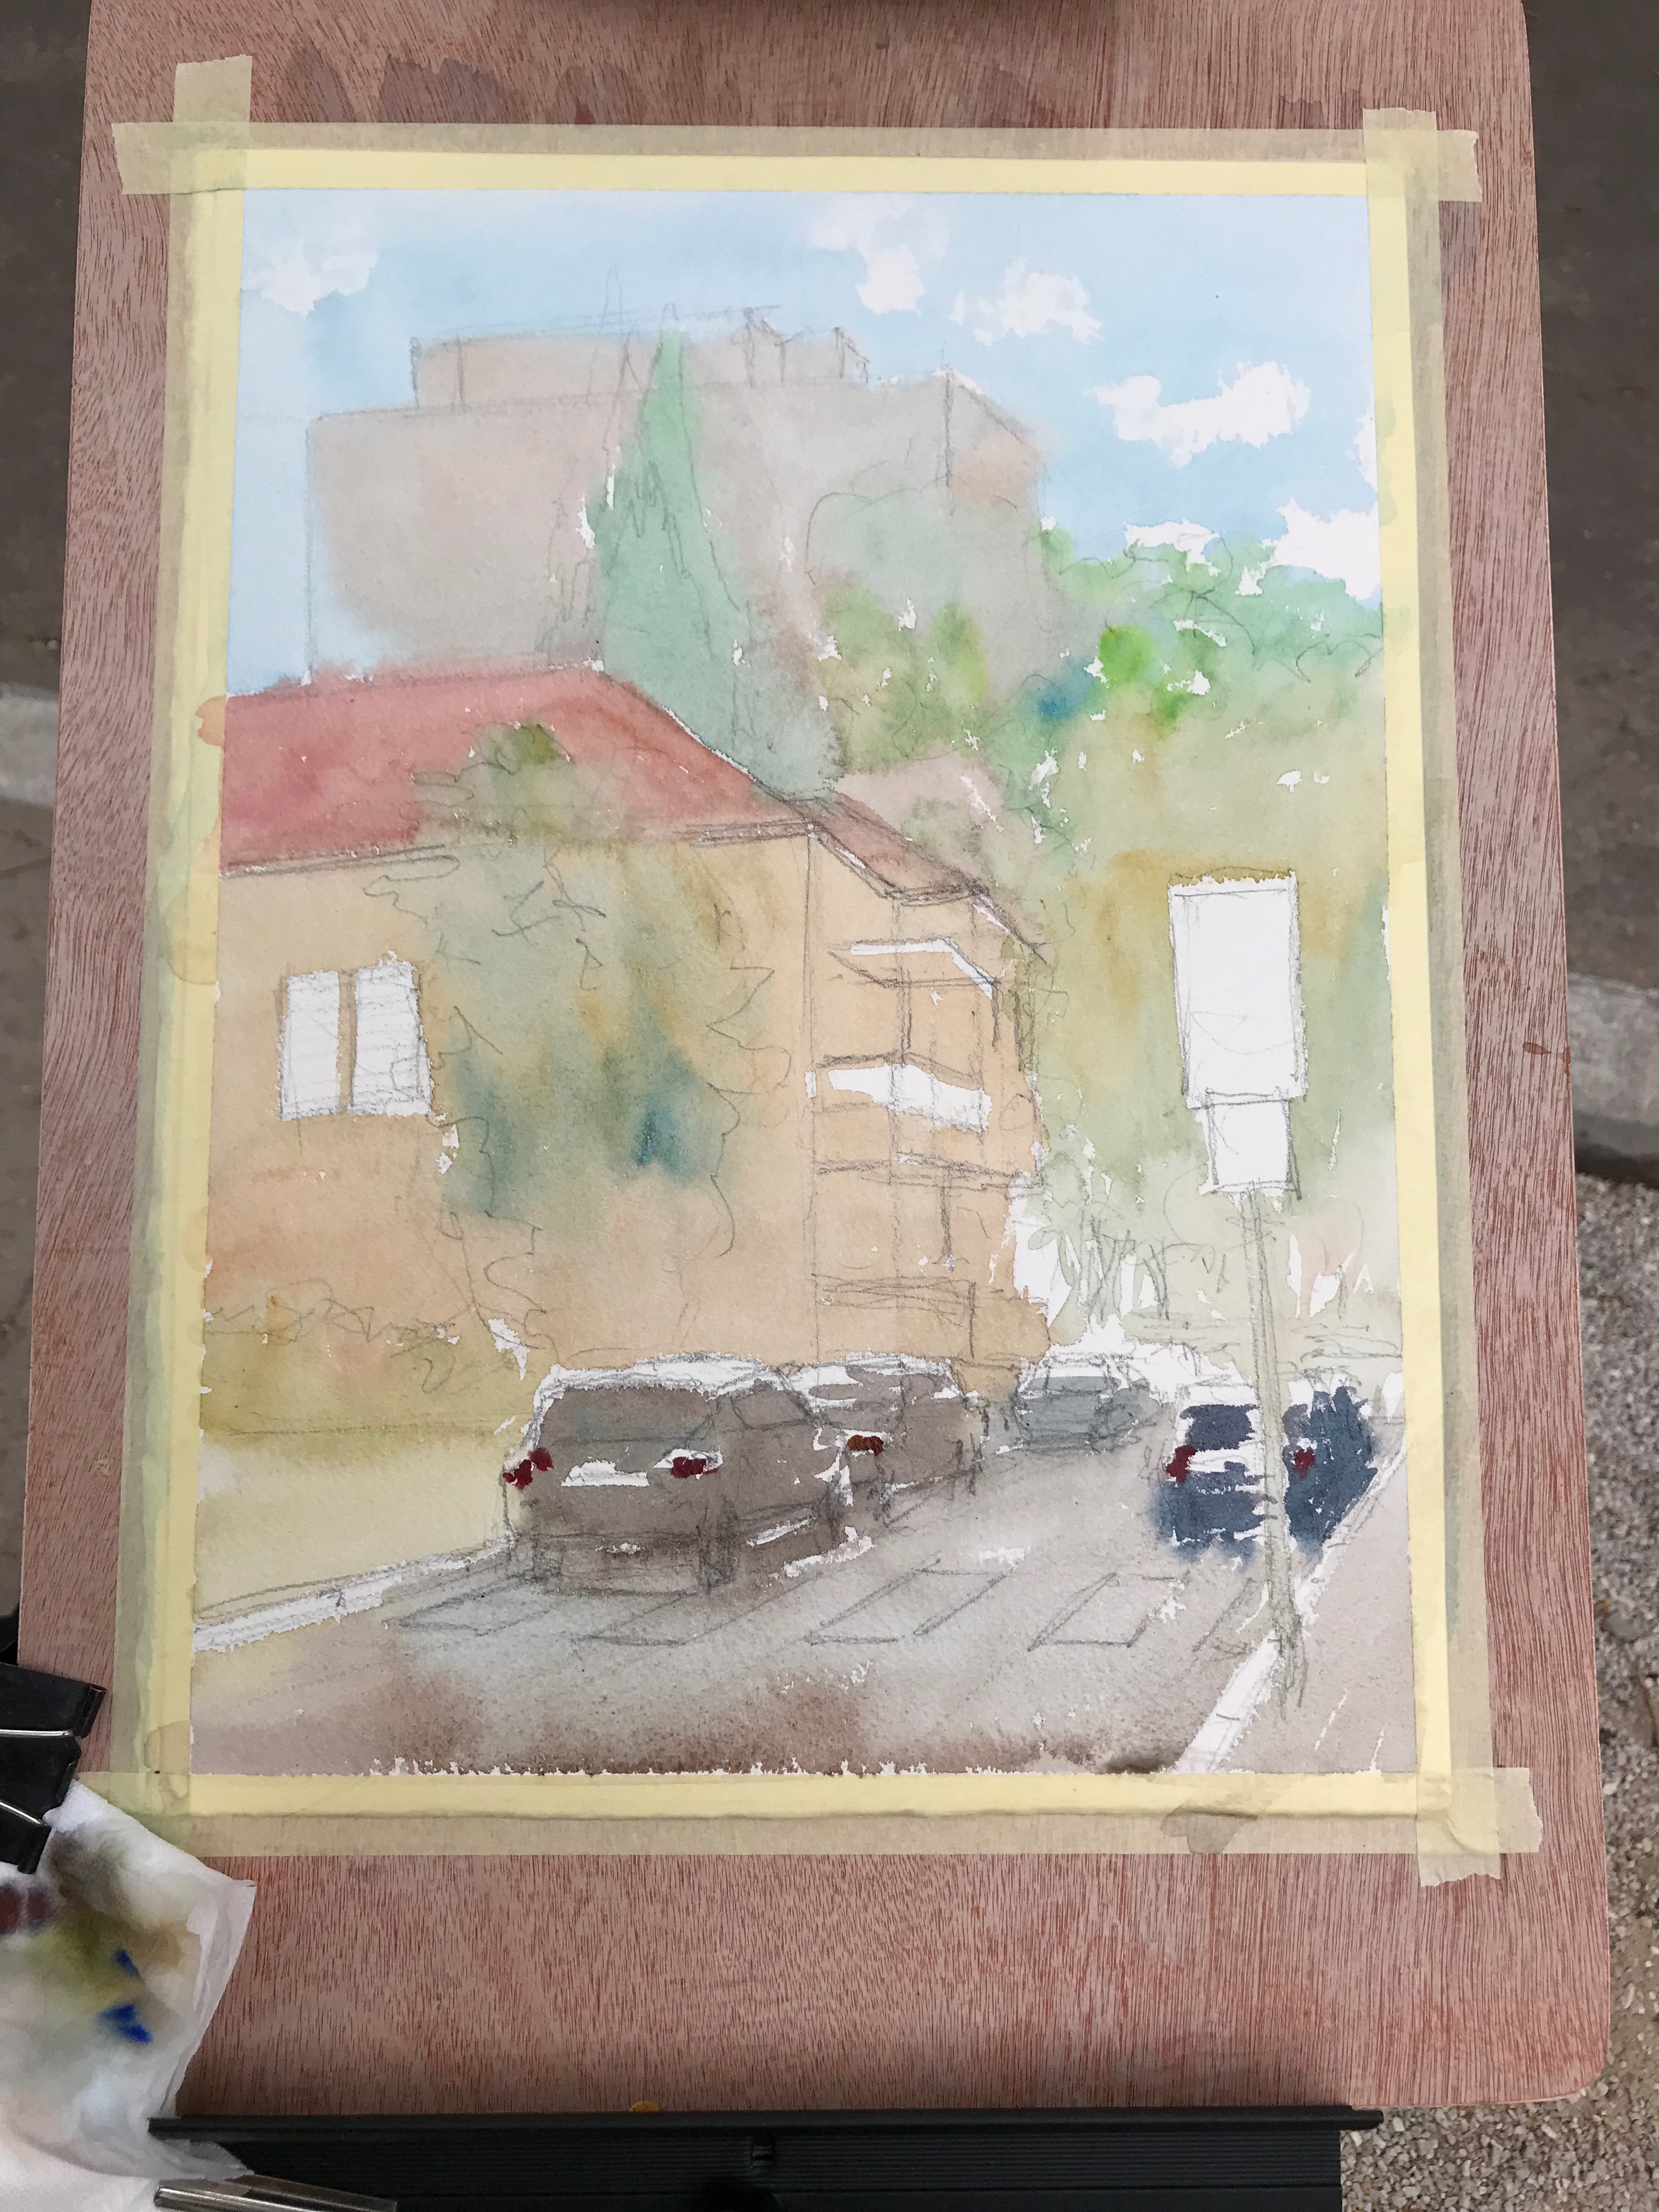
There is something to be said of the merits of hot-press watercolor paper. This type of paper allows for smoother transitions and edges. It’s considered more suited for portrait painting, and for works that require finesse and accuracy (which makes sense).

I also find that it’s sometimes easier to blend and soften edges in hot-press paper, though you have to know what you are doing. You usually need to dry the brush a little more (as the paper is smoother and a little more moisture in the brush can cause paint to spread more easily).

Check out this video I did on blending and edge softening: Watercolor Blending and Edge Control

Weight of Your Watercolor Paper

Watercolor paper comes in different weights.

I think that the minimum is 300gsm (grams per square meter). Under that you are risking with dealing with major buckling, especially in larger sizes.

I actually love to use 600gsm paper, but it’s not a necessity. That’s me being spoiled haha.

Favorite Watercolor Paper Brands

I have two brands whom papers I love.

Arches and Saunders-Waterford.

These two actually feel REALLY THE SAME. I think I read once those are different lines of the same brand, thus the similarity. Though I don’t remember clearly.

These can take anything, multiple layers, lifting, scratching, whatever!

The paper I most commonly use in the last six months or so is Saunders-Waterford.

Sketchbooks

When in sketchbooks, it’s sometimes a challenge to find one with good paper.

My favorite would be an Arches paper organized as a sketchbook (haven’t seen Saunders-Waterford in that format.

However, there is a different type of sketchbook I like, and that is Canson Montval (and it’s not even cotton paper).

You can watch my review of it here:

Conclusion

I hope this gives you a clearer picture of the types of watercolor paper I love using. this


Challenges in Watercolor Painting | Liron Yanconsky’s Podcast – Episode 24

Hi there, in today’s episode of the podcast I want to share with you some challenges I’m experiencing in watercolor.

A 2 Week Plateau

For the past two weeks or so I felt like things were’t connecting the way I wanted in my paintings.

I didn’t feel like my results were up to par, and I also felt extremely out of control with the medium.

I actually have a few ideas as to the reason for this.

Advancing to a Higher Level

Usually when I hit that kind of plateau, it means I’m about to advance to a higher level.

This is something I consistently noticed over the past few years.

It’s almost as if there is something crucial I need to learn in order to progress. I maxed out on all of my current skills, and it’s time to move on.

Going Autopilot & Using Gimmicks

Aside from that, I have an inkling of an idea as to what I need to improve.

I got to this after examining the areas where I have this issue, and the areas where I don’t.

I’m only experiencing this when painting large scenes, mainly cityscapes. I’m not experiencing this when working on portraits or pen sketches.

My main conclusion is this – In some areas I tend to go into autopilot when painting. And I don’t mean the good kind of autopilot (flow, in the zone, smooth-sailing).

I’m talking about doing things without truly observing the scene. Painting things as I THINK THEY APPEAR, rather than how they truly appear.

A Side Note About the Artist Curse

As a side note, I want to mention a concept I learned from Mark (Draw Mix Paint YouTube channel, THIS video).

He says we as artists can never enjoy our art like other viewers do. That’s because we see it slowly built up, and so it’s hard to be objective.

I’d also add to that, that we have a specific, “ideal” vision we may compare the result to. The viewer has no idea and doesn’t care. All they see is the art (:

The Solution

For the next few weeks, I’ll try disconnecting from external influences and other artists.

What I want to do is always focus on the subject at hand. To truly observe it and carefully study it.

To think, analyze, sketch, prepare and so on.

Sharing the Journey

I’m really happy to share these insights with you as I learn them.

I hope this will inspire others in the future. I really want to show how this is a challenging journey on the one hand, but how it shows promise on the other.

With enough practice and perseverance, you can master the medium.

Artist Corner

Today I talk about Dan Burt, an American watercolor painter.

Dan has a very unique style of painting, in which he applies many, MANY colors. He actually prepares multiple pools of paint, and slowly uses them all for painting.

He paints mainly in Texas, Mexico, Italy and Spain.

You can learn more about him here.

And here’s where you can find me (:

You can support me on Patreon

Check out my YouTube Channel – Liron Yanconsky

Or ask me questions on Instagram – @LironYanIL or Snapchat – @LironYan3

Impressionism Painting | Liron Yanconsky’s Podcast – Episode 20

In the picture above is an Edward Seago study I did a while ago

Impressionism Painting

Impressionistic paintings have always attracted me, from the moment I discovered the genre.

I always loved the ability to represent what you see on paper, with the added value of your own interpretive skills, and your special flare.

The Zbukvices and the Castagnets

Immediately after discovering Joseph Zbukvic and Alvaro castagnet I was HOOKED.

I started seeking out similar artists, and paintings in that loose impressionistic style.

I also attempted painting in this style, which was a huge challenge (and still is!).

Edward Seago

Another artist I recently discovered that does impressionism in both OILS and watercolor, is Edward Seago.

He will probably be responsible for me getting into oils in some point in the not-so-far future (;

What Makes Good Impressionistic Art

I have my own opinion about what makes a good impressionistic painting.

This is my opinion, and I could be wrong about some things, or missing others. This is by no means a conclusive list.

Here are some things I noticed so far:

Accurate drawing – This is a must. This is the basis for creating a realistic impression of what you see.

Good sense of light and shadow – This is the second most-important item on my list. I believe this is as important as an accurate drawing.

We see the world in the form of light and shadow, and portraying accurate values is the key for creating realism.

Simplification and abstraction – Here shines the true spirit of impressionism. We are not trying to include every single detail we see.

We simplify things for the viewer, including only what’s ABSOLUTELY NECESSARY. And the levels to which we simplify is a personal / style-related choice, but the impression we create still resembles the subject to a high degree.

Colorful / harmonious palette – To me color is secondary, but in some ways it can significantly enhance a painting.

When the colors work well together the good painting turns into a fantastic celebration of mood, atmosphere and temperature.

How to learn impressionism painting & how to improve

This is a question I don’t really have an answer for. I’m still learning this myself. However – there are some habits I noticed have been helping me with this.

Painting from live reference – This means either painting real objects inside, or real scenery outside. It means NOT working from photos.

I cannot stress enough how important field work is. It is an integral part of improving your visual language, which is what we are doing here, after all.

I also think it’s important, from time to time, to work from photos. The reason is that you can be more relaxed, well-organized, and practice the techniques.

Outside you have to hurry, the light is constantly moving and changing, and things are dynamic. Inside you don’t have that issue.

Learning from others – The way I approached learning this is by constantly alternating between two mindsets – inspiration and isolation.

What I practically do is focus for a while on learning from one specific artist who’s work I enjoy. The time-frame for this can range from two weeks to two months. I call this the inspiration period.

Then, I shift into isolation. I ONLY focus on painting what I see, as I see it. I don’t watch YouTube videos. I don’t look at other peoples’ art. I only focus on MY OWN WORK.

And then I go back to inspiration for a while, and the cycle begins again.

I find this REALLY helps me to soak up inspiration and knowledge, and then internalize everything and combine it with MY OWN style.

Conclusion

And this is everything I wanted to share!

Like every new skill, it can be a bit of a challenge. But with enough consistency you get the ball rolling and before you know it – you are an expert!

I hope you enjoyed this one (:

Artist Corner

Today we talked about Edward Seago. He was an amazing English painter who worked in both oils and watercolor.

He lived from 1910 to 1974, and led an interesting life. He was quite close to the royal family, and was even invited on a tour to the Antarctic with prince Phillip.

He produced there what is considered his best work. I personally love both his oil paintings and his watercolors. He had an amazing way of simplifying what he sees.

You can read more about him on Wikipedia – Edward Seago

And here is a Google Images search for you to browse and enjoy

And here’s where you can find me (:

You can support me on Patreon

Check out my YouTube Channel – Liron Yanconsky

Or ask me questions on Instagram – @LironYanIL or Snapchat – @LironYan3

Use Pure Colors in Your Watercolor Painting

Hi there!

Today I want to present to you a painting process I did a while ago.

It’s not my best painting. However, it’s an experiment I did with preserving the purity of colors and letting them mix on the palette.

You can watch the entire process below, and scroll down for the written version (:

Use Pure Colors in Your Watercolor Painting

So here’s the scene I wanted to paint.

And here’s the drawing stage.

Notice it’s quite the busy scene. There are many cars, people and buildings. This was very challenging to break down.

I think this is actually one part where I “failed” with the painting process. With that being said, I still did a decent job simplifying it.

The funny part is that, I think, the drawing itself is inaccurate, especially in regards to its perspective.

In any case – off we go with the first wash.

First Wash

This is exactly where I wanted to keep the purity the most. I found out it’s important to get it right in this particular step.

The reason stems from the transparency of watercolor. If you start of with over-mixed, muted colors, the next wash may still show them through. And so, glazing yellow over muted blue won’t do much good (;

Next, we have an additional wash.

Second Wash And Beyond

I’ll admit, this isn’t the best of my work. But I was able to improve the purity.

In this stage it’s important to still use vibrant colors. This is true especially for the areas you want to keep colorful.

After that, I continue adding more layers.

And this is the final result!

I went for a rather complex scene, and challenged myself to try something new. This is why I’m very pleased with the result.

Putting Pure Colors in The Correct Context

It’s important to remember that this is one particular approach out of many. It doesn’t mean you have to ALWAYS ALWAYS keep your colors pure, or avoid grays.

This is a tool to be used at the right moments. You can use it, perhaps, to direct the viewer’s eye in some way. You could use it to create a focal point or area.

And this is it for today. I hope you enjoyed this one! (:

Let me know what you think in a comment below, or under the video.

Also, if you enjoy my content – consider supporting me on Patreon. This REALLY helps (:

And I’ll talk to you soon.

– Liron

How to Draw for a Painting – Still-Life Watercolor Painting Process

Hi there!

A while ago I worked on this painting of a pastry called Rozalach (which is insanely delicious!!).

I also recorded the entire painting process.

As I was watching the footage, I realised it would be great material to talk about DRAWING in the context of painting.

In other words, this is great content to explain how to draw for a painting.

so without further ado, here’s the video (and if you prefer to read – scroll on! 😉)

Drawing for a painting is different

Drawing for a painting is different from drawing when pencil is the final purpose in mind.

It requires to be as detailed as necessary, but not more than that.

With this process, I starting by marking the edges of the pile of Rozalach pastries.

You can see what these look like in the reference pic on the top left corner.

Once I finished indicating the edges, I was able to fill up the space with quick sketches, representing the shapes of the tasty doughy rolls.

This is the hardest part. Once you get those guidelines in, it’s only a matter of filling in the gaps with the finer details.

Here you see me filling in those details. The main things I’m looking for are strong changes in values (meaning darks and lights).

When drawing for a painting, this is extremely important.

Here is the final drawing!

This is a good indication of how a typical drawing that’s ready to paint will look.

Some prefer to be more detailed, while others prefer less details.

I will tell you what – I recommend experimenting with both. Trying different levels of detail has its utility.

More detailed – may allow for more realistic results.

Less detailed – allows you to practice using the brush more, and “drawing” with the paint (rather than just “coloring” the areas between the lines).

And now is my favourite part – The drawing is ready to be painted! At this stage I can already imagine the colors I’ll be using, and the transparency of watercolor (which I love).

Painting

List of colors:

  • New Gamboge
  • Quinacridone Burnt Orange
  • Pyrrol Scarlet
  • French Ultramarine

Here is the very first wash.

My main concern is achieving an even result that’s “flowing” properly, and a variety of interesting colors.

Sometimes I go really wild with my colors (especially with portraits), but this time I decided not too.

I was afraid the colors will make it harder to communicate what I painted (a pastry that not everyone will be instantly familiar with).

And so I decided to go with an interesting range of yellows, oranges, reds and some blues.

Notice how I also made sure to connect the Rozalachs with the background. The purpose is to ensure they don’t appear to be “cut off” from the background. We want them to look like an integral part of the setting.

I find this extremely important at times, especially with painting people as a part of a scene.

After that, I move onto the second wash, where we’ll put in the darker shades.

This immediately breaks the painting down into more discernible shapes that actually have a meaning.

In most paintings, I find this to be the most difficult stage. That’s because you really need to start paying attention to the drawing.

There’s one cool effect I think I was able to get at this stage.

The pastries are covered in sugar powder. To indicate that powder’s texture I made use of the paper’s texture (I’m using a cold-press paper for this one).

Notice the areas just under the Rozalachs in particular. I used dry brush strokes that will preserve the paper’s texture and create a powder-like effect.

And here’s the final result!

There was actually a third layer as well. Make sure to watch the full video to see it.

I’m very pleased with how this painting turned out. I love the color selection, composition, temperature and overall feeling.

I hope you enjoyed this quick lesson, and I’ll talk to you soon!

– Liron